
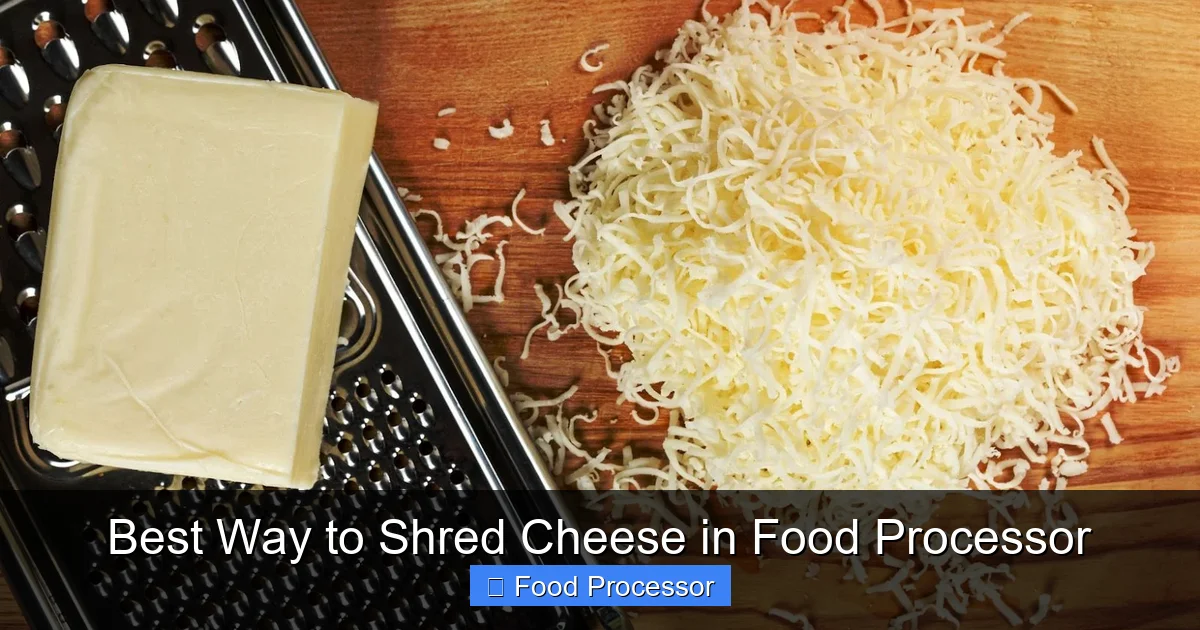
Mastering how to shred cheese in a food processor is a kitchen game-changer, saving you significant time and effort compared to manual grating. This comprehensive guide will walk you through the optimal steps, from preparing your cheese to selecting the right disc and executing the process, ensuring you get perfectly shredded cheese without any hassle. Say goodbye to store-bought pre-shredded cheese, which often contains anti-caking agents, and hello to fresher, tastier meals with effortlessly shredded cheese straight from your food processor.
Best Way to Shred Cheese in Food Processor
Are you tired of the arm workout that comes with manually shredding a block of cheese? Do you wince at the thought of paying extra for pre-shredded cheese that often contains additives to prevent clumping? If so, your food processor is about to become your new best friend! Shredding cheese in a food processor is not only incredibly fast and efficient but also gives you superior results – fresh, flavorful cheese without any mystery ingredients.
This guide will walk you through the best way to shred cheese in a food processor, step by step. We’ll cover everything from choosing the right cheese and preparing it, to setting up your machine, troubleshooting common issues, and even storing your delicious, freshly shredded bounty. By the end of this, you’ll be a cheese-shredding pro, ready to elevate your culinary creations with ease.
Let’s dive in and transform your kitchen experience!
Key Takeaways
- Chill Your Cheese Properly: Always use cold or even partially frozen cheese for shredding. This prevents it from gumming up the shredding disc and results in clean, distinct shreds.
- Cut Cheese to Fit: Ensure your cheese blocks are cut into sizes that comfortably fit the feed tube of your food processor. This allows for smooth feeding and consistent shredding.
- Choose the Right Disc: Utilize the shredding disc, not the S-blade. Most food processors come with reversible shredding/slicing discs; select the side that provides your desired shred size (fine, medium, or coarse).
- Use Consistent Pressure: Apply steady, gentle pressure with the food pusher to guide the cheese through the feed tube. Avoid forcing it, as this can lead to uneven shreds or smearing.
- Process in Batches (if needed): For larger quantities, process cheese in smaller batches to prevent the motor from overheating and to ensure optimal results without clogging the machine.
- Clean Immediately: Shredded cheese can be sticky. Clean your food processor work bowl and disc immediately after use to prevent cheese residue from drying and becoming difficult to remove.
Before You Begin: Essential Preparations
Preparation is key to getting perfectly shredded cheese every time. Don’t skip these crucial first steps!
Choose the Right Cheese
While your food processor can handle many types of cheese, some perform better than others. Hard and semi-hard cheeses are ideal for shredding. Think cheddar, mozzarella (low-moisture, part-skim works best), Gruyère, Monterey Jack, Parmesan, and Swiss. Softer cheeses, like fresh mozzarella or cream cheese, tend to smear or become paste-like when processed with a shredding disc. Stick to the firmer varieties for the best results when you want to shred cheese in food processor.
Chill Your Cheese Thoroughly
This is perhaps the most critical tip for successful cheese shredding. Warm or room-temperature cheese is soft and sticky, which will cause it to clump, smear, and melt into a messy paste on your food processor blade. Always start with very cold cheese.
For best results, place your block of cheese in the freezer for about 15-30 minutes before you plan to shred. It should be firm to the touch, but not completely frozen solid. This chill-down period helps the cheese hold its shape, allowing the shredding disc to create distinct, individual shreds without sticking or smearing.
Cut Cheese to Size
Once your cheese is properly chilled, it’s time to cut it into manageable pieces. Your goal here is to create pieces that fit comfortably into the feed tube of your food processor without needing to be forced.
- For cylindrical feed tubes: Cut your block into rectangular or square pieces that are slightly smaller than the diameter of the tube.
- For wide feed tubes: You can often cut the cheese into longer, flatter pieces.
Avoid cutting pieces that are too small, as they might tumble around and not get shredded effectively. Aim for pieces that are long enough to be held securely by the food pusher but not so large that they get stuck. Remember, the general rule of thumb when you shred cheese in food processor is to cut your cheese into pieces that are roughly 1-2 inches thick and long enough to reach the blade easily.
The Right Food Processor for the Job
While most standard food processors come equipped to handle cheese shredding, having the right tool can make a significant difference. A powerful motor and sturdy shredding disc are essential for efficient and smooth operation.
If you’re still in the market for a food processor, or wondering if your current one is up to snuff for consistent cheese shredding, it’s a good idea to research what to look for when buying a food processor. Aspects like motor wattage, bowl capacity, and included attachments play a big role. For those who frequently shred cheese and want the smoothest results, specifically looking for the best food processor for shredding cheese smoothly can ensure you get a model perfectly suited for this task.
Setting Up Your Food Processor for Shredding
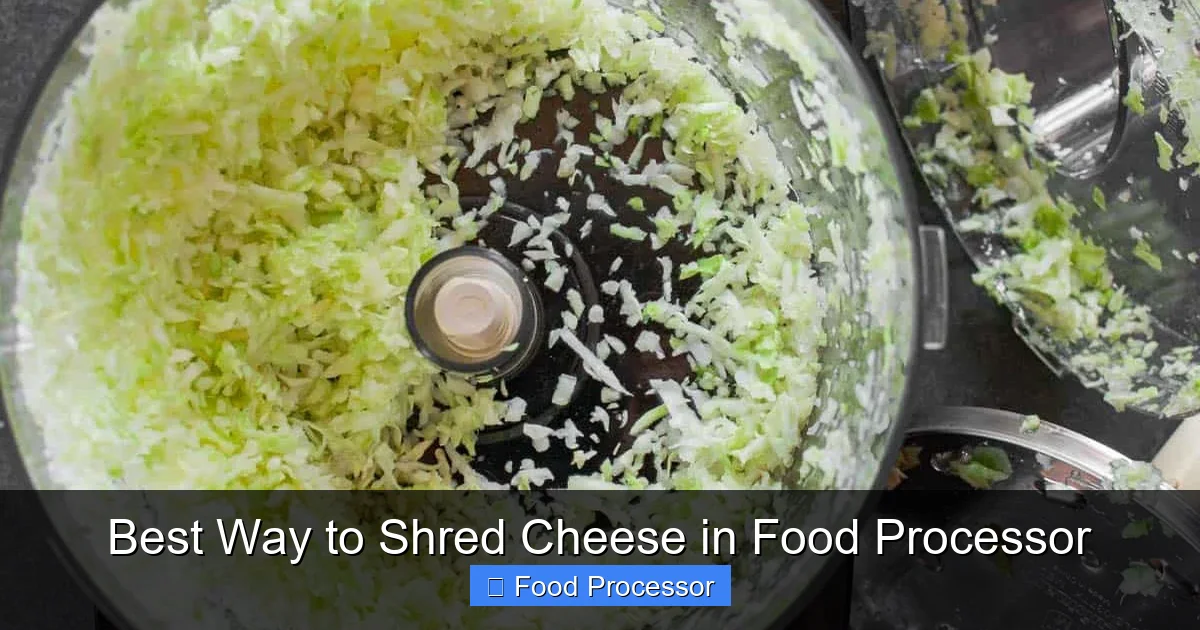
Visual guide about Best Way to Shred Cheese in Food Processor
Image source: ontpress.com
Proper assembly is crucial for safety and effectiveness.
Attach the Shredding Disc
Your food processor likely comes with various discs. For shredding cheese, you’ll want the “shredding disc” (sometimes called a grating disc). It often looks like a flat disc with raised, sharp holes. Many discs are reversible, offering a fine shred on one side and a coarse shred on the other.
- Identify the correct side: Decide whether you want fine or coarse shreds for your recipe and place the disc accordingly onto the food processor’s central stem.
- Secure placement: Make sure the disc is seated firmly and correctly on the shaft. It should not wobble.
Assemble the Work Bowl and Lid
Place the work bowl securely onto the food processor base. Then, carefully position the lid onto the work bowl, locking it into place. Ensure the feed tube is clear and ready to receive your cheese. Most food processors have safety mechanisms that prevent them from operating if the lid isn’t properly locked.
The Shredding Process: Step-by-Step
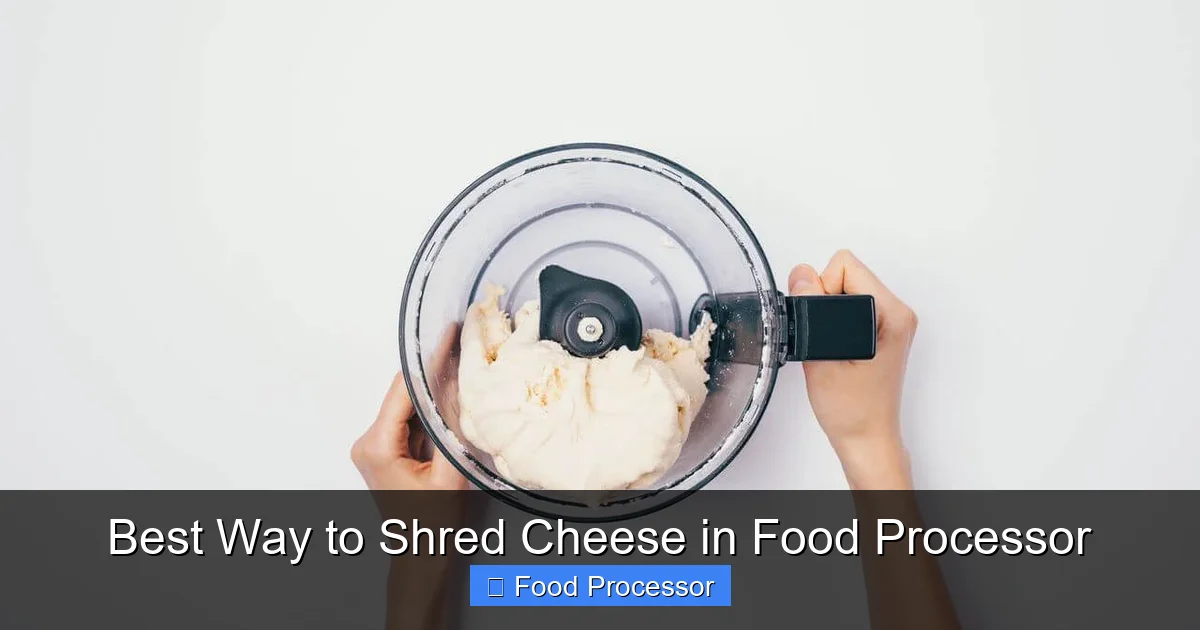
Visual guide about Best Way to Shred Cheese in Food Processor
Image source: storables.com
Now for the fun part – watching that cheese transform!
Step 1: Position Your Cheese
With the food processor assembled and ready, take one of your chilled cheese pieces. Place it vertically into the feed tube. Make sure it’s positioned so that the shredding disc will catch it evenly.
Step 2: Engage the Motor and Apply Pressure
Turn on your food processor. Many models have an “on” setting, while others require you to hold down a pulse button. As soon as the disc starts spinning, apply gentle, consistent pressure using the food pusher.
- Don’t force it: Let the blade do the work. Forcing the cheese down can lead to uneven shreds, strain your motor, or even damage the blade.
- Consistent motion: Keep the pressure steady. This ensures the cheese is continuously fed into the disc for uniform shredding.
You’ll see the cheese quickly pass through the disc and fall into the work bowl below. It’s incredibly satisfying to watch how quickly you can shred cheese in food processor!
Step 3: Repeat and Monitor
Continue feeding pieces of cheese through the feed tube, one at a time, until all your cheese is shredded.
- Don’t overfill the work bowl: If you’re shredding a very large quantity, the work bowl might fill up. Stop the machine, remove the shredded cheese, and continue with the remaining pieces. Overfilling can cause the cheese to back up into the feed tube or even jam the machine.
- Watch for remaining nubs: As pieces get smaller, be careful not to let your fingers get too close to the disc. Always use the food pusher.
Post-Shredding: What’s Next?
Visual guide about Best Way to Shred Cheese in Food Processor
Image source: storables.com
You’ve got a beautiful pile of fresh shredded cheese! But there are a few more steps for a truly seamless experience.
Remove the Shredded Cheese
Once you’re done shredding, turn off and unplug your food processor. Carefully remove the lid, then the shredding disc. Be cautious, as the disc’s edges are very sharp. Scoop out your freshly shredded cheese from the work bowl.
Clean Your Food Processor
Cleaning immediately after use is highly recommended when you shred cheese in food processor. Cheese residue, especially if it’s oily, can dry and become difficult to remove.
- Disassemble completely: Separate the work bowl, lid, pusher, and disc.
- Rinse immediately: Rinse all parts under warm water to remove as much cheese as possible before it dries.
- Wash thoroughly: Wash with warm, soapy water. A small brush can be helpful for getting into the nooks and crannies of the shredding disc. Many parts are top-rack dishwasher safe, but always check your manufacturer’s instructions.
Storing Your Freshly Shredded Cheese
One of the biggest benefits of shredding your own cheese is avoiding the anti-caking agents found in many store-bought options. This means your homemade shredded cheese is purer but also more prone to clumping if not stored correctly.
- Refrigeration: Store shredded cheese in an airtight container or a resealable plastic bag in the refrigerator for up to a week. If you’re planning to use it for tasks like meal prep, making large batches can be a time-saver. Consider exploring tips for meal prep with a food processor to maximize your efficiency.
- Freezing: For longer storage, you can freeze shredded cheese. Spread it in a single layer on a baking sheet and freeze for about 30 minutes until solid. Then transfer it to a freezer-safe bag or container. This prevents it from freezing into one large clump. Frozen shredded cheese can last for several months and can be used directly from the freezer in cooked dishes.
Tips for Perfect Cheese Shredding
Even with the basic steps down, these pro tips will help you achieve perfection.
Avoid Overfilling the Feed Tube
It might be tempting to cram as much cheese as possible into the feed tube to speed things up, but resist the urge! Overfilling can cause the cheese to get stuck, create uneven shreds, or even put undue stress on your food processor’s motor. Feed one piece at a time, allowing it to shred completely before adding the next.
Dealing with Softer Cheeses (Carefully)
While hard and semi-hard cheeses are ideal, you might occasionally want to shred a slightly softer variety. If you must shred a softer cheese, ensure it is extremely cold, bordering on partially frozen. You might also want to work in very small batches and use quick pulses rather than a continuous “on” setting to prevent smearing. However, generally, if you want to shred cheese in food processor, stick to the firmer varieties.
Using the Right Shredding Disc Size
Most food processors offer at least two shredding sizes – fine and coarse.
- Fine shred: Perfect for garnishes, melting quickly into sauces, or for dishes where a delicate texture is desired, like a fine topping for tacos or a light coating for pasta.
- Coarse shred: Ideal for pizzas, casseroles, grilled cheese sandwiches, or anything that benefits from a more substantial texture and slower melt.
Some food processors even come with specialized grating discs for very fine grating, often used for Parmesan. These versatile discs aren’t just for cheese; understanding their various uses, such as when selecting the best food processor for slicing vegetables, highlights their utility across many kitchen tasks.
Process Smaller Batches for Best Results
If you have a very large block of cheese, consider breaking it down into smaller, more manageable portions before chilling. This helps the cheese chill more quickly and evenly. When processing, don’t try to shred an entire large block at once. Empty the work bowl periodically if it gets too full to maintain optimal performance and prevent clogs.
Common Troubleshooting and Solutions
Even with the best preparation, sometimes things don’t go exactly as planned. Here are solutions to common cheese-shredding issues.
Cheese Smearing or Mushing
This is the most common problem and almost always indicates that your cheese isn’t cold enough.
- Solution: Place the cheese back in the freezer for another 15-30 minutes until it’s very firm. If the problem persists, try using quicker pulses instead of continuous processing, or ensure you’re not applying too much pressure.
Uneven Shreds or Large Unshredded Chunks
If your cheese isn’t shredding evenly, or you’re left with large pieces, several factors could be at play.
- Solution:
- Cheese size: Ensure your cheese pieces fit snugly (but not tightly) in the feed tube. Pieces that are too small might tumble.
- Pressure: Apply consistent, gentle pressure. Inconsistent pressure can lead to some parts of the cheese being shredded more than others.
- Disc placement: Double-check that your shredding disc is correctly seated and hasn’t shifted.
Cheese Getting Stuck in the Feed Tube or Around the Disc
This usually happens if the cheese isn’t cold enough, if you’re overfilling the feed tube, or if the work bowl is too full.
- Solution:
- Chill cheese: As always, ensure the cheese is very cold.
- Don’t overfill: Feed cheese one piece at a time and ensure the work bowl isn’t overflowing.
- Clean buildup: If cheese starts to build up around the disc, stop the machine, unplug it, and carefully clear the buildup before continuing.
Food Processor Overheating
While less common for cheese shredding compared to tougher tasks like kneading dough, an overloaded motor can overheat.
- Solution: If you notice your food processor slowing down, making unusual noises, or emitting a burning smell, turn it off immediately and unplug it. Let it cool down for at least 20-30 minutes. Ensure you’re not trying to shred too much cheese at once, or attempting to shred cheese that is too warm and therefore difficult to process.
Conclusion
Congratulations! You’ve now mastered the best way to shred cheese in a food processor. This simple skill will save you time, effort, and money, while also ensuring you enjoy the freshest, most delicious cheese in all your culinary creations. No more pre-shredded cheese with its anti-caking agents – just pure, wholesome goodness at your fingertips.
From pizzas and pasta to tacos and casseroles, your freshly shredded cheese will undoubtedly elevate every dish. So go ahead, grab a block of your favorite cheese, fire up your food processor, and enjoy the ease and satisfaction of perfectly shredded cheese, every single time! Happy shredding!