
Making perfect pastry doesn’t have to be a struggle, especially with the right kitchen tool. This guide will walk you through choosing the ideal food processor attachment for pastry, primarily focusing on the versatility of the standard S-blade. You’ll learn essential techniques like pulsing and maintaining cold ingredients to achieve light, flaky results for all your favorite baked goods, avoiding common pitfalls and ensuring success.
Which Food Processor Attachment for Pastry
Hello, fellow home bakers! Are you ready to create magnificent, flaky pastry without all the fuss and mess of a traditional pastry blender or your hands? A food processor is a game-changer for pastry making, but only if you use the right attachment and technique. Many people wonder, “Which food processor attachment for pastry should I use?” It’s a common question, and getting it right is the secret to success.
This guide will demystify the process for you. We’ll explore the best food processor attachment for pastry, delve into why it works so well, and provide a step-by-step walkthrough to ensure your pie crusts, scones, and tarts turn out perfectly every single time. Get ready to embrace the ease and efficiency of your food processor for all your pastry needs!
Key Takeaways
- The S-Blade is Your Primary Pastry Tool: For most pastry types like pie crusts, shortcrust, and scones, the standard metal S-blade is the most effective attachment in your food processor for cutting fat into flour quickly and evenly.
- Prioritize Cold Ingredients: Always use very cold butter or shortening and ice water to prevent the fat from melting, which is crucial for creating those coveted flaky layers in your pastry.
- Master the Pulse Technique: Short, quick pulses are essential when using a food processor for pastry. This prevents overmixing, which can lead to tough dough, and ensures the fat is cut into pea-sized pieces.
- Understand the Dough Blade’s Role: While the S-blade is king for flaky pastry, the plastic dough blade is better suited for yeast doughs (like bread or some softer rolls) that require kneading rather than cutting in fat.
- Avoid Overmixing at All Costs: The biggest pitfall when using a food processor for pastry is overprocessing. Stop as soon as the mixture resembles coarse crumbs with visible pieces of fat to ensure a tender final product.
- Chill Your Dough: After processing, always chill your pastry dough for at least 30 minutes. This allows the gluten to relax and the fat to firm up, making the dough easier to roll and contributing to a flakier texture.
- Size Matters for Batches: Consider the capacity of your food processor. For large batches, you might need a bigger bowl, while a smaller model might be perfect for individual pie crusts, ensuring consistent results.
Understanding Your Food Processor for Pastry
Before we dive into attachments, let’s briefly understand *why* a food processor is so fantastic for pastry. The key to flaky pastry lies in keeping pieces of cold fat (butter, shortening, lard) distinct within the flour. When these pieces melt during baking, they release steam, creating little pockets that puff up into those wonderful flaky layers.
Traditionally, this is done by hand or with a pastry blender, which can be time-consuming and often warms the butter too much. A food processor, however, performs this task in seconds, keeping the ingredients cold and the fat perfectly distributed. This speed and efficiency make it an invaluable tool in any baker’s kitchen.
The Essential Food Processor Attachment for Pastry: The S-Blade
When it comes to making pastry dough, the star of the show is almost always the standard **S-blade**, also known as the chopping blade or utility blade. This metal blade with its characteristic S-shape is designed for precisely the kind of rapid chopping and cutting action needed to combine cold fat with flour.
Why the S-Blade Works Best for Pastry
The S-blade’s sharp edges and high-speed rotation quickly cut the cold butter or shortening into the flour without overworking the dough. This creates a mixture of fine crumbs and pea-sized pieces of fat, which is exactly what you want for a tender, flaky pastry. Its efficiency means less time processing, which in turn means less heat generated, keeping your crucial cold ingredients truly cold.
When to Use the S-Blade for Pastry
The S-blade is your go-to food processor attachment for pastry for a wide range of recipes, including:
- Pie crusts (sweet or savory)
- Shortcrust pastry
- Scones
- Biscuits
- Tart shells
- Pâté brisée
- Rough puff pastry (for initial butter cutting)
Essentially, if your recipe calls for “cutting butter into flour,” the S-blade is the attachment you need.
Other Food Processor Attachments and Their Role (or Lack Thereof) in Pastry
While the S-blade is your primary tool for pastry dough, it’s good to know about other attachments and why they might or might not be suitable.
The Dough Blade (Plastic Blade)
Many food processors come with a plastic dough blade. This attachment is typically designed for kneading yeast doughs, like bread dough or pizza dough. It’s gentler than the S-blade and creates a pulling and folding action rather than a sharp cutting one.
Why Not to Use the Dough Blade for Flaky Pastry
For flaky pastry, the dough blade is generally *not* the best choice. Its softer action won’t cut the cold fat into the flour efficiently enough. Instead of creating distinct fat pieces, it might just smear the fat, which can lead to a less flaky, tougher pastry. If you are making a yeast-based dough like for a simple bread or a soft roll, then a food processor, especially one designed for roti dough, could work wonders with its dough blade. However, for a flaky pie crust, stick with the S-blade.
Slicing/Shredding Discs
These discs are fantastic for preparing ingredients for fillings or toppings, such as slicing apples for a pie, shredding cheese, or grating vegetables for a savory tart. However, they are not used for making the pastry dough itself.
Whisk Attachment (if included)
Some advanced food processors might include a whisk attachment. While excellent for whipping cream for a tart topping or making meringue, this attachment is not suitable for mixing pastry dough. It incorporates too much air and won’t properly cut the fat into the flour.
Step-by-Step Guide: Making Perfect Pastry with Your Food Processor
Here’s how to use your food processor attachment for pastry to achieve excellent results every time.
Step 1: Gather and Prepare Your Ingredients
Preparation is key to perfect pastry.
Keep Everything Cold
This is arguably the most important tip. Ensure your butter (or other fat) is cut into small cubes (about 1/2-inch or 1.25 cm) and kept very cold in the refrigerator or even the freezer for 10-15 minutes before use. Some bakers even chill their flour and the food processor bowl itself! Use ice water for the liquid component.
Step 2: Assemble Your Food Processor
Attach the S-Blade
Place the S-blade securely onto the spindle in your food processor bowl. Make sure the bowl is clean and dry. If you’re looking for general advice on kitchen appliances, knowing what to look for when buying a food processor can really help with your setup.
Step 3: Combine Dry Ingredients
Add Flour and Salt
Add your measured flour, salt, and any sugar (if using) to the food processor bowl. Pulse a few times to combine them evenly. About 3-5 quick pulses should do the trick.
Step 4: Incorporate the Cold Fat
Add Chilled Butter Cubes
Scatter the cold butter cubes over the dry ingredients in the food processor bowl.
Pulse to Cut in the Fat
This is where the magic happens. Secure the lid and pulse in short bursts, about 1-second each. Do not hold the button down. The goal is to break down the butter into pea-sized pieces, evenly distributed throughout the flour.
Typical appearance: After about 10-20 pulses, the mixture should resemble coarse meal with visible pieces of butter, some as small as peas, others slightly larger. Stop immediately once you reach this consistency. Overprocessing here is the enemy of flaky pastry.
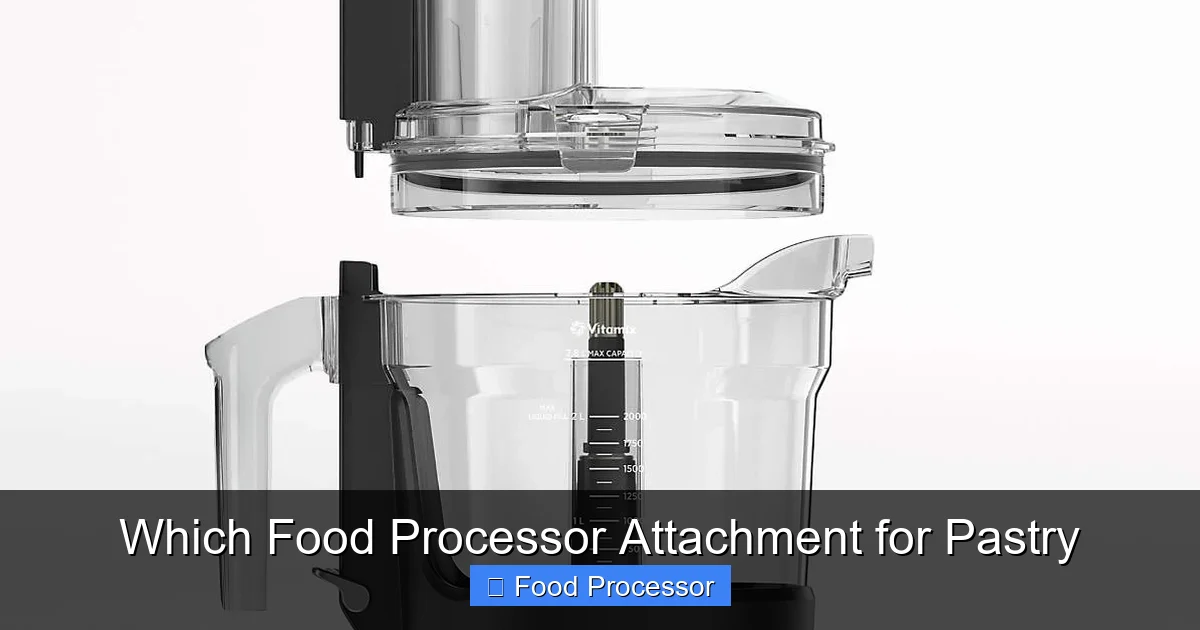
Visual guide about Which Food Processor Attachment for Pastry
Image source: bonvivant.ky
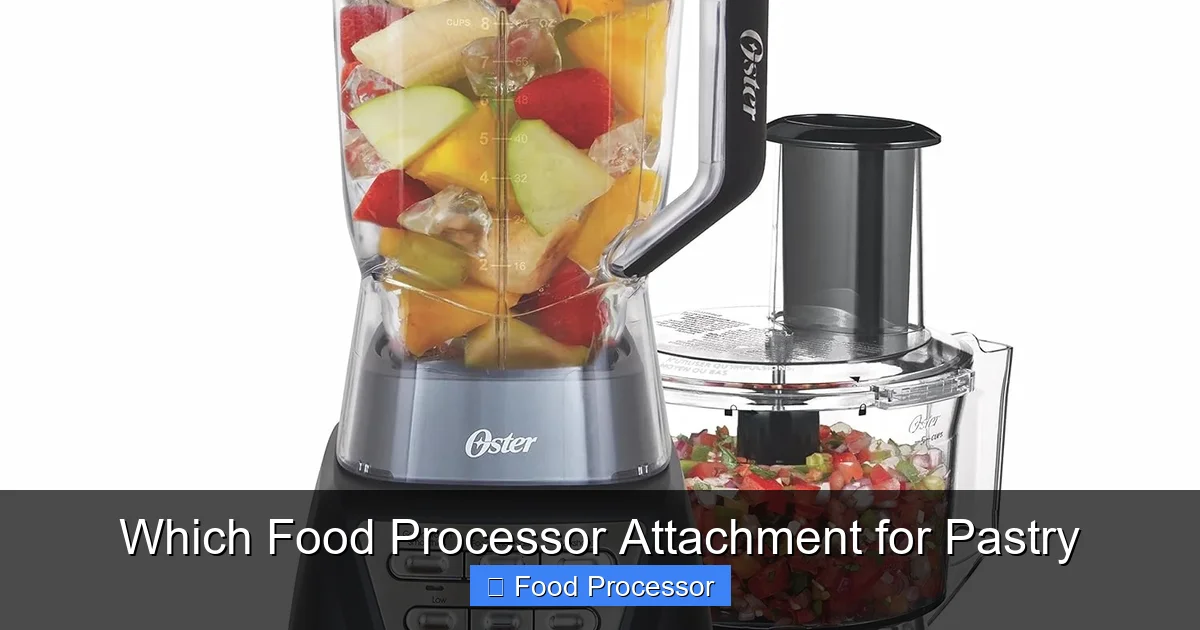
Visual guide about Which Food Processor Attachment for Pastry
Image source: images-na.ssl-images-amazon.com
Step 5: Add Liquid Gradually
Drizzle in Ice Water
With the food processor running, slowly drizzle in the ice water through the feed tube, a tablespoon at a time.
Pulse Until Just Combined
Pulse a few more times until the dough just starts to come together. Again, do not overmix. The dough should look shaggy and just barely hold together when you pinch a piece. You might not need all the water, or you might need a tiny bit more, depending on your flour and humidity.
Signs it’s ready: The mixture should look crumbly but cohesive. When you press a small amount between your fingers, it should stick together. If you see it forming a ball and spinning around the blade, you’ve gone too far!
Step 6: Form and Chill the Dough
Transfer and Shape
Carefully transfer the dough from the food processor bowl onto a lightly floured surface or a piece of plastic wrap. Gently gather it into a ball, then flatten it into a disk. Try to handle the dough as little as possible to keep it cold.
Wrap and Chill
Wrap the disk tightly in plastic wrap and refrigerate for at least 30 minutes, or up to 2 days. Chilling allows the gluten to relax, making the dough easier to roll, and firms up the butter, contributing to that fantastic flakiness.
Tips for Perfect Pastry Every Time
- Don’t Be Afraid of the Cold: The colder your ingredients, the flakier your pastry will be. Don’t hesitate to chill your flour, butter, and even the food processor bowl if your kitchen is warm.
- Pulse, Don’t Blend: Remember the food processor for pastry is about *pulsing*, not continuous blending. This prevents overworking the gluten and keeps the butter from melting.
- Less is More with Water: Add just enough ice water for the dough to come together. Too much water makes the pastry tough; too little makes it crumbly.
- Small Batches, Big Success: If you’re using a smaller food processor, consider making pastry in batches rather than overloading it. Some food processors are better suited for specific tasks, and you might find that for small amounts of ingredients, the best food processor for small quantities is your friend.
- No Kneading: Unlike bread, pastry dough does not require kneading. Over-handling develops gluten, leading to a tough, elastic crust.
- Relax: After chilling, let the dough sit at room temperature for a few minutes before rolling if it’s too stiff. This prevents cracking.
Troubleshooting Common Pastry Problems
Even with the right food processor attachment for pastry, sometimes things don’t go as planned. Here are solutions to common issues:
Problem: Tough or Chewy Pastry
Cause: Overmixing or too much liquid. When you overmix the dough, you develop the gluten too much, which makes it elastic and tough.
Solution: Be mindful of your pulsing. Stop as soon as the dough just comes together. Use only the minimum amount of ice water required. Next time, aim for a shaggy consistency that barely holds together.
Problem: Crumbly Pastry That Won’t Come Together
Cause: Not enough liquid. The dough needs just enough moisture to bind the flour and fat.
Solution: Gently knead in a tiny bit more ice water (half a teaspoon at a time) by hand until it forms a cohesive mass. For future attempts, ensure you’re adding enough liquid until the dough just holds together when pinched.
Problem: Greasy Pastry
Cause: The butter (or fat) was too warm, causing it to melt and incorporate too thoroughly into the flour, rather than remaining in distinct pieces.
Solution: Ensure all your ingredients, especially the butter, are very cold. Chill your butter in the freezer for a few minutes before use, and work quickly. Also, minimize handling the dough with warm hands.
Problem: Uneven Fat Distribution
Cause: Insufficient pulsing or not scattering the butter evenly over the flour initially.
Solution: Make sure to distribute the cold butter cubes evenly over the flour before pulsing. Continue pulsing until the fat is consistently cut into pea-sized pieces throughout the mixture.
Conclusion
Congratulations! You now have the knowledge and techniques to confidently use your food processor attachment for pastry. Remember, the standard S-blade is your best friend for achieving light, flaky results in pies, tarts, and scones. The key takeaways are to keep your ingredients cold, use short pulses, and avoid overmixing.
With a little practice, your food processor will become your secret weapon for delicious, homemade pastry. So go ahead, dust off your appliance, grab some cold butter, and get ready to bake some incredible treats! Happy baking!