
Discover the best way to clean your food processor for optimal hygiene and longevity. This guide provides comprehensive, step-by-step instructions for everything from quick post-use rinses to thorough deep cleans, ensuring every part, including blades and bowls, is spotless. Learn how to tackle stubborn stains and odors, maintain your appliance, and ensure it’s always ready for your next culinary adventure.
Best Way to Clean Food Processor
Your food processor is a kitchen workhorse, a true culinary companion that chops, slices, grates, and purees with incredible efficiency. From whipping up a quick pesto to making dough for a homemade pie, it tackles a wide array of tasks. But with all that hard work comes the inevitable mess. Food bits, sticky residues, and strong odors can cling to its various parts, making cleaning seem like a daunting task.
However, a clean food processor isn’t just about aesthetics; it’s about hygiene, preventing cross-contamination, and ensuring your appliance performs optimally for years to come. Neglecting to clean it properly can lead to bacteria growth, unpleasant smells, and even shorten its lifespan. Nobody wants their next batch of salsa to taste like yesterday’s garlic!
This comprehensive guide will walk you through the absolute best way to clean your food processor, covering everything from a quick rinse after light use to a thorough deep clean for those tougher jobs. We’ll provide step-by-step instructions, practical tips, and solutions for common cleaning challenges like stubborn stains and lingering odors. By the end, you’ll be a pro at keeping your food processor sparkling clean and ready for its next culinary adventure.
Key Takeaways
- Safety First: Always unplug your food processor before beginning any cleaning to prevent accidental activation and ensure your safety when handling sharp blades.
- Clean Immediately: The easiest way to clean your food processor is right after use. Rinse components quickly to prevent food from drying and sticking, making later cleaning much simpler.
- Disassembly is Key for Deep Cleaning: For a truly clean appliance, always disassemble all removable parts – the bowl, lid, pusher, and blades – to reach every nook and cranny.
- Beware the Motor Base: The motor base should never be submerged in water. Wipe it down with a damp cloth only, ensuring no liquids get into the electrical components.
- Combat Stains and Odors: Use natural remedies like baking soda paste or lemon juice for stains, and vinegar or lemon rinds for odors, to keep your food processor fresh.
- Handwashing Preferred for Longevity: While some parts might be dishwasher safe, handwashing often provides a more thorough clean for intricate components and helps preserve the sharpness of blades and clarity of plastic over time.
- Proper Drying and Storage: Ensure all parts are completely dry before reassembling or storing to prevent mold, mildew, and unpleasant odors, extending the life of your appliance.
Safety First: Always Unplug Your Food Processor
Before you even think about touching any part of your food processor for cleaning, your absolute top priority must be safety. This isn’t just a suggestion; it’s a non-negotiable rule.
Unplug from the Outlet
Always, *always* unplug your food processor from the electrical outlet. This eliminates any risk of accidental activation, which could lead to serious injury, especially when dealing with the incredibly sharp blades. A moment of forgetfulness could have severe consequences, so make it a habit every single time.
Handle Blades with Extreme Care
Food processor blades are designed to be sharp – that’s their job! But it also means they require the utmost caution during handling. Never touch the sharp edges directly. Always hold blades by their central hub or the plastic attachment points. Consider wearing cut-resistant gloves if you’re particularly nervous or have a history of kitchen mishaps.
Step-by-Step Guide to a Quick Clean (After Light Use)
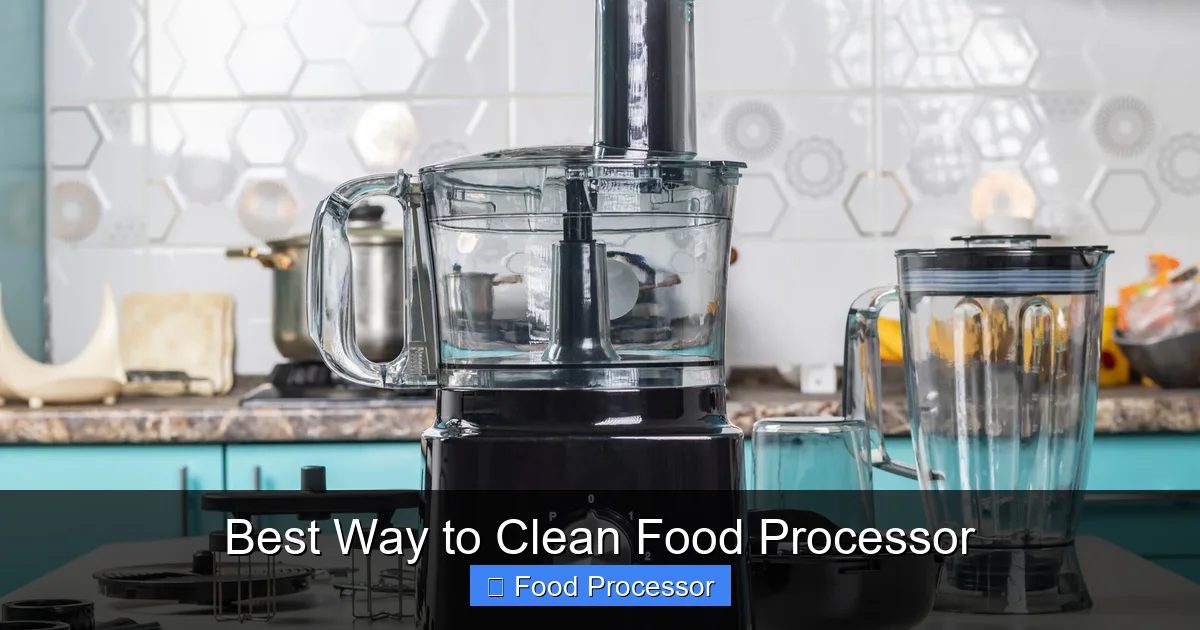
Visual guide about Best Way to Clean Food Processor
Image source: thedailymeal.com
If you’ve just used your food processor for a quick task, like chopping herbs or slicing some vegetables, a full deep clean might not be necessary immediately. A quick clean is perfect for preventing food from drying and making your next deep clean much easier.
1. Remove Large Food Scraps
As soon as you’re done processing, use a rubber spatula or a sturdy spoon to scrape out any large chunks of food from the bowl. Don’t let them sit and dry. Discard these scraps appropriately.
2. Detach All Removable Parts
Carefully remove the lid, pusher, blade, and bowl from the motor base. Remember to handle the blade by its hub. This is a crucial step in understanding how to assemble a food processor step by step, but in reverse. Knowing how it comes apart makes cleaning much simpler.
3. Rinse Immediately Under Warm Water
Take each removable part – the bowl, lid, pusher, and blade – and rinse them under warm, running water. This initial rinse helps dislodge loose food particles before they have a chance to stick. For best results, do this within minutes of using the appliance.
4. Apply Dish Soap and Lightly Scrub
Add a few drops of dish soap to the bowl and use a soft sponge or a brush with a handle (specifically designed for kitchenware) to gently scrub the interior and exterior of the bowl, the lid, and the pusher. For the blade, apply soap to your sponge and carefully wipe the non-sharp areas and the hub. Avoid rubbing the sharp edge directly with your fingers.
5. Rinse Thoroughly and Dry
Rinse all soapy parts under warm water until all soap residue is gone. Place them on a drying rack or wipe them with a clean dish towel. Ensuring they are completely dry before storage prevents water spots and potential mildew.
Step-by-Step Guide to a Deep Clean (Monthly or After Sticky/Oily Foods)
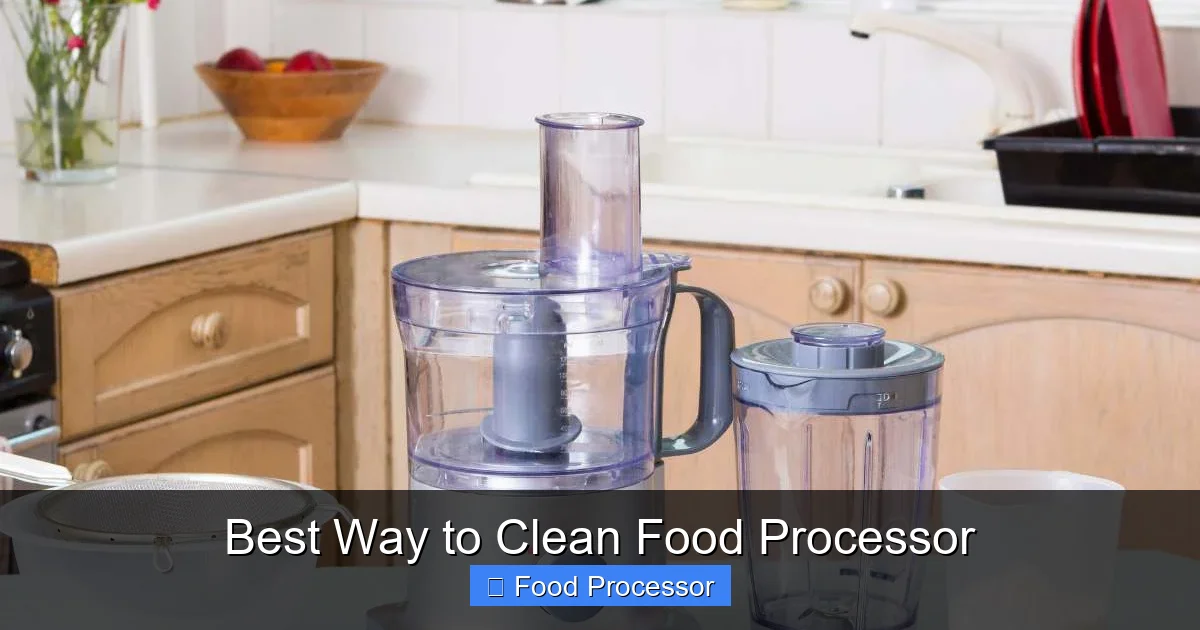
Visual guide about Best Way to Clean Food Processor
Image source: msbkitchen.com
For more intensive tasks like making nut butter, pureeing sticky sauces, or after shredding cheese in your food processor, a deep clean is essential. This should also be done monthly as part of your regular appliance maintenance.
1. Disassemble Completely
Unplug the unit. Remove the lid, pusher, blade, and bowl. Ensure no food bits remain. Set the motor base aside as it requires a different cleaning approach.
2. Scrape Off Stubborn Residues
For sticky or oily residues, use your spatula again to scrape as much as possible into the trash. If food is dried on, you might need to gently dislodge it with a nylon brush or the blunt edge of a knife (be very careful not to scratch the plastic).
3. Soak Components (Optional, but Recommended)
Fill the food processor bowl with warm water and a generous squirt of dish soap. Place the lid, pusher, and blade (carefully!) into the soapy water. Let them soak for 15-30 minutes. This helps loosen dried-on food and makes scrubbing much easier.
4. Scrub Each Part Thoroughly
For the Bowl and Lid:
Use a soft sponge or a stiff-bristled brush to scrub the inside and outside of the bowl and lid. Pay special attention to crevices, seams, and the feeding chute where food can easily get trapped. If your food processor is a larger model, like those you might consider if you’re thinking about how to choose the right size food processor for your family, these areas can be even more substantial and accumulate more food.
For the Blade:
Still handling the blade by its central hub, use a long-handled brush or a dedicated blade cleaning brush to clean around the sharp edges and the shaft. Never use your bare hands or a cloth directly on the sharp parts. Some people find it helpful to use the “self-cleaning” method for blades and bowls (detailed below) before scrubbing.
For the Pusher:
The pusher is usually straightforward to clean with a sponge and soap. Check for any small crevices that might trap food.
5. Rinse and Inspect
Rinse each part under warm running water, ensuring all soap suds and food particles are completely removed. Hold parts up to the light and inspect them carefully for any lingering residue. If you see any, repeat the scrubbing process.
6. Dry Completely
Air dry all components on a dish rack or use a clean, lint-free towel. Ensuring everything is bone-dry is critical to prevent water spots, mildew, and bacterial growth. If you reassemble while parts are still damp, you risk trapping moisture, which can lead to unpleasant odors and damage over time.
Cleaning the Motor Base
The motor base is the brain of your food processor and contains electrical components. It should *never* be submerged in water or put in the dishwasher.
1. Wipe Down the Exterior
Dampen a soft cloth or sponge with warm, soapy water. Wring it out thoroughly so it’s barely damp, not dripping. Carefully wipe down the entire exterior of the motor base.
2. Target Tough Spots
For any stubborn splatters or grime, you can use a small amount of non-abrasive kitchen cleaner on your cloth. Avoid spraying cleaners directly onto the motor base, as liquids can seep into the internal mechanisms.
3. Dry Immediately
Immediately wipe the motor base dry with a clean, dry cloth. Ensure no moisture is left on or around the buttons or power cord entry point.
The “Self-Cleaning” Trick for Quick Blade and Bowl Cleaning
This method is fantastic for a quick clean-up of the bowl and blade, especially after processing sticky or oily ingredients, before moving on to a deeper scrub.
1. Fill with Warm Water and Soap
After removing large food scraps (and with the motor base still unplugged), reassemble the bowl and blade onto the motor base. Fill the bowl about halfway with warm water. Add 1-2 drops of dish soap.
2. Pulse for a Few Seconds
Secure the lid, plug the unit back in, and pulse the food processor for 10-15 seconds. The spinning blade will create a soapy vortex, scrubbing the inside of the bowl and the blade itself.
3. Rinse and Finish
Unplug the food processor again. Disassemble the parts and rinse them thoroughly under running water. This method greatly reduces the amount of manual scrubbing needed, especially for intricate blade designs.
Dealing with Stubborn Stains and Odors
Sometimes, certain foods leave their mark, both visually and olfactorily. Don’t worry, there are effective ways to tackle these.
For Stains (e.g., Tomato, Carrot)
Baking Soda Paste:
Mix baking soda with a small amount of water to create a thick paste. Apply this paste to the stained areas of the plastic bowl and lid. Let it sit for 15-30 minutes, then scrub with a sponge and rinse. Baking soda is a gentle abrasive that can lift stains without scratching.
Lemon Juice or Vinegar:
For lighter stains, cut a lemon in half and rub it directly onto the stain. Alternatively, soak a cloth in white vinegar and wipe the stained areas. The acidity helps to break down discoloration. Let it sit for a few minutes before rinsing.
Sunlight (for Plastic Stains):
Believe it or not, direct sunlight can work wonders on plastic stains. After cleaning and rinsing your stained plastic parts, place them outside in direct sunlight for a few hours. The UV rays can help bleach out the stains. Just make sure they are completely dry first.
For Lingering Odors (e.g., Garlic, Onion)
Baking Soda:
Sprinkle a generous amount of baking soda into the clean, dry food processor bowl. Secure the lid and let it sit overnight. Baking soda is excellent at absorbing odors. In the morning, empty the baking soda and rinse the bowl.
White Vinegar:
Wipe down the inside of the bowl and lid with a cloth dampened with white vinegar. Let it air dry for a few minutes, then rinse. The vinegar smell will dissipate as it dries, taking the food odors with it.
Lemon Rinds:
After cleaning, you can also process a few lemon rinds with a cup of water for about 30 seconds. This helps to neutralize odors and leaves a fresh scent. Remember to rinse thoroughly afterward.
Dishwasher vs. Handwashing: Which is Better?
Many food processor components are labeled “dishwasher safe.” While convenient, there are pros and cons to using the dishwasher.
Dishwasher Advantages:
- Convenience: It’s quick and requires minimal effort.
- Sanitization: High water temperatures can help sanitize parts more effectively than handwashing.
Dishwasher Disadvantages:
- Blade Dullness: Dishwasher detergents can be abrasive and the high heat can dull the sharp edges of your blades over time.
- Plastic Clouding/Cracking: The intense heat in a dishwasher, especially in the bottom rack, can cause plastic bowls and lids to warp, crack, or become cloudy and brittle over time.
- Missed Spots: Dishwashers might not always reach every nook and cranny, especially intricate areas of the lid or feeding tube.
Recommendation:
For best results and to extend the life of your food processor, handwashing is generally preferred for the bowl, lid, and especially the blades. If you do use a dishwasher, place plastic components on the top rack and avoid high-heat drying cycles. Always handwash the blades to preserve their sharpness.
Troubleshooting Common Cleaning Issues
Even with the best intentions, you might encounter a few snags.
“I Can’t Get Rid of This Garlic Smell!”
This is a common complaint! Try the baking soda method overnight, followed by wiping with white vinegar. If the smell persists, leave a crumpled piece of newspaper in the dry bowl overnight – paper can absorb odors.
“My Bowl is Still Stained Orange/Red.”
Sunlight is your best friend here. After a thorough scrub with baking soda paste, let the plastic bowl sit outside in direct sunlight for a few hours (or even a day, if needed). The UV rays are surprisingly effective.
“Food is Stuck in Tiny Crevices.”
A small, stiff-bristled brush (like a toothbrush dedicated solely to cleaning) or a pipe cleaner can be invaluable for reaching those tiny, hard-to-reach spots in the lid or around the blade’s hub.
“My Motor Base is Sticky.”
If food has splattered and dried on the motor base, dampen a cloth with warm water and a tiny bit of dish soap. Wring it out well. Place the damp cloth over the sticky spot for a few minutes to rehydrate the mess, then gently wipe it away. Avoid harsh abrasives that could scratch the finish.
General Maintenance Tips for Longevity
Keeping your food processor clean is a big part of maintenance, but a few other tips can ensure it lasts for years.
1. Read Your Manual:
Always refer to your food processor’s specific user manual for cleaning instructions. Some models have unique features or materials that require special care.
2. Don’t Overfill:
Overfilling the bowl can cause food to splash into the motor base or get stuck in the lid’s mechanisms, making cleaning harder.
3. Regular Inspection:
Periodically inspect the seals, gaskets, and blades for wear and tear. Damaged seals can leak, and dull blades are less efficient and can leave behind larger food chunks, which are harder to clean. If you’re experiencing issues like a food processor blade not spinning, sometimes a thorough cleaning and reassembly can help, but other times it might indicate a mechanical issue.
4. Proper Storage:
Store all parts completely dry and, if possible, unassembled or loosely assembled to allow air circulation. This prevents moisture buildup and odors.
Conclusion
Cleaning your food processor might not be the most exciting kitchen task, but it’s undoubtedly one of the most important. By following this guide, you’ll ensure your appliance remains hygienic, odor-free, and performs flawlessly every time you use it. Regular cleaning and careful maintenance will not only extend the life of your food processor but also make your cooking experience more enjoyable and sanitary. So, roll up your sleeves, grab your brush, and give that kitchen workhorse the sparkling clean it deserves!