
Is your food processor motor giving you trouble? Don’t rush to buy a new one! This comprehensive guide walks you through diagnosing and fixing common issues like a buzzing motor, failure to start, or overheating. You’ll learn how to safely disassemble your appliance, inspect critical components, and perform practical repairs to extend its lifespan and save money. Get ready to put your food processor back to work with confidence.
How to Fix Food Processor Motor
A food processor is a kitchen workhorse, making meal prep faster and easier. But when its motor starts to act up, it can feel like a major setback. Maybe it’s humming but not spinning, refusing to turn on, or giving off a strange smell. Don’t worry! Many common food processor motor issues can be fixed right at home with a bit of patience and the right guidance.
This comprehensive guide will walk you through everything you need to know about how to fix a food processor motor. We’ll cover basic troubleshooting, how to safely disassemble your appliance, inspect key components, identify common problems, and perform practical repairs. By the end, you’ll be equipped to diagnose and potentially repair your food processor, saving you money and extending the life of your valuable kitchen tool. Let’s get that motor purring again!
Key Takeaways
- Safety is paramount: Always unplug your food processor before attempting any inspection or repair to prevent electrical shock.
- Start with simple checks: Before disassembling, ensure proper assembly, power supply, and check the outlet for basic troubleshooting.
- Common culprits include: Thermal fuses, carbon brushes, motor couplings, and capacitors are frequently the source of food processor motor problems.
- Disassembly requires care: Take photos and keep track of screws to ensure correct reassembly and avoid damaging components.
- A multimeter is your best friend: Use this tool to test electrical continuity in fuses, switches, and other components to pinpoint failures.
- Consider repair vs. replacement: Weigh the cost of parts and your time against the price of a new appliance, especially for older or severely damaged units.
- Preventative maintenance helps: Avoid overloading, don’t run continuously for too long, and keep the motor ventilation clear to prolong your food processor’s life.
Safety First: Always Unplug Your Appliance!
Before you even think about touching your food processor, the most important step is to ensure it’s completely safe to work on. Electricity and water (or food residue) are a dangerous combination. Always, and we mean always, unplug your food processor from the wall outlet before you start any inspection, cleaning, or repair work. This prevents any risk of electrical shock or accidental activation while your hands are inside the unit.
Once unplugged, clear any food from the bowl and wash it thoroughly. You want a clean, dry workspace for this project.
Basic Troubleshooting: External Checks
Sometimes, the motor isn’t the problem at all! Before you dive deep into the internal workings of your food processor, it’s wise to rule out simpler, external issues. These quick checks can often save you a lot of time and effort.
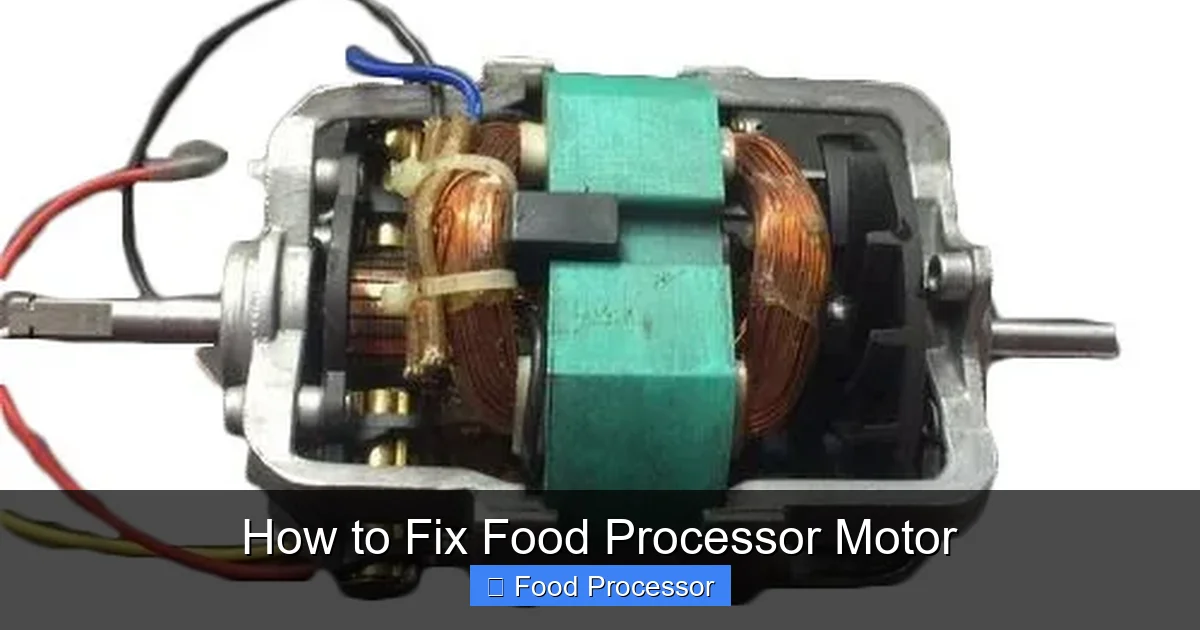
Visual guide about How to Fix Food Processor Motor
Image source: 4.imimg.com
Check the Power Supply and Outlet
First, make sure the power cord is fully plugged into a working electrical outlet. Test the outlet by plugging in another small appliance, like a lamp or phone charger, to confirm it’s supplying power. If the outlet works, check the food processor’s power cord for any visible damage, kinks, or frayed wires. A damaged cord can prevent power from reaching the motor.
If your food processor isn’t turning on at all, or has completely stopped working, a simple check of these basics can often resolve the problem before you even open the unit.
Ensure Proper Assembly and Safety Locks
Food processors are designed with safety in mind, meaning they won’t operate unless all components are correctly assembled and locked into place. The bowl must be securely seated on the base, the lid must be properly latched, and sometimes the pusher must be inserted. Refer to your owner’s manual for specific assembly instructions for your model.
Sometimes, the issue isn’t the motor itself but a faulty safety interlock, which is a common reason why a food processor might not be turning on. Ensure all locking mechanisms engage properly. If any part is misaligned or broken, the motor won’t receive power.
Is the Blade Jammed?
Before assuming a motor issue, check if the blade is simply jammed. Sometimes, processing too much food or very hard ingredients can cause the blade to get stuck. Remove the blade and bowl, clear out any food, and try to manually spin the drive shaft (the part the blade attaches to) at the base. If it’s free, the jam isn’t the issue. If your motor hums but the blade isn’t spinning, it could be a drive coupling issue or something obstructing the blade. We have a detailed guide on how to fix a food processor blade not spinning that might help diagnose external issues before diving into the motor itself.
Identifying Common Food Processor Motor Problems
Understanding the symptoms your food processor is exhibiting can help you narrow down the potential motor problem. Here are a few common scenarios:
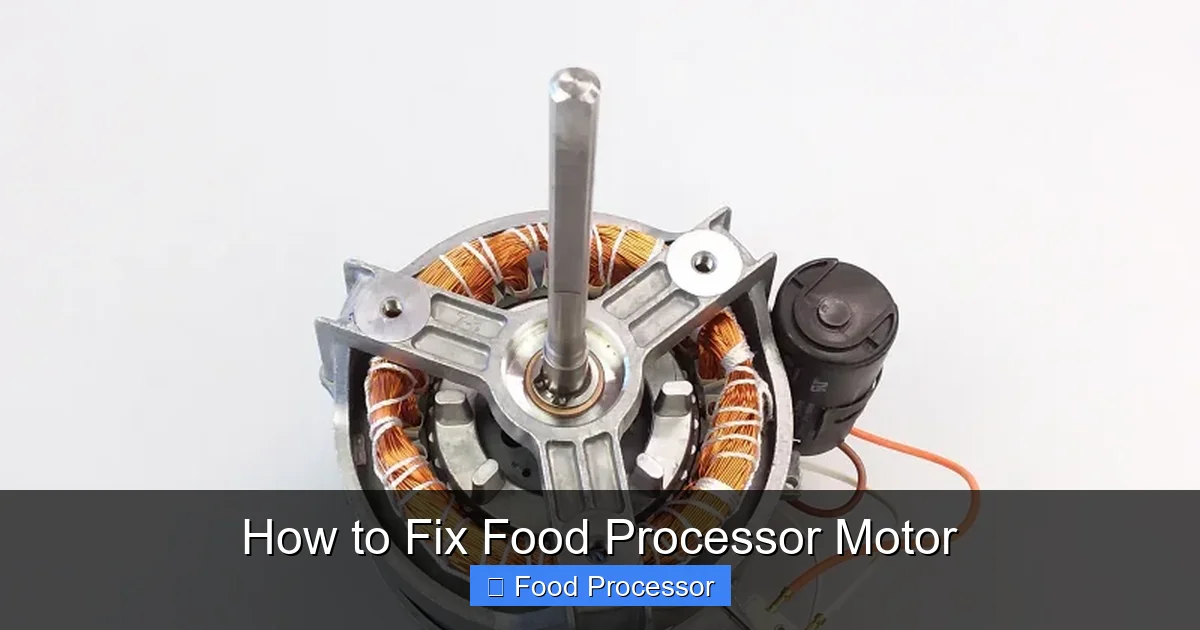
Visual guide about How to Fix Food Processor Motor
Image source: needapart.co.nz
Motor Hums But Doesn’t Spin
This is a frequent complaint. It often indicates that the motor is receiving power but cannot turn the drive shaft. Potential causes include a seized motor, a damaged motor coupling, or a faulty start capacitor. A jammed blade could also cause this, as discussed above.
Motor Doesn’t Turn On At All
If there’s no sound, no movement, and no lights, the motor isn’t getting power. This points to issues with the power cord, internal wiring, thermal fuse, safety interlocks, or the on/off switch. It could also be a completely failed motor, though that’s less common than a component failure.
Motor Emits a Burning Smell
A burning smell is a serious warning sign. It often means the motor is overheating, possibly due to a heavy load, prolonged use, or internal damage (like shorted windings or worn carbon brushes). Immediately unplug the unit and do not use it until it’s inspected. Continuing to operate it could lead to further damage or a fire hazard.
This type of overheating often occurs when the food processor is used for tasks that are too strenuous or for too long a period without a break. Understanding safe operation limits can help prevent future motor damage.
Motor Runs Intermittently or Weakly
Inconsistent performance suggests a loose connection, partially failed component, or worn-out carbon brushes (in some motor types). The motor might cut out mid-operation, struggle with lighter loads, or produce less power than usual.
Tools You’ll Need
To safely and effectively fix your food processor motor, gather these essential tools:
- Screwdriver set (Phillips and flathead)
- Pliers
- Wire cutters/strippers
- Multimeter (for testing electrical components)
- Replacement parts (thermal fuse, carbon brushes, motor coupling, capacitor, etc. – purchase after diagnosis)
- Work gloves (optional, for grip and protection)
- Camera (your phone works great!) for taking photos during disassembly
- Small containers or a magnetic mat for organizing screws
Step-by-Step Food Processor Motor Repair Guide
Now, let’s get into the nitty-gritty of diagnosing and fixing the motor. Remember to work slowly and methodically.
1. Disassembly of the Food Processor Base
Careful disassembly is key. Document each step with photos to aid in reassembly.
Unplug and Clear the Unit
Double-check that the food processor is unplugged. Remove the bowl, lid, and blade. Clean the exterior of the base to prevent debris from falling into the motor housing.
Access the Base Screws
Turn the food processor base upside down. You’ll usually find several screws securing the bottom panel. These are typically Phillips head screws. Remove them and place them in a small container, labeling if necessary (e.g., “bottom panel screws”).
Open the Housing
Gently remove the bottom panel. You may need to pry it slightly with a flathead screwdriver if it’s snug. Once the bottom is off, you’ll see the internal components, including the motor, wiring, and circuit board. Take a picture of the internal layout before you touch anything. This photo will be invaluable when you put it back together.
2. Inspecting Internal Components
With the housing open, it’s time to visually inspect and test the components related to the food processor motor.
Power Cord and Internal Wiring
Examine the power cord connection points inside the base. Look for any loose wires, frayed insulation, or signs of burning. Trace the main power wires to the switch and motor. Ensure all connections are secure. Use your multimeter to test for continuity in the power cord from the plug to where it enters the unit if you suspect a hidden break.
Thermal Fuse
Many food processors have a thermal fuse, a safety device designed to cut power to the motor if it overheats. It typically looks like a small cylinder with two wires attached, often wrapped in heat-shrink tubing and located near the motor or power input. Use your multimeter to test for continuity across the thermal fuse. If there’s no continuity, the fuse is blown and needs to be replaced. A blown thermal fuse is a common reason why a food processor motor won’t turn on after prolonged use or heavy loads.
Carbon Brushes (for Universal Motors)
Some food processors use universal motors that have carbon brushes. These are small blocks of carbon that conduct electricity to the spinning part of the motor (the armature). Over time, they wear down. If your motor is humming but not spinning, or running intermittently, worn brushes could be the culprit. Locate the brush caps (usually plastic caps on the sides of the motor housing). Unscrew them and carefully pull out the brushes. If they are shorter than about 1/4 inch or appear chipped/cracked, they need replacing.
Motor Coupling/Drive Shaft
The motor coupling (or drive coupling) connects the motor shaft to the blade assembly. It’s often made of plastic or rubber and designed to break away under extreme stress to protect the motor. Examine the coupling on top of the motor for cracks, stripped gears, or any damage. If it’s worn or broken, the motor will spin, but the blade won’t turn, or it will slip. This part is usually straightforward to replace by unscrewing it from the motor shaft.
Start Capacitor
Many AC motors, especially those that hum but don’t spin, rely on a start capacitor to give them an initial jolt to get going. This component often looks like a small, cylindrical battery. Visually inspect it for bulging, leaks, or any signs of damage. Be careful: capacitors can store a charge even when unplugged. If you’re unsure how to safely discharge and test a capacitor, consult a professional or consider replacing it as a suspect component. You can test a capacitor with a multimeter set to capacitance mode, but it requires specific knowledge.
On/Off Switch and Safety Switches
Test the continuity of the main on/off switch and any internal safety interlock switches using your multimeter. These switches ensure the appliance is safely assembled before allowing power to the motor. If a switch shows no continuity when activated, it may be faulty.
3. Specific Fixes for Common Food Processor Motor Problems
Based on your inspection, here’s how to address the most common motor-related issues.
Replacing a Blown Thermal Fuse
If your multimeter confirmed a blown thermal fuse, you’ll need to replace it. Purchase an exact replacement with the same temperature rating (usually printed on the fuse). Cut the old fuse out, strip the wires, and crimp or solder the new fuse in place. Ensure connections are secure and insulate them with heat-shrink tubing or electrical tape. Remember, a blown fuse often indicates overheating, so also address the cause (e.g., overloading, extended use).
Cleaning or Replacing Carbon Brushes
If the carbon brushes are merely dirty, you can try cleaning them gently. However, if they are significantly worn down, replace them. Ensure you get brushes specifically designed for your food processor model. Simply slide the new brushes into their housings and reattach the caps. This simple fix can often resolve intermittent running or a motor that won’t start.
Addressing a Damaged Motor Coupling
If the motor coupling is cracked or stripped, it’s a relatively easy and inexpensive part to replace. Simply unscrew the old coupling from the motor shaft (it might be reverse-threaded, so pay attention to the direction) and screw on the new one. Ensure it’s tightened securely but don’t overtighten, as it’s designed to be a sacrificial part.
Testing and Replacing a Capacitor
If you’ve identified a faulty start capacitor (bulging, leaking, or testing bad with a multimeter), it needs replacement. Ensure the new capacitor has the same microfarad (µF) rating and voltage. Again, discharge the old capacitor safely before handling by shorting its terminals with a screwdriver (wear insulated gloves and safety glasses) or using a resistor. Unsolder or unclip the old capacitor and connect the new one. Polarity typically doesn’t matter for AC start capacitors, but double-check your specific model’s wiring.
Repairing Loose or Damaged Wiring
For loose connections, simply re-secure them. If you find frayed or burnt wires, cut out the damaged section, strip the insulation, and reconnect them using appropriate wire connectors or by soldering. Always insulate any repaired sections with electrical tape or heat-shrink tubing to prevent short circuits.
4. Reassembly and Testing
Once you’ve made your repairs, it’s time to put everything back together and test your work.
Put Everything Back Together
Refer to the photos you took during disassembly to reassemble the food processor in reverse order. Ensure all wires are tucked away safely and not pinched. Reattach the bottom panel, making sure all screws are tightened securely.
Perform a Test Run
Once fully reassembled, plug the food processor back into the outlet. First, test it without any food, ensuring the bowl and lid are properly locked into place. Listen for unusual noises. If it powers on and the blade spins correctly, try processing a small amount of water or a soft food item to confirm full functionality. If there are still issues, re-evaluate your steps or consider professional help.
When to Call a Professional or Replace Your Food Processor
While many motor issues are DIY-friendly, there are times when professional help or replacement is the better option. If you’ve tried the common fixes and the motor still isn’t working, or if the motor itself is severely burnt out (e.g., internal windings are visibly melted), a replacement motor might be too costly or difficult to find. Major electrical problems or issues with the main circuit board are also often best left to a qualified appliance repair technician.
Consider the age and overall condition of your food processor. If it’s an older model, finding parts might be challenging, and the cost of repair could approach the price of a new unit. In such cases, investing in a new food processor might be more economical and provide you with a fresh warranty.
Maintenance Tips to Prevent Future Motor Issues
Prevention is always better than cure! Here are some tips to keep your food processor motor running smoothly for years:
- Don’t Overload: Avoid filling the bowl beyond the maximum capacity line or trying to process extremely hard ingredients that strain the motor. Cut large items into smaller pieces.
- Give it a Break: Don’t run the food processor continuously for extended periods. Allow the motor to rest for a few minutes between pulses or after heavy tasks to prevent overheating.
- Clean Regularly: Keep the base and motor housing clean, ensuring the ventilation slots aren’t blocked by dust or food debris. Good airflow helps dissipate heat.
- Ensure Proper Assembly: Always make sure the bowl, lid, and pusher are correctly and securely assembled before turning the unit on. This prevents unnecessary strain on the motor and engages safety features correctly.
Conclusion
Fixing a food processor motor might seem daunting at first, but with a systematic approach, it’s a project many home cooks can tackle. By carefully following the steps for diagnosis, disassembly, and repair, you can breathe new life into your appliance. Remember, safety is always your top priority. With a little effort, you can enjoy many more years of effortless food preparation, all thanks to your newfound repair skills. Happy processing!