
Finding the best food processor for baking can transform your kitchen experience, making tasks like making dough, cutting butter, and grinding nuts incredibly easy. This guide will walk you through essential features like motor power, bowl capacity, and crucial attachments to help you select a model that perfectly suits your baking needs, ensuring consistent and delicious results every time.
Best Food Processor for Baking
Hello, fellow bakers! Are you tired of sticky hands from kneading dough, unevenly cut butter, or endless chopping for your favorite cakes and pies? If so, it’s time to welcome a powerful ally into your kitchen: the food processor. Far from just a chopping machine, the right food processor can revolutionize your baking, saving you time and effort while delivering consistently excellent results.
This comprehensive guide is designed to help you discover the best food processor for baking. We’ll delve into the features that matter most, explore how a food processor can elevate your baking game, and provide practical advice for choosing and using your new kitchen workhorse. By the end, you’ll be ready to pick the perfect model to tackle everything from delicate pie crusts to robust bread doughs.
Key Takeaways
- Power and Capacity are Paramount: A strong motor (600W+ for home use) and a generous bowl capacity (10-14 cups ideal) are crucial for handling dense doughs and large baking batches without straining the appliance.
- Look for Specialized Attachments: A dedicated dough blade is a must-have for kneading and mixing, while S-blades, shredding discs, and slicing discs expand versatility for various baking preparations.
- Consider Durability and Stability: Choose a food processor with a robust base and quality construction to ensure it can withstand the rigors of heavy-duty baking tasks like kneading stiff doughs without wobbling.
- Ease of Cleaning is Essential: Opt for models with dishwasher-safe parts and minimal crevices to make cleanup quick and easy, encouraging more frequent use for your baking projects.
- Variable Speed and Pulse Functionality: These features provide precise control over processing, preventing overmixing delicate batters or achieving the perfect texture for crumb toppings and pie crusts.
- Safety Features Offer Peace of Mind: Look for secure locking mechanisms and non-slip bases to ensure safe operation, especially when working with powerful motors and sharp blades.
Why a Food Processor is a Baker’s Best Friend
Baking is an art and a science, often requiring precision and a good deal of elbow grease. A food processor steps in to automate and simplify many of these demanding tasks.
Speed and Efficiency
Imagine making a pie crust in mere seconds, or shredding carrots for a cake without breaking a sweat. Food processors significantly cut down prep time, allowing you to enjoy the baking process more and the cleanup less.
Consistency and Precision
Achieving uniform results is key in baking. A food processor ensures ingredients like butter are perfectly cut into flour, nuts are finely ground, and vegetables are evenly sliced or shredded, leading to better texture and flavor in your final products.
Versatility Beyond Baking
While our focus is baking, remember that a good food processor will also be invaluable for everyday cooking, from making sauces and purees to chopping vegetables for meals. It’s a true multi-tasker.
What Makes a Food Processor “Best for Baking”?
Not all food processors are created equal, especially when it comes to the specific demands of baking. Here’s what to prioritize when searching for the best food processor for baking.
Powerful Motor
Baking tasks often require serious muscle. Think about kneading stiff doughs, grinding tough nuts, or pureeing dense ingredients. A powerful motor prevents stalling and ensures smooth operation. For most home bakers, a motor with at least 600 watts is a good starting point, while 1000 watts or more provides even greater efficiency and durability for frequent or heavy-duty use.
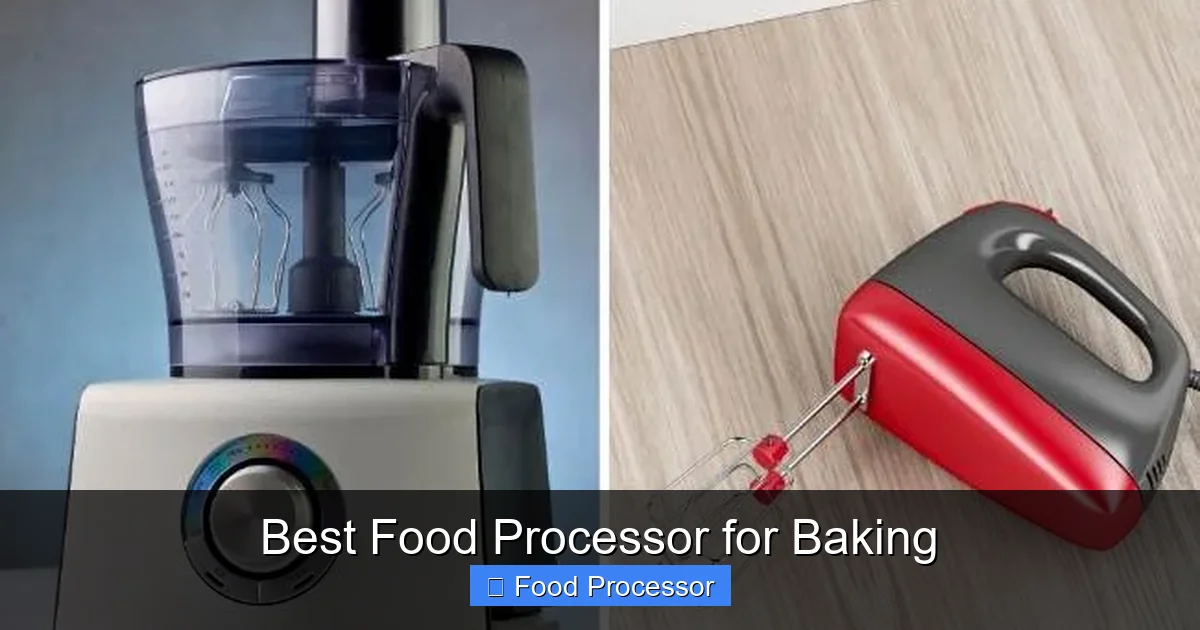
Visual guide about Best Food Processor for Baking
Image source: kitchenvile.com
Generous Bowl Capacity
Baking often involves larger quantities of ingredients than daily meal prep. A 10-14 cup capacity is ideal for most home bakers, allowing you to make a full batch of cookies, a double pie crust, or a decent-sized loaf of bread dough without having to process in multiple smaller batches. If you bake for a small family or only occasionally, a 7-8 cup model might suffice, but for serious bakers, go big!
Essential Baking Attachments
The right attachments are what truly make a food processor shine for baking.
S-Blade (Universal Blade)
This is your go-to for chopping, pureeing, and mixing most ingredients. It’s excellent for cutting butter into flour, making crumb toppings, or pureeing fruits for batters.
Dough Blade
This plastic blade is specifically designed for kneading dough. Unlike the S-blade, which can overprocess and “cut” the gluten, the dough blade gently mixes and kneads, developing gluten without overheating or tearing the dough. This is a crucial attachment for anyone serious about making bread, pizza dough, or pastry in their food processor. If you frequently make baked goods that require a thick dough, finding a processor optimized for this can be incredibly helpful. You might want to check out our guide on best food processor for thick dough recipes for more insights.
Shredding and Slicing Discs
These discs are invaluable for preparing ingredients like carrots for carrot cake, apples for apple pie, cheese for savory baked goods, or nuts for garnishes. Look for reversible discs (fine/coarse shredding, thin/thick slicing) for maximum versatility. For example, if you’re making a delicious vegetable tart, a food processor that excels at slicing vegetables will save you a lot of time and effort.
Whisk/Emulsifying Disc (Optional but Handy)
Some models include a whisk attachment for whipping cream or egg whites, or an emulsifying disc for making mayonnaise or other smooth sauces that can be used in baking.
Sturdy Construction and Stability
A food processor should feel solid and stable on your countertop. A heavy base with non-slip feet prevents it from “walking” during vigorous processing, especially when kneading dense doughs. Quality materials also mean better durability over time.
Ease of Cleaning
Let’s be honest, cleanup can be a chore. Look for models with dishwasher-safe parts and a design that minimizes crevices where food can get stuck. Simple assembly and disassembly also contribute to an easier cleaning experience.
Variable Speed Control and Pulse Function
The ability to control the speed, even just a few settings, gives you more command over your ingredients. The pulse function is particularly vital in baking, allowing for short bursts of power. This is perfect for incrementally cutting in butter, preventing overmixing of dough, or achieving a coarse crumb texture without turning everything into a paste.
Safety Features
A secure locking mechanism is paramount. Most food processors won’t operate unless the bowl and lid are correctly locked into place, preventing accidents. Overload protection is another great feature that shuts off the motor if it’s struggling, protecting the appliance from damage.
Key Baking Tasks for Your Food Processor
Let’s explore how the best food processor for baking can make your favorite recipes even better.
Making Perfect Pie Crusts and Pastries
This is where a food processor truly shines. The pulse function and S-blade can cut cold butter into flour in seconds, creating that flaky, tender texture without melting the butter with your warm hands.
Step 1: Combine Dry Ingredients
Add flour, sugar, and salt to the food processor bowl.
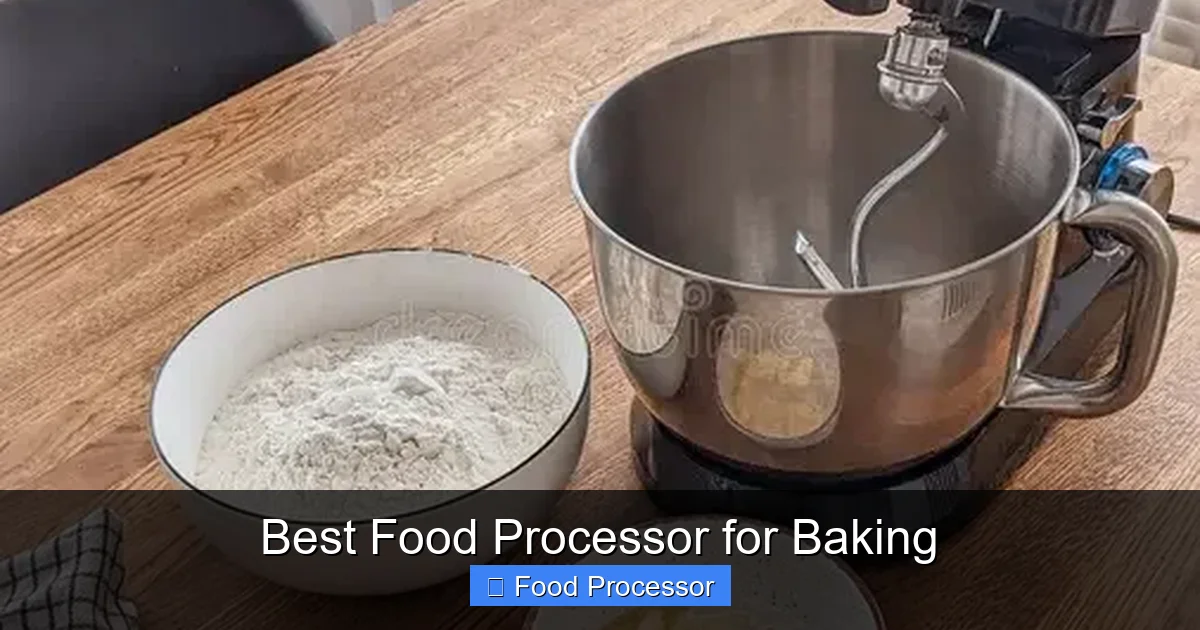
Visual guide about Best Food Processor for Baking
Image source: thumbs.dreamstime.com
Step 2: Add Cold Butter
Add cubed, very cold butter. Pulse repeatedly until the mixture resembles coarse crumbs with some pea-sized pieces of butter remaining.
Step 3: Add Liquid
Gradually add ice water through the feed tube while pulsing until the dough just comes together. Be careful not to overprocess!
Kneading Bread and Pizza Dough
Yes, a food processor can knead dough! With the dough blade, it can quickly develop gluten. This is excellent for quick breads, pizza dough, and even some yeast breads.
Step 1: Combine Dry Ingredients
Add flour, yeast, salt, and sugar to the bowl with the dough blade.
Step 2: Add Liquid
With the motor running, gradually pour warm water or milk through the feed tube until a ball of dough forms. Continue processing for 30-60 seconds for kneading. You might also find our article on best food processor for making oat flour useful if you’re experimenting with different flours for your baking.
Grinding Nuts and Oats for Flour or Toppings
Need almond flour for macarons or oat flour for gluten-free baking? Your food processor can do it in a flash.
Step 1: Add Ingredients
Place raw nuts or rolled oats in the food processor bowl with the S-blade.
Step 2: Pulse Until Desired Consistency
Pulse in short bursts until finely ground. Be careful not to overprocess nuts, or they’ll turn into butter!
Shredding and Slicing for Cakes and Fillings
Carrot cake, zucchini bread, apple pie – a food processor with shredding and slicing discs makes these recipes a breeze.
Step 1: Prepare Ingredients
Peel carrots or apples if desired, and cut them into pieces that fit the feed tube.
Step 2: Process
Use the appropriate shredding or slicing disc. Place the food pusher over the ingredients and apply gentle, even pressure as the machine runs.
Making Crumb Toppings and Cookie Crumbs
For cheesecakes, crumbles, or pie toppings, your food processor creates perfectly uniform crumbs from cookies, graham crackers, or oats.
Step 1: Add Ingredients
Place cookies, graham crackers, or dry oats in the bowl with the S-blade.
Step 2: Pulse Until Crumbly
Pulse until you achieve the desired fine or coarse crumb texture.
Choosing Your Best Food Processor for Baking: A Step-by-Step Guide
Ready to make a choice? Here’s how to narrow down your options.
Step 1: Assess Your Baking Needs
How often do you bake? What kind of baking do you do most? Do you make large batches for events or smaller ones for your family? If you bake for a few people, you might consider a food processor ideal for a small family home use, which balances capacity with counter space.
- Frequent, large-batch baker: Aim for 12-14 cup capacity, powerful motor (1000W+), and a full range of attachments.
- Occasional, smaller-batch baker: A 7-9 cup model with a 600-750W motor and essential S-blade and dough blade might be perfect.
Step 2: Set Your Budget
Food processors range widely in price. Decide what you’re comfortable spending. More expensive models often offer superior motor power, better build quality, and a wider array of attachments. However, there are excellent mid-range options that perform beautifully for baking tasks.
Step 3: Research Brands and Models
Look into reputable brands known for their food processors like Cuisinart, KitchenAid, Breville, and Hamilton Beach. Read reviews, especially those from other bakers, to get a sense of real-world performance.
Step 4: Check Specifications and Features
- Motor Wattage: As discussed, higher wattage is better for baking.
- Bowl Material: BPA-free plastic is standard; look for durable, impact-resistant options.
- Feed Tube Size: A wider feed tube means less pre-cutting of ingredients.
- Controls: Simple, intuitive controls are best. Pulse button is a must.
- Warranty: A good warranty indicates manufacturer confidence in their product.
Step 5: Consider Counter Space and Storage
Food processors can be bulky. Measure your available counter and cabinet space. Some models offer smarter storage for attachments.
Tips for Using Your Food Processor in Baking
Get the most out of your appliance with these practical tips.
Don’t Overprocess!
This is the golden rule for baking with a food processor. Overmixing can lead to tough dough, over-emulsified batters, or a paste instead of a crumb. Use the pulse function in short bursts and stop as soon as the desired consistency is reached.
Keep Ingredients Cold (Especially Butter)
For flaky pastries and pie crusts, cold butter is non-negotiable. It creates pockets of steam in the oven, leading to that coveted layered texture. Process quickly to keep the butter from melting.
Process Dry Ingredients First
When making dough, combine dry ingredients (flour, salt, sugar, leavening) in the food processor first. This ensures they are evenly distributed before adding fats and liquids.
Add Liquids Slowly Through the Feed Tube
When adding water, milk, or oil, pour it in a steady stream through the feed tube while the machine is running (or pulsing) to ensure even incorporation.
Read Your Manual
Every food processor is slightly different. The manual will have specific instructions for assembly, cleaning, and safe operation. It often includes troubleshooting tips too!
Troubleshooting Common Baking Issues with a Food Processor
Even with the best tools, sometimes things don’t go as planned. Here are some common issues and how to fix them.
Dough Is Too Sticky or Too Dry
- Too sticky: You likely added too much liquid. Next time, add liquid very slowly, a tablespoon at a time, until the dough just comes together. You can try adding a tiny bit more flour, but be careful not to overmix.
- Too dry/crumbly: Not enough liquid. Add more liquid (e.g., ice water for pastry) a teaspoon at a time, pulsing briefly after each addition until the dough forms a ball.
Ingredients Not Evenly Processed
- Blade too high: Ensure the S-blade is properly seated on the spindle.
- Too many ingredients: Don’t overload the bowl. Process in smaller batches if necessary.
- Not pulsing enough: For chunky results, shorter, more frequent pulses are better than one long run.
Motor Straining or Overheating
- Overloaded: You might have too much in the bowl, or the ingredients are too dense for the motor. Remove some ingredients and process in smaller batches.
- Stiff dough: Some very stiff doughs might challenge even powerful motors. Ensure you’re using the dough blade and not forcing the motor. If it feels like it’s struggling, give it a break.
- Clogged feed tube: Make sure ingredients are cut to fit the feed tube and aren’t jamming it.
Caring for Your Food Processor
Proper care will extend the life of your best food processor for baking.
Cleaning
Always unplug the unit before cleaning. Disassemble all removable parts. Most bowls, lids, and blades are top-rack dishwasher safe, but always double-check your manual. For hand washing, use warm, soapy water and a brush to clean blades carefully. Wipe the base unit with a damp cloth.
Storage
Store attachments safely in a designated drawer or storage box (some models come with one) to protect the blades and prevent loss. Store the main unit on your counter or in a cabinet where it’s easily accessible but out of the way.
Conclusion
Investing in the best food processor for baking is a game-changer for any home baker. From effortlessly creating flaky pie crusts and perfectly kneaded doughs to finely grinding nuts and swiftly shredding vegetables, this versatile appliance streamlines your baking process, enhances consistency, and frees up your valuable time. By focusing on motor power, bowl capacity, essential attachments like a dough blade, and ease of cleaning, you can confidently choose a food processor that will be a cherished and hardworking companion in your kitchen for years to come. So go ahead, find your perfect baking partner, and get ready to whip up some truly delicious creations!