
Choosing the best food processor for dough can transform your baking, making tasks like kneading bread or pastry dough quick and effortless. This guide helps you identify key features like robust motor power, ample bowl capacity, and specialized blades to ensure you select a model that delivers perfect, consistent dough every time. You’ll learn how to use your food processor effectively for various dough types, saving you time and effort in the kitchen and opening up a world of baking possibilities.
Hello there, fellow bakers and kitchen enthusiasts! Are you tired of sticky hands, messy countertops, and the sheer muscle power required for kneading dough by hand? If so, you’re in for a treat! A food processor isn’t just for chopping veggies or making hummus; it can be an absolute game-changer for dough making. Imagine perfectly kneaded bread, flaky pie crusts, or smooth pasta dough, all with minimal effort. Sounds amazing, right?
In this comprehensive guide, we’re diving deep into everything you need to know to choose the best food processor for dough. We’ll explore the essential features, share our top recommendations (based on general categories, not specific models), and walk you through the step-by-step process of making various doughs. By the end, you’ll be confident in selecting the ideal kitchen companion to elevate your baking game and enjoy delicious, homemade treats more often.
Key Takeaways
- Powerful Motor is Essential: Look for a food processor with at least 600 watts of power, and ideally 750 watts or more, to handle dense doughs without straining the motor.
- Optimal Bowl Capacity: An 11-cup or larger work bowl is highly recommended for most dough recipes, allowing enough space for ingredients to combine and the dough to form properly.
- Utilize the Dough Blade: Always use the dedicated plastic dough blade (if included) or the S-blade (metal chopping blade) for mixing and kneading dough, as it effectively simulates hand-kneading.
- Stability and Durability: Choose a model with a heavy, stable base and durable construction to prevent wobbling during operation and ensure longevity, especially when processing thick dough.
- Master the Pulse Function: The pulse function is your best friend for dough making. It gives you precise control, preventing over-processing and ensuring the dough develops the right texture.
- Consider Cleaning and Storage: Opt for models with dishwasher-safe parts and a design that is easy to assemble and disassemble for hassle-free cleanup and storage.
Why Use a Food Processor for Dough? The Ultimate Baking Hack!
You might be thinking, “Can a food processor really replace my trusty stand mixer or my hands?” For many doughs, the answer is a resounding YES! Here’s why a food processor is an invaluable tool for bakers:
- Speed and Efficiency: What might take 10-15 minutes of strenuous hand kneading can often be done in just a minute or two in a food processor. This speed is a huge time-saver.
- Consistency: Food processors provide consistent, even mixing and kneading. This leads to uniform gluten development, which is crucial for the texture of your baked goods.
- Less Mess: All the ingredients are contained within the work bowl, meaning less flour on your counter and less sticky residue on your hands.
- Versatility: Beyond dough, your food processor is still there for all its other functions – chopping, slicing, shredding, and pureeing. It’s a multi-tasking kitchen hero.
- Ease of Use: Once you get the hang of it, operating a food processor for dough is incredibly simple. Just add ingredients, pulse, and watch the magic happen!
Key Features to Look For in the Best Food Processor for Dough
Not all food processors are created equal when it comes to tackling dough. To ensure you pick the right one, pay close attention to these vital features:
Visual guide about Best Food Processor for Dough
Image source: m.media-amazon.com
Motor Power (Wattage)
This is arguably the most critical factor. Dough, especially thicker varieties like bread or pizza dough, puts a lot of strain on a motor. You need power to process dense ingredients without the motor bogging down or overheating.
- Minimum Recommendation: Aim for at least 600 watts.
- Ideal Power: 750 watts or more is excellent. Models with 1000 watts or higher are superb for heavy-duty dough tasks and frequent use.
- Why it Matters: A powerful motor ensures the blade keeps spinning at a consistent speed, thoroughly mixing and kneading the dough without stalling. It also contributes to the longevity of the appliance.
Bowl Capacity
Dough expands and moves around in the bowl, so you need enough space for it to properly form and knead.
- Small Batches (e.g., pie crusts, small batches of cookies): An 8-cup capacity might suffice.
- Most Dough Recipes (e.g., bread, pizza, large batches): An 11-cup or 12-cup work bowl is the sweet spot. It allows enough room for the dough to come together and for the blade to work effectively. If you frequently make larger batches or even something like thick dough recipes, consider a 14-cup model.
- Why it Matters: Too small a bowl will overcrowd the dough, leading to uneven mixing and potentially straining the motor.
Dough Blade or S-Blade
This is the tool that does the work.
- Dedicated Dough Blade: Many modern food processors, especially those designed for heavier tasks, come with a specific plastic dough blade. This blade is designed to mimic the action of hand kneading, folding and turning the dough without overworking it or cutting it too much.
- S-Blade (Metal Chopping Blade): If your food processor doesn’t have a dedicated dough blade, the standard S-blade (the metal chopping blade) will work perfectly fine. It’s excellent for quickly bringing dough together.
- Important Note: Never use slicing or shredding discs for dough!
Stability and Weight
A food processor can vibrate quite a bit when processing dense dough.
- Heavy Base: Look for models with a heavy base and sturdy construction. This keeps the unit stable on your countertop, preventing it from “walking” or wobbling during operation.
- Non-Slip Feet: Rubberized feet are a good indicator of stability.
- Why it Matters: Stability ensures safety and efficient operation.
Durability and Build Quality
A good food processor for dough is an investment.
- Materials: Stainless steel components, sturdy plastic work bowls (BPA-free is a plus), and a robust motor housing are signs of quality.
- Warranty: A longer warranty often indicates manufacturer confidence in durability.
Speed Settings and Pulse Function
While some simple food processors are great for basic tasks, dough requires control.
- Pulse Function: This is absolutely essential for dough. It allows you to process in short bursts, giving you ultimate control over the dough’s consistency and preventing over-processing.
- Multiple Speeds: While not as critical as the pulse, having a low and high speed can be beneficial for starting ingredients at different rates.
Ease of Cleaning
Let’s be real, nobody likes tedious cleanup.
- Dishwasher-Safe Parts: Look for models where the work bowl, lid, and blades are dishwasher-safe.
- Simple Assembly: A food processor that’s easy to take apart and put back together makes cleaning much quicker.
How to Make Dough in a Food Processor: A Step-by-Step Guide
Ready to get started? Here’s a general guide for making most types of dough in your food processor. We’ll use a basic bread dough as an example, but the principles apply to many other recipes, including something like roti dough.
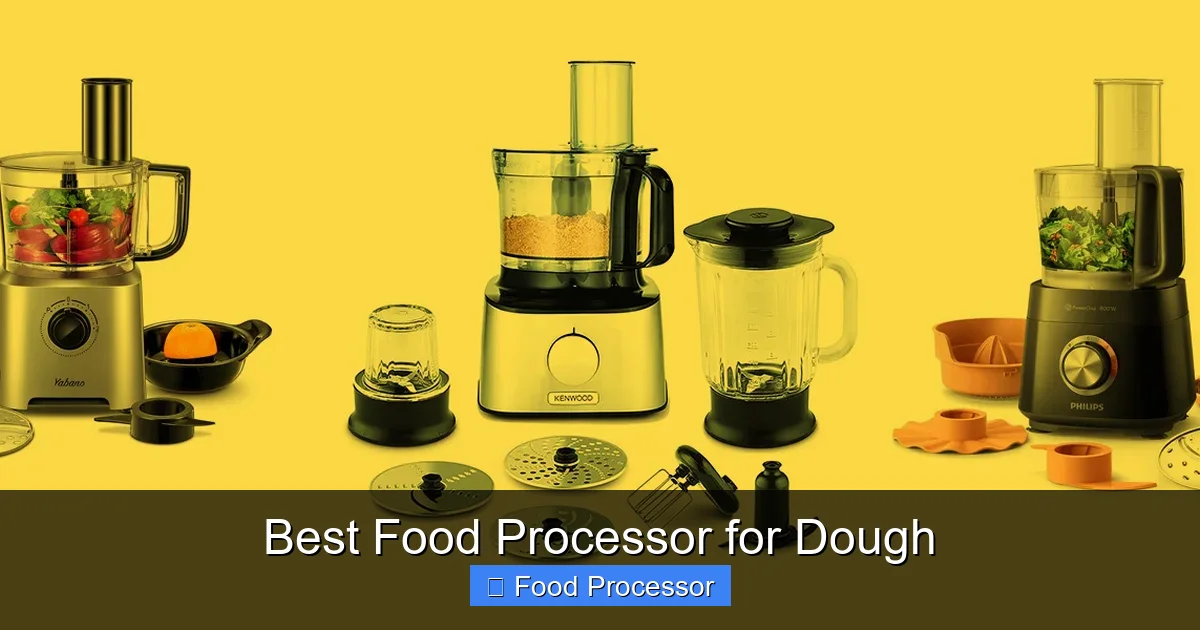
Visual guide about Best Food Processor for Dough
Image source: thegreatbake.com
Step 1: Gather and Prepare Your Ingredients
- Measure Precisely: Baking is a science! Use accurate measurements for flour, water, yeast, salt, sugar, and any fats.
- Temperature Matters: For yeast doughs, ensure your water or milk is lukewarm (around 105-115°F or 40-46°C) to activate the yeast.
- Chill for Pastry: For pie crusts or pastry dough, ensure your butter or shortening is very cold and cut into small pieces.
Step 2: Assemble Your Food Processor
- Secure the Bowl: Place the work bowl onto the motor base and twist to lock it into place.
- Insert the Blade: Choose your blade – either the dedicated plastic dough blade or the metal S-blade. Place it securely onto the spindle in the center of the bowl.
- Lid Ready: Keep the lid handy but don’t lock it yet.
Step 3: Add Dry Ingredients
- First the Flour: Pour all your flour into the work bowl.
- Other Drys: Add yeast, sugar, salt, and any other dry ingredients on top of the flour. Avoid direct contact between salt and yeast at this stage, as salt can inhibit yeast activity.
- Pulse to Combine: Place the lid on and pulse a few times (3-5 short pulses) to thoroughly mix the dry ingredients. This ensures even distribution.
Step 4: Gradually Add Wet Ingredients
- Start with Fats (if applicable): For pastry dough, add cold, cubed butter or shortening over the dry ingredients. Pulse until the mixture resembles coarse meal or small peas.
- Add Liquids: With the motor running (or pulsing, depending on your comfort), slowly pour your liquid (water, milk, eggs) through the feed tube.
- Watch Carefully: For yeast doughs, you’ll see the mixture start to clump together and form a ball. For pastry dough, it will form large crumbs that just barely stick together.
Step 5: Process Until Dough Forms and Kneads
- For Yeast Doughs: Once the liquid is added and the dough starts to come together, let the food processor run continuously for about 30-60 seconds. You’ll see the dough ball spinning and “slapping” against the sides of the bowl. This is the kneading action. The dough ball should ride around the blade without sticking excessively to the bottom.
- For Pastry/Pie Dough: Stop processing as soon as the dough barely comes together into large clumps or a shaggy ball. Over-processing here will develop too much gluten, leading to a tough crust.
- For Thick Dough Recipes: For very dense doughs, you might need to use longer pulses rather than continuous running to prevent straining the motor.
Step 6: Check for Doneness
- Yeast Doughs: The dough should be smooth, elastic, and slightly tacky. You can perform the “windowpane test”: pull off a small piece of dough and gently stretch it. If you can stretch it thin enough to see light through it without tearing, it’s properly kneaded.
- Pastry Doughs: The dough should just hold together when squeezed. It will still look crumbly but won’t fall apart.
Step 7: Remove the Dough
- Unplug and Unlock: Always unplug your food processor before reaching into the bowl. Unlock the lid and remove it.
- Careful Blade Removal: Carefully grasp the blade by its hub and lift it straight up and out. Be mindful of sharp edges if using the S-blade.
- Scrape and Shape: Use a rubber spatula to scrape the dough from the bowl. Lightly flour your hands and countertop if needed, then shape the dough as required by your recipe (e.g., into a ball for rising, or discs for chilling).
Practical Tips for Perfect Dough Every Time
- Don’t Overprocess: This is the golden rule, especially for delicate doughs like pie crusts. Over-processing develops too much gluten, making baked goods tough. Use the pulse function and stop as soon as the dough comes together.
- Chill Your Ingredients (for Pastry): Cold butter or shortening and even cold water are key for flaky pastry dough. This prevents the fat from melting too quickly.
- Adjust Flour/Liquid: Depending on humidity and flour type, you might need slight adjustments. Add a tiny bit more flour if the dough is too sticky, or a teaspoon of water if it’s too dry and not coming together.
- Don’t Fill Too Much: Respect your food processor’s capacity. Overfilling can lead to uneven mixing and strain the motor. If you have a large recipe, split it into smaller batches.
- Let Yeast Dough Rest: After processing, always allow yeast dough to rise in a warm place according to your recipe.
- Consider a Simple Food Processor: If you’re new to baking or just need a reliable machine for occasional dough, a best simple food processor for basic cooking might be all you need, provided it has sufficient motor power and capacity.
Troubleshooting Common Dough Issues
Dough Too Sticky or Too Dry
- Sticky Dough: This often means too much liquid or not enough flour. Add flour a tablespoon at a time, pulsing briefly after each addition, until the dough reaches the right consistency (tacky but not sticky).
- Dry Dough: Not enough liquid. Add water or milk a teaspoon at a time through the feed tube with the motor running, until the dough comes together.
Dough Not Coming Together
- Insufficient Liquid: Most common reason. Add more liquid gradually as described above.
- Too Cold/Hard Fat (Pastry): If butter is too cold and in large chunks, it might not incorporate. Let it warm slightly or cut into smaller pieces.
- Not Enough Processing: Sometimes it just needs a few more pulses or a slightly longer run time.
Motor Overheating
- Signs: The motor might slow down significantly, emit a burning smell, or the unit might automatically shut off.
- Causes: Overloading the bowl, processing dough that is too stiff, or running the motor continuously for too long without a break.
- Solution: Unplug the unit immediately. Allow it to cool down completely (this can take 20-30 minutes). Reduce the dough batch size or add a bit more liquid if it’s too stiff. Never force the motor.
Maintenance and Cleaning Your Food Processor
Keeping your food processor clean and well-maintained ensures it lasts longer and performs its best for all your dough-making adventures.
- Immediate Cleanup: Wash the work bowl, lid, and blades as soon as possible after use. Dough can dry on quickly, making it harder to remove.
- Dishwasher vs. Hand Wash: If parts are dishwasher-safe, great! Otherwise, hand wash with warm, soapy water. Use a brush for any nooks and crannies.
- Dry Thoroughly: Ensure all parts are completely dry before reassembling or storing to prevent mildew and odors.
- Wipe Down Base: Wipe the motor base with a damp cloth. Never immerse the motor base in water.
- Blade Care: Be extremely careful when handling blades, especially the S-blade, as they are very sharp.
Conclusion
Choosing the best food processor for dough is an investment that will pay dividends in your kitchen. With the right machine, you can effortlessly create a wide array of delicious baked goods, from crusty bread loaves and fluffy pizza bases to tender pie crusts and delicate pastries. By prioritizing motor power, bowl capacity, the correct blades, and overall durability, you’ll find a food processor that makes dough making a joy rather than a chore.
So, go ahead, explore the possibilities, and get ready to impress your family and friends with your newfound baking prowess. Happy processing!