
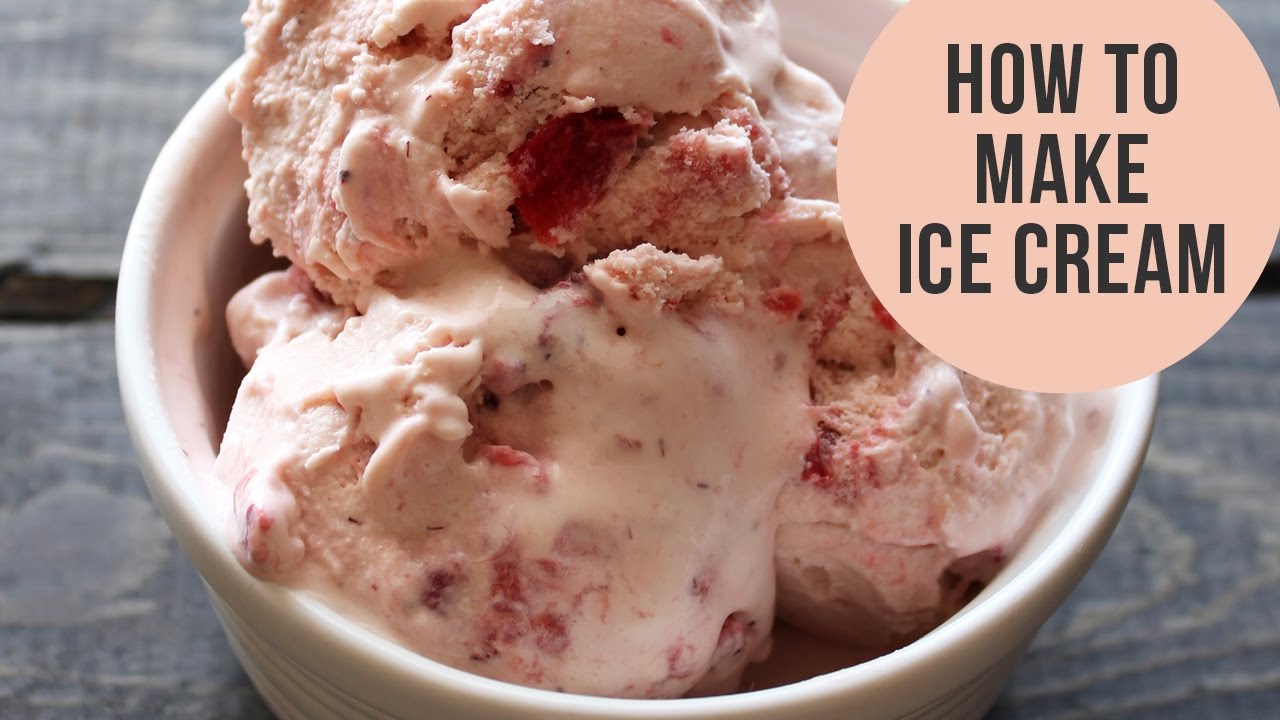
Yes — you can make delicious ice cream without an ice cream maker at home.
I’ve spent years testing no-machine recipes in my kitchen and teaching friends simple tricks. This article shows how and why can you make ice cream without an ice cream maker, with clear methods, tested tips, and real troubleshooting. Read on to learn simple recipes, step-by-step processes, and pro tips so you can make creamy ice cream without special equipment.
Why you can make ice cream without an ice cream maker
You do not need a machine to make ice cream because the core ideas are freezing, mixing, and controlling ice crystals. Ice cream needs fat, sugar, and air to feel smooth. You can recreate those by stirring, whipping, or using salt and ice to chill ingredients fast. I’ll explain science in plain words so you can copy the results at home.
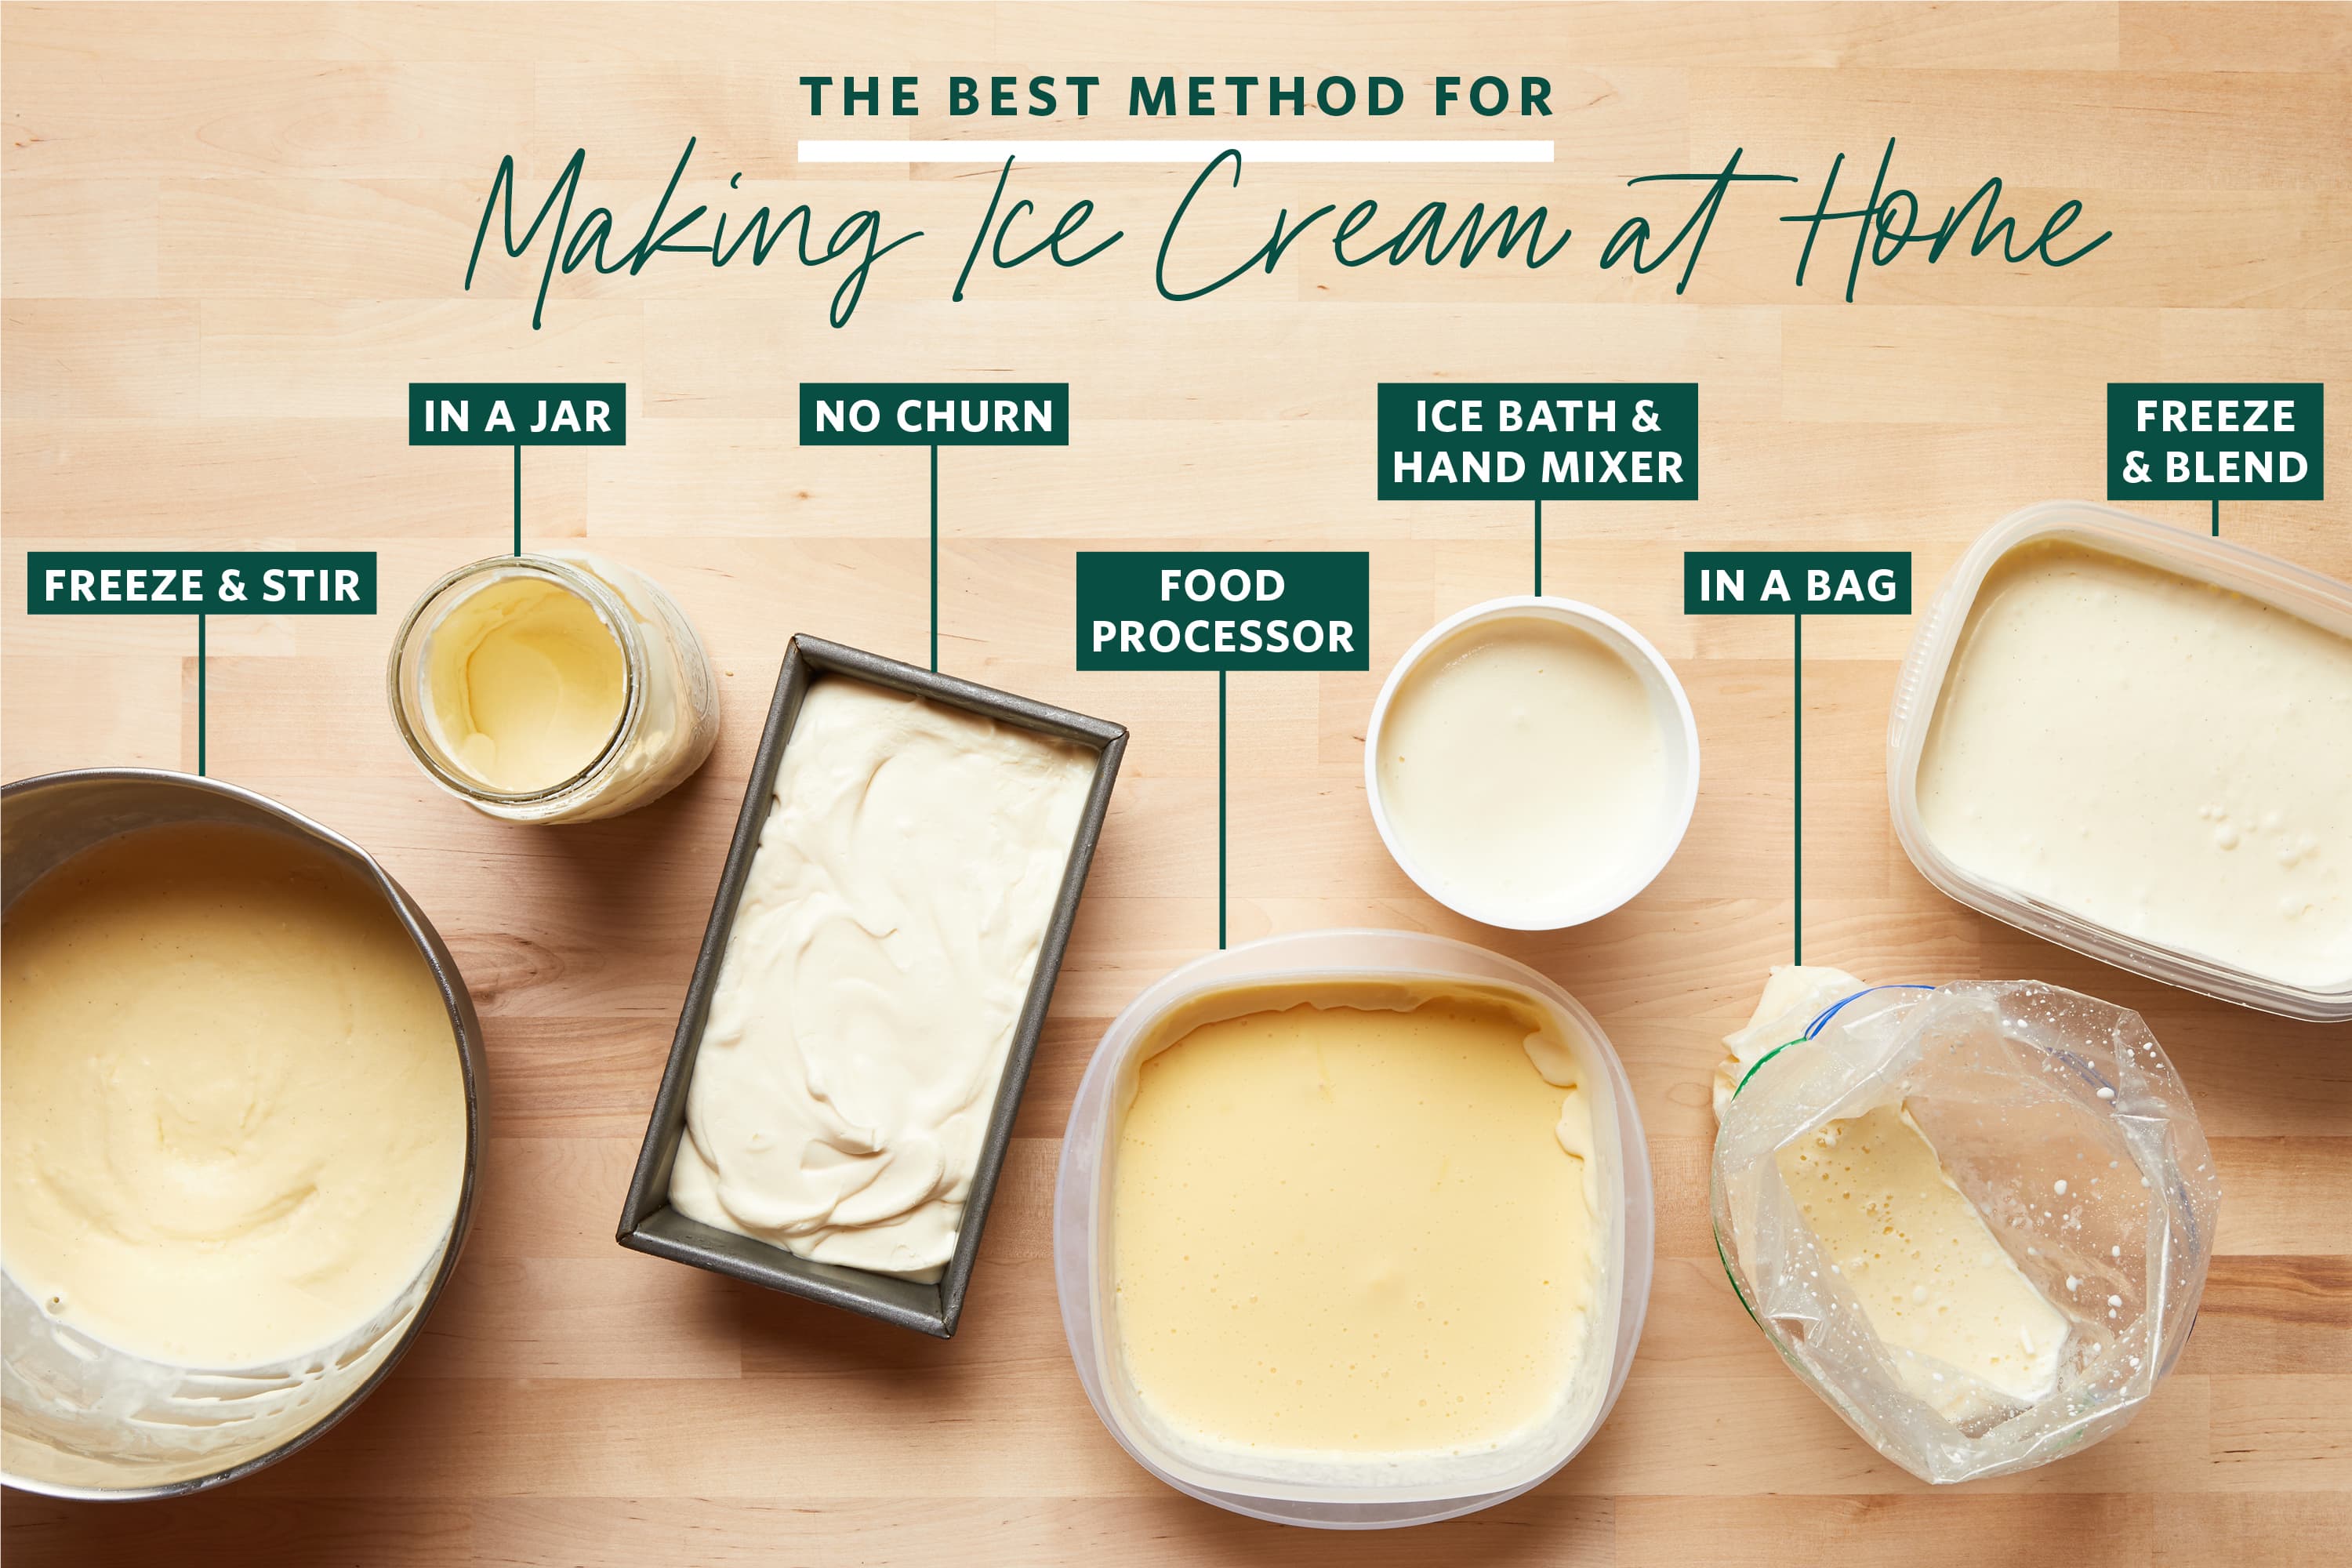
Methods to make ice cream without an ice cream maker
Below are reliable methods I use often. Each method works well for different needs. I include simple steps and tips for best texture.
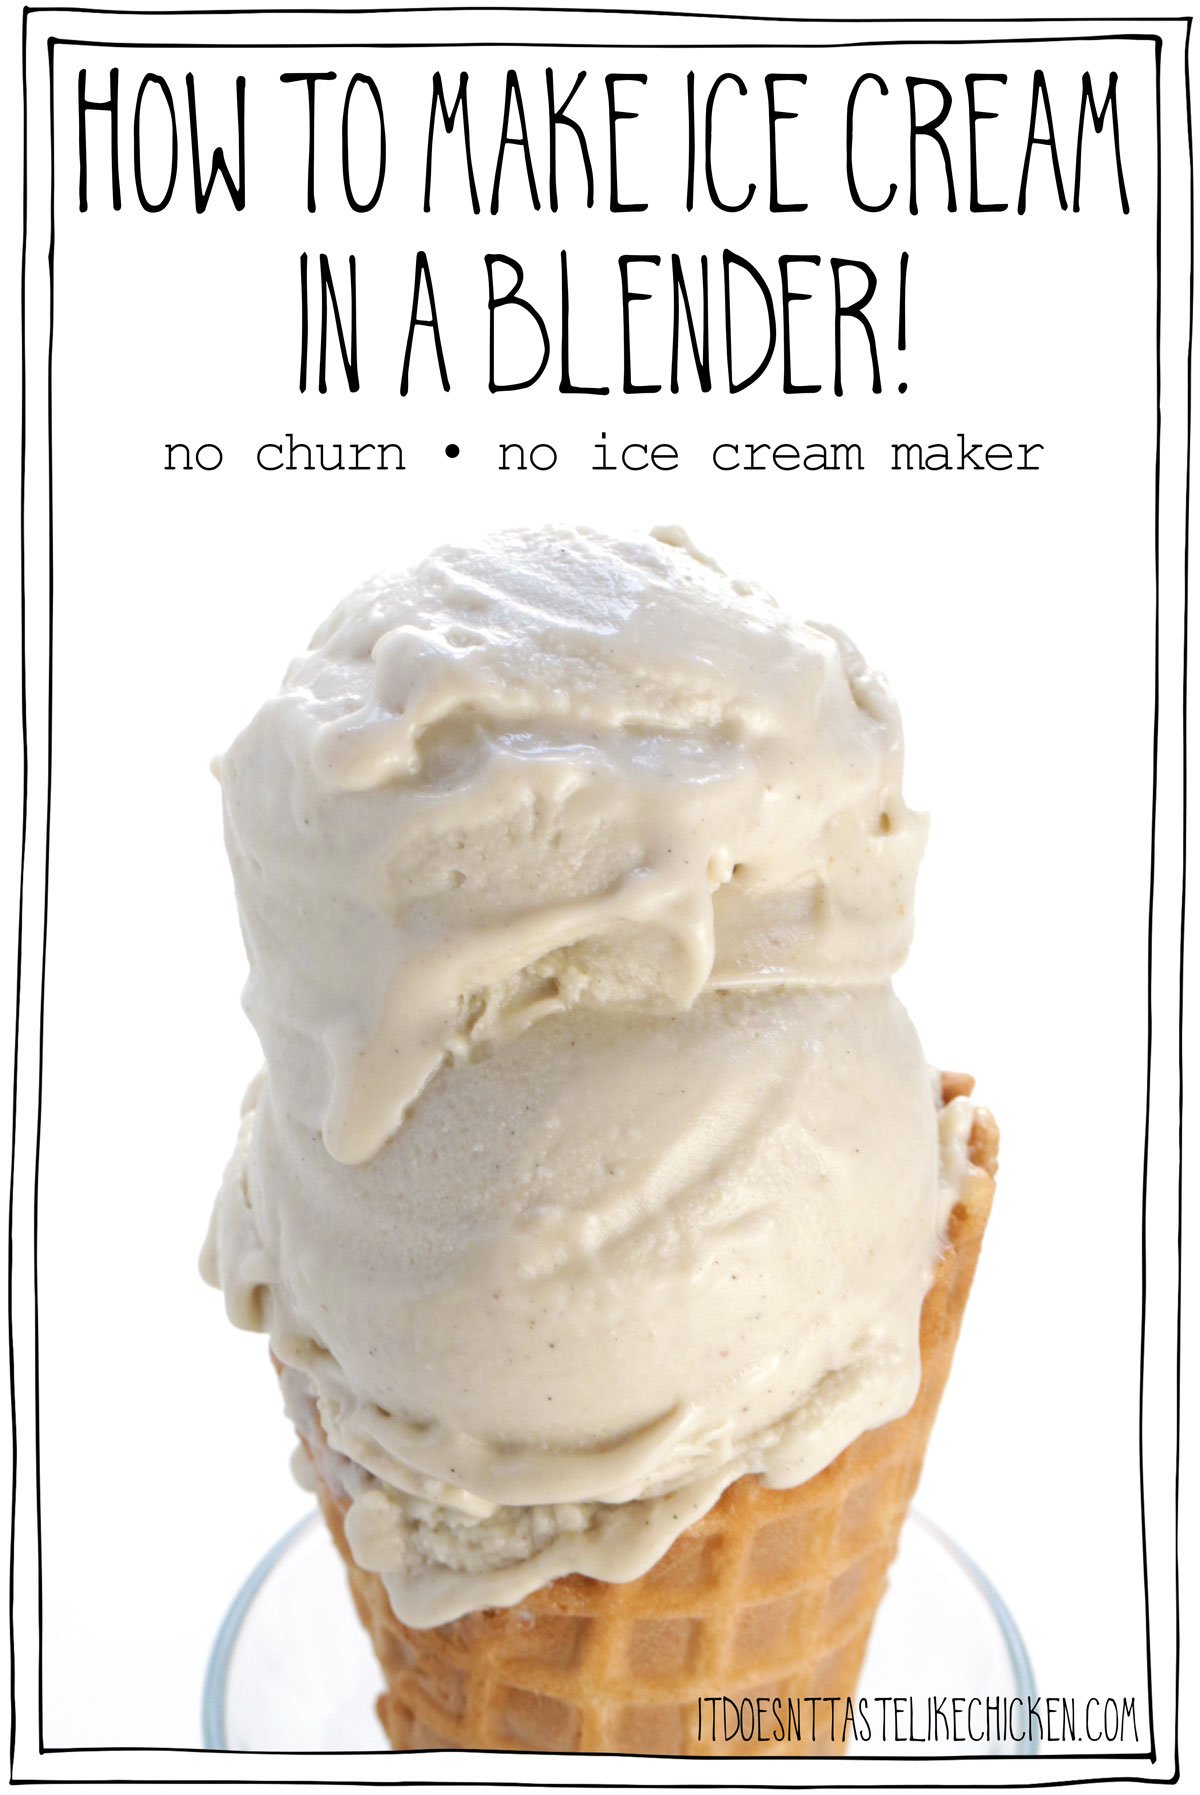
No-churn condensed milk method
This is the easiest route for creamy, soft ice cream. It uses sweetened condensed milk and whipped cream to trap air and keep ice crystals small.
- Ingredients: 2 cups heavy cream, 1 can sweetened condensed milk, 1 teaspoon vanilla.
- Steps:
- Whip cream to soft peaks.
- Fold in condensed milk and vanilla until uniform.
- Freeze in a shallow container for 4–6 hours.
- Tips: Beat to soft peaks. Overwhipping makes grainy texture. Stir once after an hour for extra creaminess.
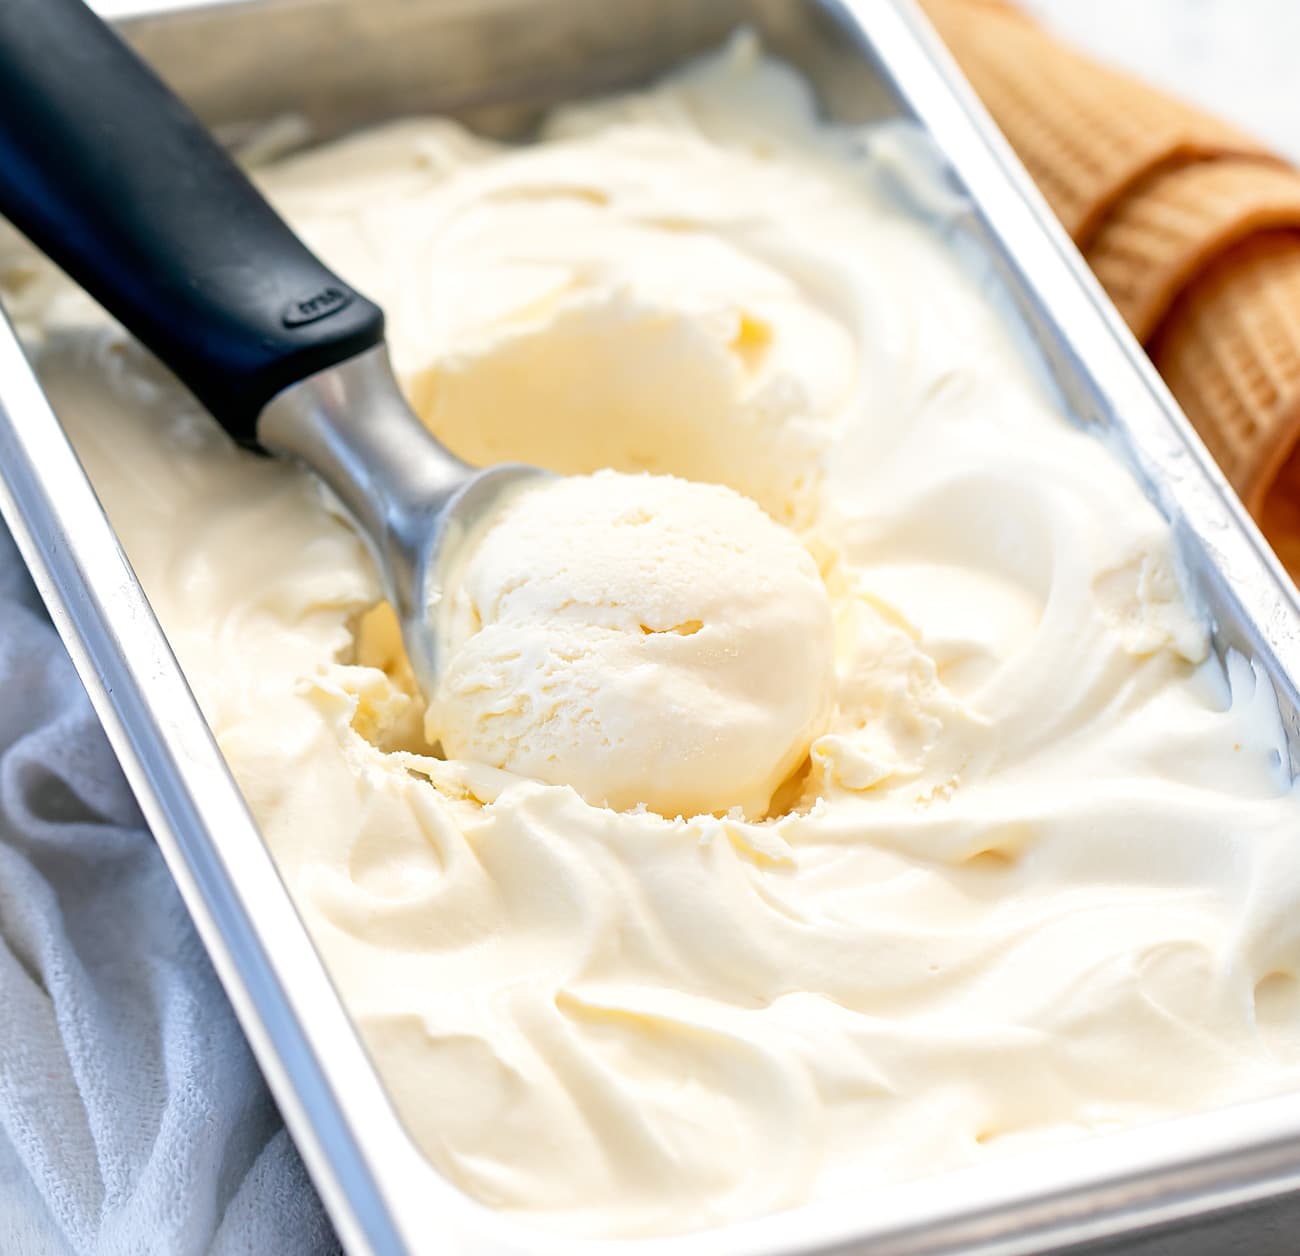
Freeze-and-beat (traditional scoop) method
This method imitates churn by repeated stirring during freezing. It gives dense, scoopable ice cream with minimal equipment.
- Ingredients: Any custard or cream base.
- Steps:
- Pour base into a shallow metal or glass pan.
- Freeze for 30–45 minutes, then beat vigorously with a fork or blender.
- Repeat every 30 minutes until firm (3–4 cycles).
- Tips: Use a metal pan for faster freezing. This method works great for small batches and custard bases.
Bag or jar shake method (good for kids)
This is fun and fast for small single-serve portions. It is noisy but effective.
- Ingredients: 1 cup half-and-half, 2 tablespoons sugar, 1/2 teaspoon vanilla, ice, salt.
- Steps:
- Put the base in a small sealable bag. Double-bag it.
- Fill a larger bag with ice and 1/2 cup salt. Insert the smaller bag.
- Shake for 5–10 minutes until the mixture thickens.
- Tips: Wear gloves. Salt lowers ice temperature and speeds freezing. This method is best for quick, soft-serve style ice cream.
Ice-and-salt manual churn (old-fashioned)
This mimics a churn box using a can or jar inside an ice-salt mix. It requires more effort but gives great texture.
- Ingredients: Your ice cream base, coarse salt, ice.
- Steps:
- Place base in a sealed canister or jar.
- Pack ice and salt around it in a larger container.
- Turn or shake for 20–40 minutes until firm.
- Tips: Keep adding ice as it melts. This gives the smoothest results without electricity.
How to choose the best method for you
Pick the method based on time, tools, and texture you want. No-machine methods suit most home cooks. If your goal is rapid, smooth ice cream, use no-churn condensed milk or ice-and-salt churn. If you want a hands-on activity, try the bag shake method. For classic custard texture, use freeze-and-beat or make a custard base before freezing. I often use the no-churn method for quick desserts and the freeze-and-beat method for richer custards.
Pro tips for texture, flavor, and storage
Small changes make big differences. These tips come from repeated testing and taste checks.
- Use higher fat dairy for creamier results. Heavy cream gives silkier mouths feel.
- Add sugar or alcohol to reduce large ice crystals. Sugar lowers freezing point and helps scoopability.
- Chill base overnight before freezing. Cold starts freeze faster and form smaller crystals.
- Stabilizers: A tablespoon of vodka or a small amount of corn syrup can help texture.
- Flavoring: Add extracts, fruit purees, or folded-in mix-ins after the base is semi-frozen to avoid sinking.
I learned to chill bases thoroughly and to fold mix-ins late. That cut ice crystals and kept add-ins whole.
Common problems and how to fix them
Here are typical issues and quick fixes I use in my kitchen.
- Problem: Ice cream is icy or grainy.
- Fix: Whip more air into base or add a bit more fat or sugar. Freeze faster in a metal pan.
- Problem: Too soft and never firms.
- Fix: Reduce alcohol, increase sugar balance, or use more dairy solids.
- Problem: Heavy, dense texture.
- Fix: Fold in whipped cream or beat base between freezes to add air.
- Problem: Mix-ins sink.
- Fix: Fold them in when base is semi-frozen or coat in a little sugar or dry cocoa to help them float.
Frequently Asked Questions of can you make ice cream without an ice cream maker
What is the easiest way to make ice cream without a machine?
The easiest is the no-churn condensed milk method. It requires no special tools and gives creamy results.
Will homemade ice cream without a machine be as good as store-bought?
Yes, homemade can be as good or better. Texture and flavor depend on ingredients and technique rather than the machine.
How long does it take to make ice cream without an ice cream maker?
Times vary. No-churn needs about 4–6 hours freezing. Freeze-and-beat and bag methods take less active time but several cycles over 2–4 hours.
Can I make dairy-free ice cream without a machine?
Yes. Use full-fat coconut milk or other creamy plant milks. The same principles of chilling and mixing apply.
How do I prevent ice crystals when I make ice cream without a machine?
Freeze fast, add sugar or alcohol, and beat between freezing cycles. Chilling the base first helps too.
Is it safe to use raw eggs in no-machine recipes?
Raw eggs carry some risk. Use cooked custard bases or pasteurized eggs to be safe.
Conclusion
Making ice cream without an ice cream maker is simple, fun, and reliable. You can pick a method that matches your time and tools and still get creamy, delicious results. Try a small batch today using the no-churn or freeze-and-beat method, and tweak flavors to your taste. Share your experiments, subscribe for more recipes, or leave a comment on which method you tried and how it turned out.