
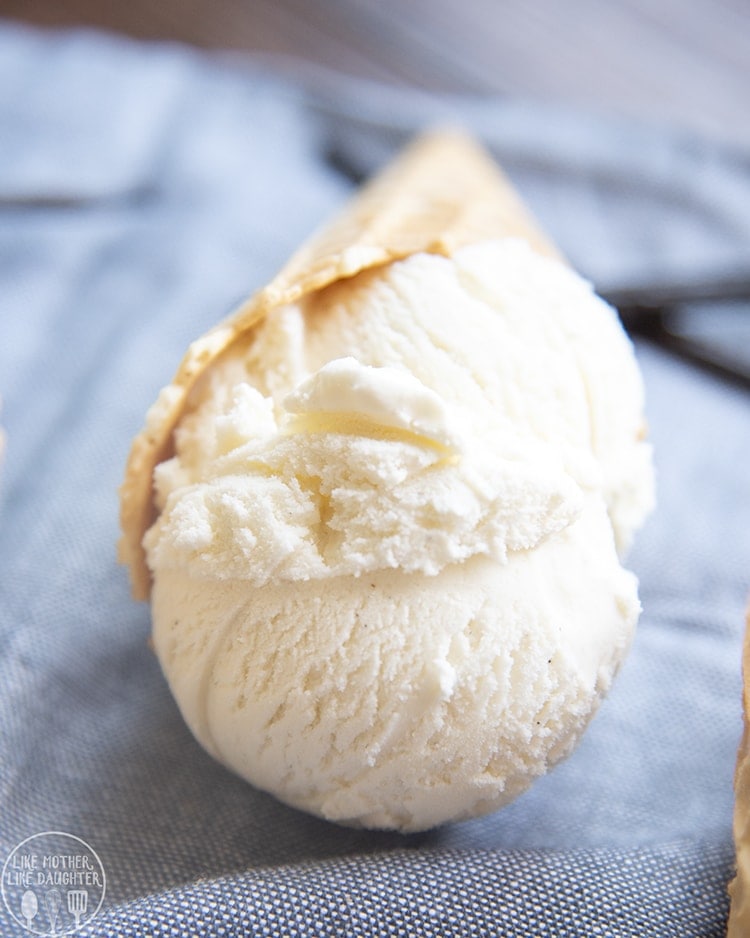
Simple, rich homemade vanilla ice cream made effortlessly using your ice cream maker at home.
I’ve been making easy homemade vanilla ice cream with ice cream maker for years, testing ratios and techniques until I found a reliably creamy, flavorful base anyone can make. This guide walks you through a clear recipe, smart tips, troubleshooting, and real-life lessons so you can make perfect vanilla ice cream at home with minimal fuss.
Ingredients and Equipment
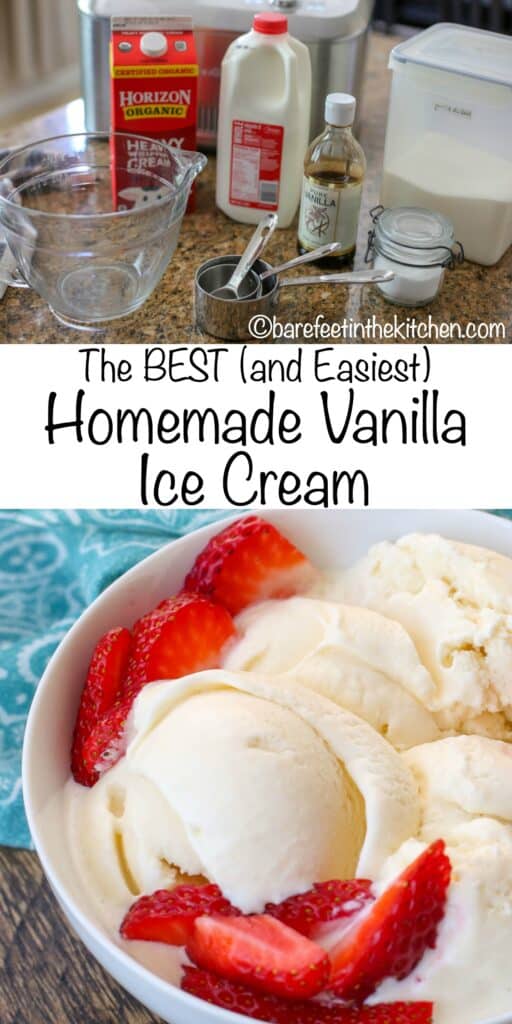
Make this easy homemade vanilla ice cream with ice cream maker using simple, high-quality ingredients. The list below is for about 1 quart of finished ice cream.
Ingredients
- 2 cups heavy cream
- 1 cup whole milk
- 3/4 cup granulated sugar
- 1 tablespoon pure vanilla extract or 1 vanilla bean (split and scraped)
- Pinch of fine sea salt
- Optional 1 egg yolk for a richer custard-style base
Equipment
- Ice cream maker (electric churn-style or freezer bowl)
- Mixing bowl
- Whisk
- Saucepan (if making custard)
- Airtight container for freezing
Why these ingredients work
- Heavy cream gives body and smoothness.
- Whole milk keeps it scoopable and lowers fat for a lighter texture.
- Sugar not only sweetens but lowers freezing point so the ice cream stays creamy.
- Vanilla extract or bean gives the classic flavor you expect from homemade vanilla.
Step-by-Step Recipe: Easy Homemade Vanilla Ice Cream with Ice Cream Maker
Follow these simple steps to make smooth vanilla ice cream at home. I provide both quick no-cook and custard (cooked) options.
No-cook base (fast, reliable)
- Whisk 3/4 cup sugar and a pinch of salt into 1 cup whole milk until sugar dissolves.
- Stir in 2 cups heavy cream and 1 tablespoon vanilla extract, or the seeds from 1 vanilla bean.
- Chill the mixture in the fridge for 30–60 minutes until cold.
- Pour the cold base into your ice cream maker and churn per maker directions until it reaches a soft-serve texture.
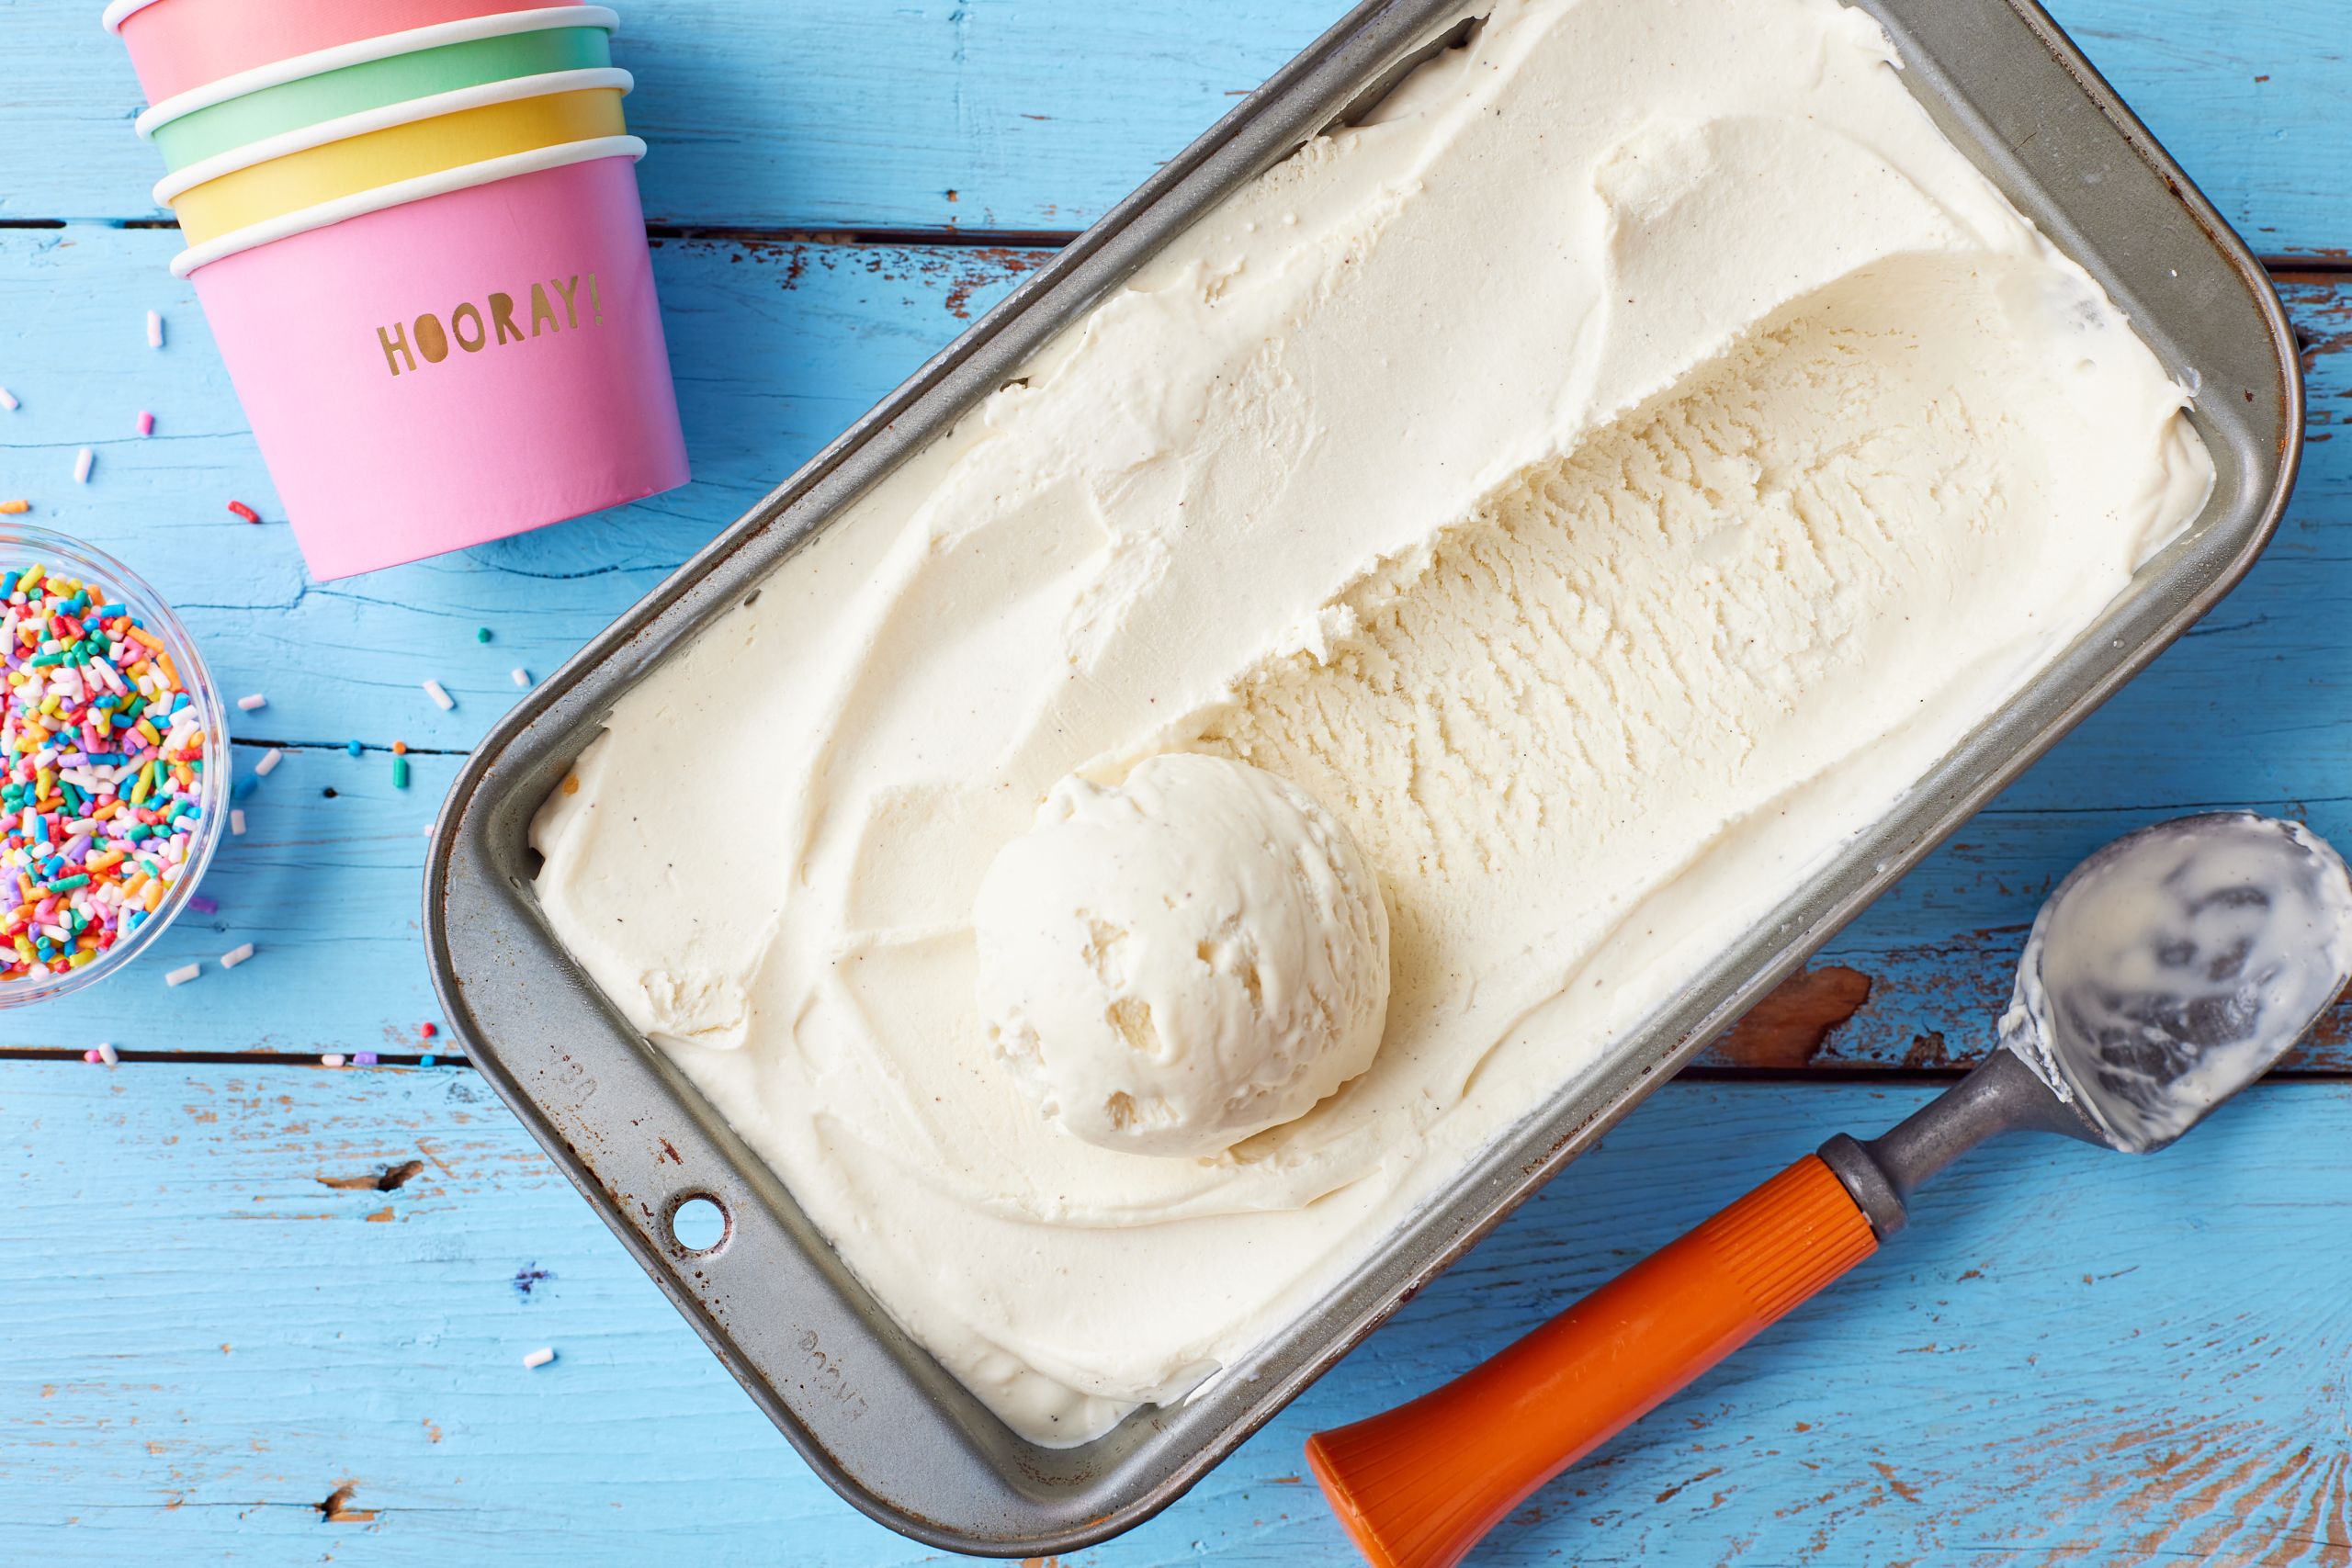
- Transfer to an airtight container. Freeze 2–4 hours to firm up.
Custard-style base (richer, silkier)
- Warm 1 cup whole milk and 1 cup heavy cream with vanilla in a saucepan until steam rises.
- Whisk 3/4 cup sugar with 1 egg yolk in a bowl. Temper the yolk by whisking a ladle of warm milk into it.
- Return tempered yolk mix to the saucepan and cook gently until it thickens to coat the back of a spoon.
- Strain, chill completely, then whisk in the remaining 1 cup heavy cream.
- Churn in your ice cream maker and freeze to firm up.
Timing and chill tips
- Chill the base thoroughly before churning for the best texture.
- If your ice cream maker requires a frozen bowl, freeze it for the recommended time (usually 12–24 hours).
Tips for Best Texture and Flavor
Small changes make a big difference when making easy homemade vanilla ice cream with ice cream maker. Use these tips to get silky, scoopable ice cream every time.
- Use the best vanilla you can afford. Real vanilla or true vanilla extract tastes far better than imitation.
- Chill everything. Cold base and a pre-chilled churn bowl speed freezing and reduce ice crystals.
- Don’t over-churn. Stop when texture resembles soft-serve; the ice cream will firm in the freezer.
- Add a tablespoon of light corn syrup or a teaspoon of vodka for softer, scoopable ice cream sooner.
- For a denser feel, use a higher cream-to-milk ratio or add an egg yolk custard step.
Personal note: I once skipped chilling the base and got icy texture. Lesson learned—cold matters more than stubborn patience.

Common Problems and How to Fix Them
Troubleshooting will save your batch if something goes wrong with your easy homemade vanilla ice cream with ice cream maker.
Problem: Ice cream is icy and brittle.
Fix: Chill the base longer, add a small amount of alcohol or corn syrup, and increase cream ratio next time.
Problem: Too soft after freezing.
Fix: Let it freeze longer. Use an airtight container and press plastic wrap on the surface to limit air exposure.
Problem: Flavor is weak.
Fix: Use more or better vanilla. If using a bean, steep the seeds and pod in warm milk for extra depth.
Problem: Too hard to scoop.
Fix: Let it sit at room temperature 5–10 minutes before scooping. Next batch, reduce freezing time or adjust sweetener.

Variations and Mix-ins
Make the base your canvas. These easy homemade vanilla ice cream with ice cream maker variations are simple to add.
- Classic chocolate ripple: Fold melted chocolate ripple through the churned ice cream just before freezing.
- Fruit swirl: Cook berries with a little sugar, cool, and swirl into churned ice cream.
- Cookie crumble: Fold in crushed cookies or brownies in the last minute of churning.
- Bourbon or liqueur: Add 1–2 tablespoons for flavor and softening effect.
Timing for add-ins
- Soft bits like swirls and sauces: Add at the end of churning.
- Hard bits like nuts or cookies: Fold in during the last 1–2 minutes of churn.
Storage and Serving Suggestions
Store your easy homemade vanilla ice cream with ice cream maker properly to keep texture and taste.
- Use an airtight container. Press plastic wrap on the surface to prevent freezer burn.
- Keep at the back of the freezer where temperature is most stable.
- For best texture, let the container sit 5–10 minutes at room temperature before scooping.
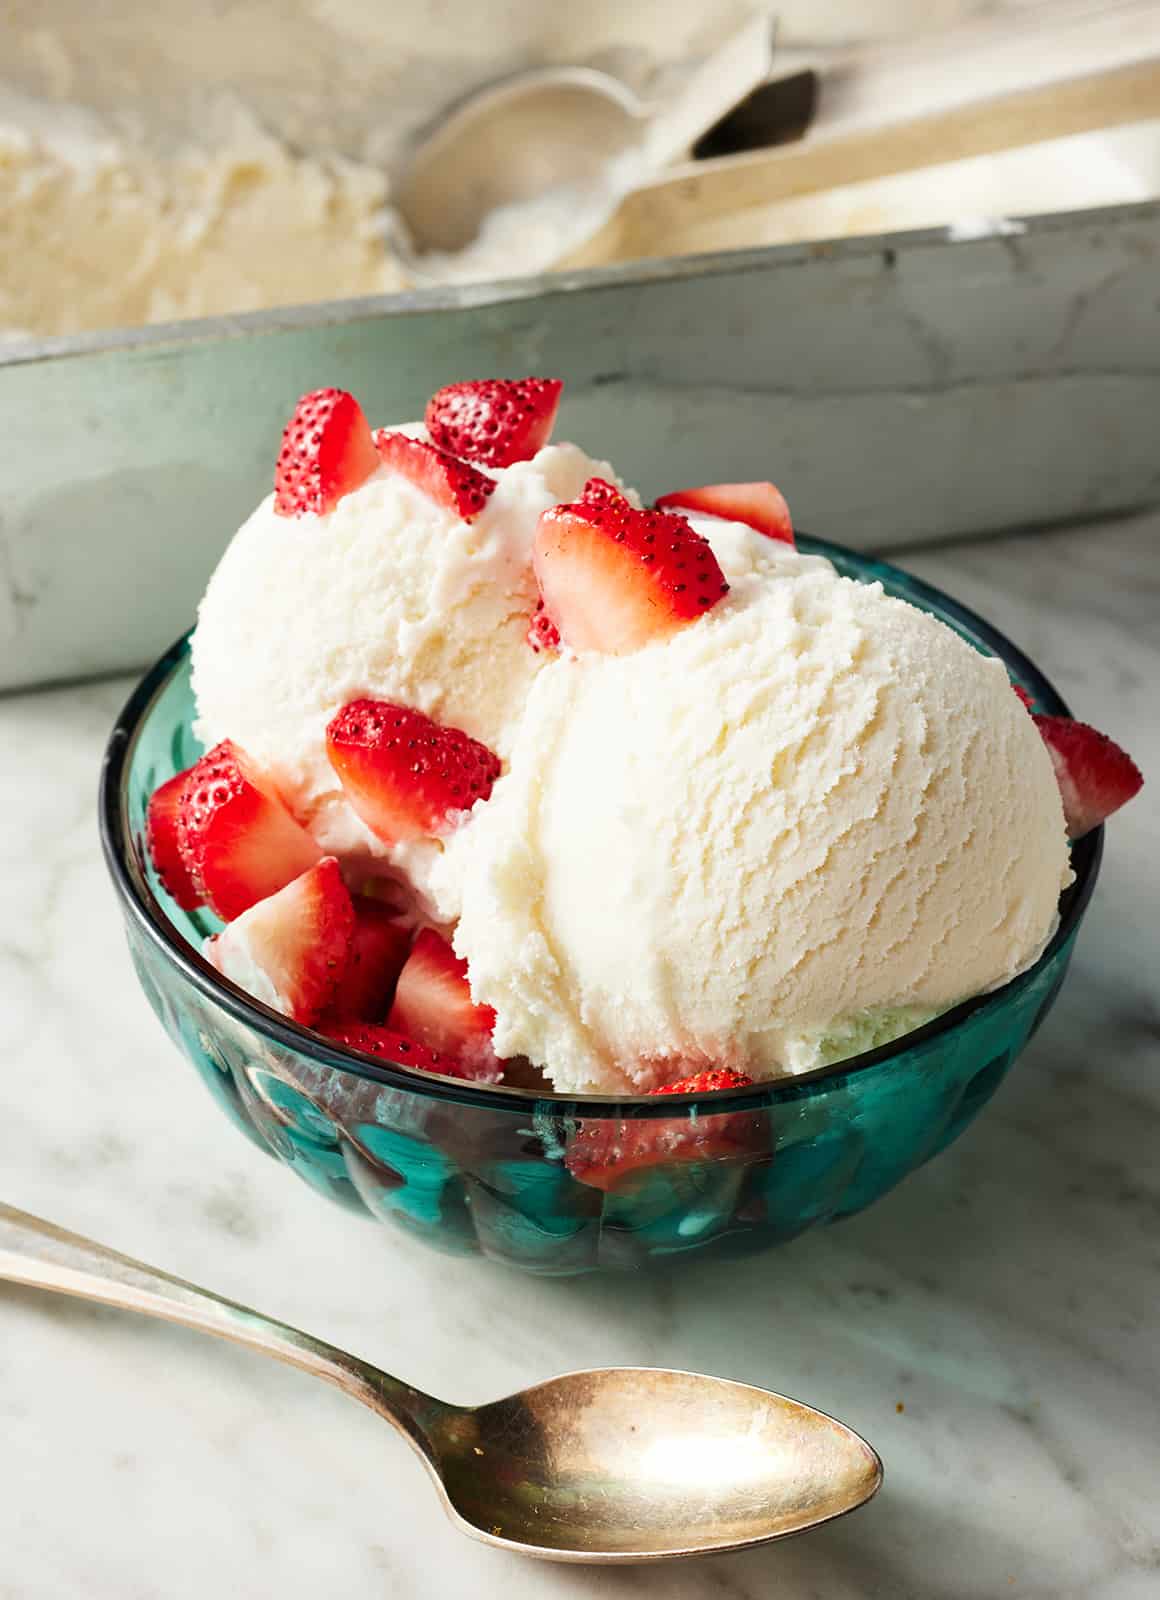
- Serve with warm pie, fresh fruit, espresso, or chocolate sauce.
Shelf life
- Homemade ice cream is best within 2 weeks for peak flavor and texture, though it remains safe longer if kept well sealed.

The Science Behind the Recipe
Understanding the science helps you tweak a recipe for your taste. Making easy homemade vanilla ice cream with ice cream maker is about balance.
- Fat provides richness and carries flavor.
- Sugar lowers the freezing point so the ice cream stays soft enough to scoop.
- Air (overrun) added during churning makes it light. Too much air makes it fluffy; too little makes it dense.
- Ice crystals grow when the base is warm or freezes slowly. Fast chilling and cold churn conditions keep crystals small.
Practical takeaway: control temperature, balance fat and sugar, and churn correctly for the best result.

Frequently Asked Questions of easy homemade vanilla ice cream with ice cream maker
How long should I chill the ice cream base before churning?
Chill the base at least 30–60 minutes, or overnight for best results. A very cold base churns faster and yields smaller ice crystals.
Can I make this without an ice cream maker?
You can, but the texture will differ. Use a freeze-and-stir method every 30 minutes for a few hours to limit ice crystals. For more tips on kitchen tools, check out this guide on what a food processor is used for.
Should I use vanilla extract or vanilla bean?
Use a vanilla bean for deeper flavor if you have one, or high-quality extract for convenience. Both work well in easy homemade vanilla ice cream with ice cream maker.
Is the custard method better than no-cook?
Custard yields a richer, creamier result due to egg yolks and emulsification. No-cook is quicker and still tasty for everyday batches.
How long does homemade ice cream keep in the freezer?
For best quality, eat within two weeks; it can be kept longer if sealed well and stored at a stable temperature.
Conclusion
Making easy homemade vanilla ice cream with ice cream maker is simple, rewarding, and flexible. Start with high-quality ingredients, chill carefully, and use these techniques to get creamy, flavorful ice cream every time. Try the basic recipe this weekend, experiment with a favorite mix-in, and share your results—your family will thank you. Leave a comment, subscribe for more recipes, or tell me your favorite twist on vanilla.