
Yes, you absolutely can use a food processor to shred cheese, and it’s a game-changer for speed and efficiency in the kitchen! This comprehensive guide will walk you through the process, from preparing your cheese to selecting the right disc and safely operating your machine. You’ll learn essential tips for achieving perfectly shredded cheese every time and troubleshooting common issues like smearing or uneven results. Say goodbye to tired arms and embrace your food processor for all your cheese-shredding needs!
Can You Use Food Processor to Shred Cheese?
Absolutely! If you’ve ever stood at your kitchen counter, knuckles aching, endlessly grating a block of cheese by hand, you’re about to discover a kitchen game-changer. Using a food processor to shred cheese is not just possible; it’s incredibly efficient, fast, and delivers consistent results every time. This handy appliance transforms what can be a tedious chore into a task that takes mere seconds, freeing you up for more enjoyable cooking endeavors.
Whether you’re making a batch of homemade mac and cheese, prepping for tacos, or topping a fresh salad, your food processor is your best friend for cheese shredding. In this comprehensive guide, we’ll walk you through everything you need to know, from selecting the right cheese and preparing your machine to specific step-by-step instructions and expert tips for perfect shreds. Get ready to say goodbye to store-bought pre-shredded cheese and hello to fresh, flavorful, and perfectly processed cheese!
Key Takeaways
- Chill Your Cheese: Always use firm, cold cheese (refrigerated for at least 30 minutes, or even briefly frozen) to prevent smearing and ensure clean, crisp shreds.
- Choose the Right Disc: Utilize your food processor’s shredding disc (also known as a grating disc or reversible disc with a shredding side) for optimal results, avoiding the S-blade for this task.
- Cut Cheese into Manageable Pieces: Slice your cheese into pieces that fit comfortably into the feed tube without forcing them, ensuring smooth and even shredding.
- Process in Short Bursts: Use the “Pulse” setting for better control, especially with softer cheeses, to prevent over-processing and achieve your desired texture.
- Clean Promptly: Wash your food processor parts immediately after use to prevent cheese residue from hardening, making cleanup much easier.
- Safety First: Always use the food pusher and never your hands to guide cheese through the feed tube when the blade is spinning.
Why Shred Cheese with a Food Processor?
There are several compelling reasons why a food processor should be your go-to for shredding cheese:
- Speed: What takes minutes by hand can be done in seconds with a food processor. This is a huge time-saver, especially when you need a large quantity of shredded cheese.
- Effortless: No more tired arms or scraped knuckles. The machine does all the hard work for you.
- Consistency: Food processors create uniform shreds, which not only looks better but also melts more evenly in your dishes.
- Cost-Effective: Buying blocks of cheese and shredding them yourself is generally more economical than purchasing pre-shredded cheese, which often contains anti-caking agents that can affect texture and meltability.
- Better Taste and Texture: Freshly shredded cheese tastes better and melts smoother than pre-packaged alternatives because it hasn’t been sitting around and hasn’t had additives introduced.
Understanding Your Food Processor’s Shredding Capabilities
Most modern food processors come equipped with attachments specifically designed for shredding. If you’re wondering how to use a food processor step-by-step for tasks like this, understanding its discs is key. Here’s what to look for:
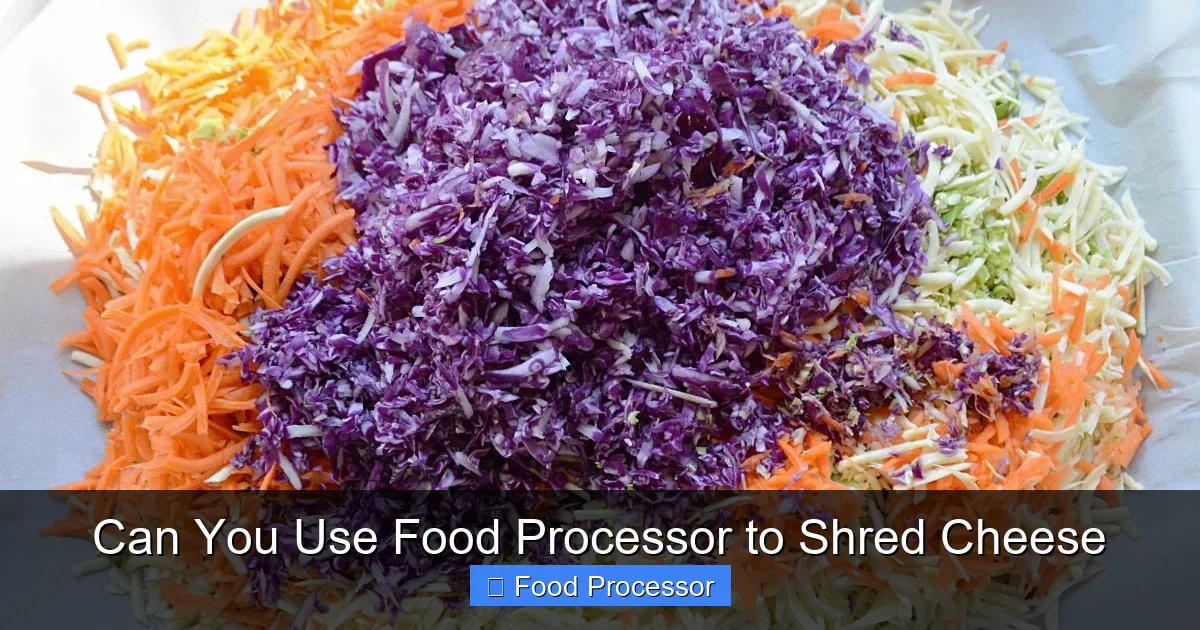
Visual guide about Can You Use Food Processor to Shred Cheese
Image source: recipes.net
The Shredding Disc (Grating Disc)
This is the star of the show for shredding cheese. It’s typically a flat, round metal disc with raised perforations or sharp teeth on one side. Many food processors include a reversible shredding disc, meaning one side offers a fine shred and the other a coarse shred. Always ensure you’ve got this disc securely in place before you start.
The S-Blade (Chopping Blade)
While the S-blade (also known as the chopping blade) is fantastic for many tasks, it is not suitable for shredding cheese. Using the S-blade will only result in cheese clumps or a pasty mess, not nice, distinct shreds. Reserve the S-blade for chopping vegetables, making hummus, or pureeing soups.
Feed Tube and Pusher
The feed tube is where you insert the blocks of cheese. The food pusher is a critical safety tool used to press the cheese down into the spinning shredding disc. Always use the food pusher and never your fingers!
Preparing Your Cheese for Shredding
The success of shredding cheese in a food processor largely depends on the preparation of the cheese itself. Not all cheeses behave the same way, but these general guidelines will set you up for success:
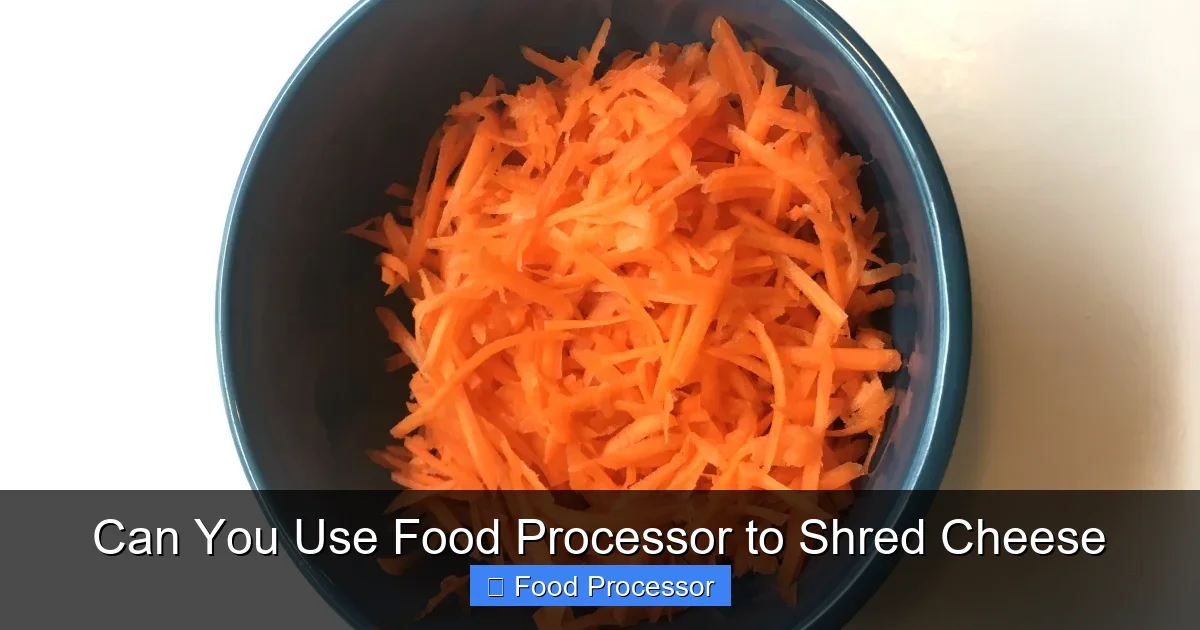
Visual guide about Can You Use Food Processor to Shred Cheese
Image source: recipes.net
Choose the Right Cheese
- Hard and Semi-Hard Cheeses: Cheddar, Monterey Jack, mozzarella (low-moisture, block), Swiss, Gruyère, and Colby are excellent candidates for food processor shredding. They hold their shape well and produce distinct shreds.
- Softer Cheeses: While possible, softer cheeses like fresh mozzarella, brie, or very soft goat cheese can be challenging. They tend to smear rather than shred cleanly. If you must shred them, a brief stint in the freezer is essential (more on that below).
Chill Your Cheese Thoroughly
This is perhaps the most crucial tip. Cold, firm cheese is much less likely to melt or smear during the shredding process. Warm cheese can turn into a sticky mess, clinging to the disc and bowl.
- Refrigerate: Ensure your cheese block has been thoroughly chilled in the refrigerator for at least 30 minutes, or even an hour.
- Brief Freeze: For particularly soft cheeses, or if your cheese isn’t quite firm enough, pop it into the freezer for 15-30 minutes before shredding. This firms it up just enough without freezing it solid, preventing smearing.
Cut Cheese into Manageable Pieces
Your cheese blocks need to fit into your food processor’s feed tube.
- Slice or Cube: Cut the block of cheese into smaller pieces or strips that can easily slide down the feed tube without forcing. Don’t make them too small that they wobble, but not so large they get stuck.
- Remove Rinds: For cheeses with hard rinds, like Parmesan or aged Gouda, it’s often best to remove the rind before shredding to prevent potential damage to your disc or uneven results.
Step-by-Step Guide to Shredding Cheese with a Food Processor
Ready to shred? Here’s a simple, step-by-step process:

Visual guide about Can You Use Food Processor to Shred Cheese
Image source: makelyhome.com
1. Gather Your Tools and Ingredients
- Your food processor with the appropriate shredding disc. If you’re looking for the best food processor for shredding cheese smoothly, consider models known for powerful motors and sharp discs.
- A block of firm, chilled cheese.
- A bowl or container to catch the shredded cheese.
2. Prepare Your Cheese
As discussed, ensure your cheese is cold and cut into pieces that fit comfortably into your food processor’s feed tube. Aim for pieces that are about 1-2 inches wide and long enough to be gripped by the food pusher.
3. Assemble Your Food Processor
- Place the Bowl: Secure the food processor bowl onto the motor base.
- Insert the Shredding Disc: Carefully place the shredding disc onto the central shaft, ensuring the desired shredding side (fine or coarse) is facing up. Make sure it’s firmly seated.
- Secure the Lid: Lock the lid onto the food processor bowl. Most food processors have safety interlocks that prevent them from operating if the lid isn’t properly secured.
4. Load the Cheese
Turn on your food processor. With the motor running (or on the “Pulse” setting, which we’ll discuss as an option), begin feeding the prepared cheese pieces one by one into the feed tube. Use the food pusher to gently guide the cheese down towards the spinning disc. Do not apply excessive force, and never use your fingers to push the cheese.
5. Shred the Cheese
The cheese will quickly be grated by the disc and fall into the collection bowl below.
- Continuous Shredding: For most hard and semi-hard cheeses, you can run the food processor continuously until all the cheese is shredded.
- Pulsing for Control: For softer cheeses or if you want more control over the shred size, use the “Pulse” button. Pulse in short bursts, checking the consistency as you go, until you achieve the desired shred. This also helps prevent the cheese from heating up too much.
6. Remove Shredded Cheese
Once all the cheese is shredded, turn off and unplug the food processor. Carefully remove the lid, then lift out the shredding disc (be mindful of the sharp edges!). Finally, remove the bowl and transfer your freshly shredded cheese to your desired container or directly into your recipe.
7. Clean Up
Prompt cleaning is key! Disassemble the food processor parts immediately. Rinse off any cheese residue before it has a chance to harden. Most food processor parts are dishwasher safe, but always check your manufacturer’s instructions. If you’re wondering can you put food processor parts in the dishwasher, the answer is often yes, but handwashing the sharp disc is sometimes recommended for longevity.
Tips for Perfect Shredded Cheese Every Time
To ensure your cheese-shredding experience is always a success, keep these expert tips in mind:
- Use Very Cold Cheese: We can’t stress this enough! The colder and firmer the cheese, the better it will shred without clumping or smearing. A quick 15-minute chill in the freezer can work wonders for many cheeses.
- Don’t Overfill the Feed Tube: Place one piece of cheese at a time into the feed tube. Trying to stuff too much in at once can jam the machine or lead to uneven shredding.
- Use the Food Pusher Gently but Firmly: Let the food processor do the work. The pusher is there to guide the cheese, not to force it. Gentle, consistent pressure is best.
- Alternate Cheese Types (If Applicable): If you’re shredding different types of cheese, start with the hardest ones and move to the softer ones to minimize residue and potential smearing.
- Avoid the S-Blade: Seriously, for shredding, stick to the shredding disc. The S-blade will only disappoint you here.
- Process in Batches for Large Quantities: If you’re shredding a very large amount of cheese, consider doing it in batches to avoid overheating the motor or overwhelming the machine.
- Clean As You Go: If you’re doing multiple batches, a quick scrape of the disc with a spatula between batches can help keep it clear and efficient.
Troubleshooting Common Issues
Even with the best preparation, you might encounter a snag or two. Here are some common problems and how to solve them:
Cheese Smearing or Becoming Pasty
Problem: Instead of distinct shreds, your cheese is sticky, clumpy, or looks like a paste.
Solution: The cheese is too warm or too soft. Pop the cheese back into the freezer for 20-30 minutes to firm it up significantly. Ensure you’re using the shredding disc and not the S-blade. Also, try pulsing instead of continuous processing to keep friction and heat to a minimum.
Uneven Shreds or Large Chunks Left
Problem: Some pieces of cheese are perfectly shredded, while others are large or misshapen.
Solution: This often happens if the cheese pieces fed into the tube are unevenly sized or shaped. Ensure your cheese blocks are cut uniformly and fit snugly but not tightly in the feed tube. Also, make sure you’re applying consistent, gentle pressure with the food pusher. A small piece or “heel” of cheese might always remain on top of the disc; this is normal and can be hand-grated or saved for another use.
Food Processor Getting Clogged
Problem: The shredding disc or the space below it is getting packed with cheese, causing the machine to strain or stop.
Solution: This usually indicates the cheese is too soft or you’re trying to push too much through at once. Refer to the “cheese smearing” solution (chill it!). Also, make sure you’re not forcing the cheese down the feed tube. If the bowl is full, empty it before continuing.
Machine Is Very Noisy or Vibrates Excessively
Problem: Your food processor sounds like it’s struggling or shakes a lot during shredding.
Solution: Check that the bowl, lid, and shredding disc are all properly assembled and locked into place. An unbalanced load (e.g., trying to shred a piece of cheese that’s too big or oddly shaped) can also cause vibration. Always ensure the food processor is on a stable, flat surface.
Storing Your Freshly Shredded Cheese
Once you’ve got your beautiful pile of freshly shredded cheese, you’ll want to store it properly to maintain its freshness and flavor:
- Airtight Container: Transfer the cheese to an airtight container or a resealable plastic bag. This prevents it from drying out or absorbing odors from other foods in your fridge.
- Refrigerate: Store shredded cheese in the coldest part of your refrigerator. It will typically last for about 5-7 days.
- Freezing for Longer Storage: For longer storage, you can freeze shredded cheese. Spread it out in a single layer on a baking sheet and freeze until solid (about 30 minutes to an hour). Then transfer the frozen shreds to a freezer-safe bag or container, removing as much air as possible. Frozen shredded cheese can last for several months. Thaw it in the refrigerator before using, or often, you can use it directly from frozen in cooked dishes.
Conclusion
So, can you use a food processor to shred cheese? The resounding answer is yes! It’s an incredibly effective and efficient method that will save you time, effort, and even money in the long run. By following these simple steps and incorporating our practical tips, you’ll be able to consistently produce perfect, fluffy, freshly shredded cheese for all your culinary adventures.
Embrace the power of your food processor, and never look back at the days of hand-grating. With a little practice, shredding cheese will become one of the quickest and easiest tasks in your kitchen repertoire. Happy shredding!