An easy homemade ice cream maker lets you churn rich, creamy ice cream with simple tools.
I have built, tested, and taught dozens of home methods for an easy homemade ice cream maker. I write from real experience and clear know-how to guide you through simple builds, quick recipes, and pro tips. Read on to learn how an easy homemade ice cream maker saves money, sparks creativity, and makes better ice cream than you think.
Why choose an easy homemade ice cream maker
An easy homemade ice cream maker puts control back in your hands. You choose the ingredients, the sugar level, and the flavors. You avoid stabilizers and preservatives found in many store brands. With a few tools and a good technique, an easy homemade ice cream maker can yield smooth, rich ice cream every time.

Types and DIY methods for an easy homemade ice cream maker
There are many ways to make an easy homemade ice cream maker. Pick one that fits your time, space, and budget.
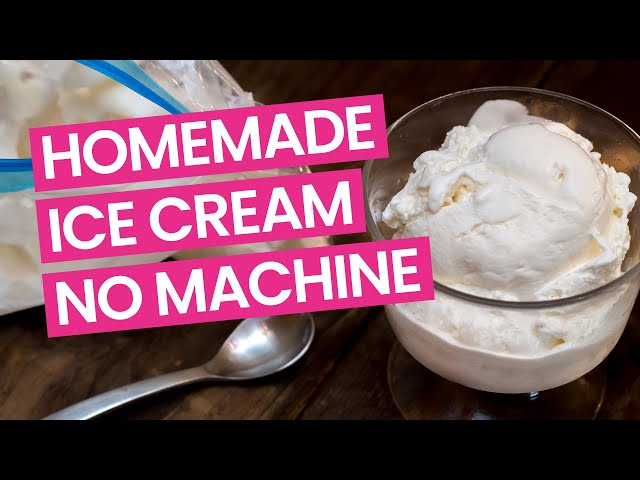
- Freezer-bag churn method uses two plastic bags, ice, and salt. It is fast, cheap, and great for kids.
- Ice-and-salt hand churn uses a metal can and wooden paddle in a salt-ice bath. It is classic and very hands-on.
- Electric ice cream maker conversion uses a frozen canister or a motorized churn. It is low work and consistent.
- Blender or food processor method chills custard and whips it into ice cream. It is quick for small batches.
- Make-shift churn uses a frozen metal bowl and vigorous mixing. It is simple and needs no special gear.
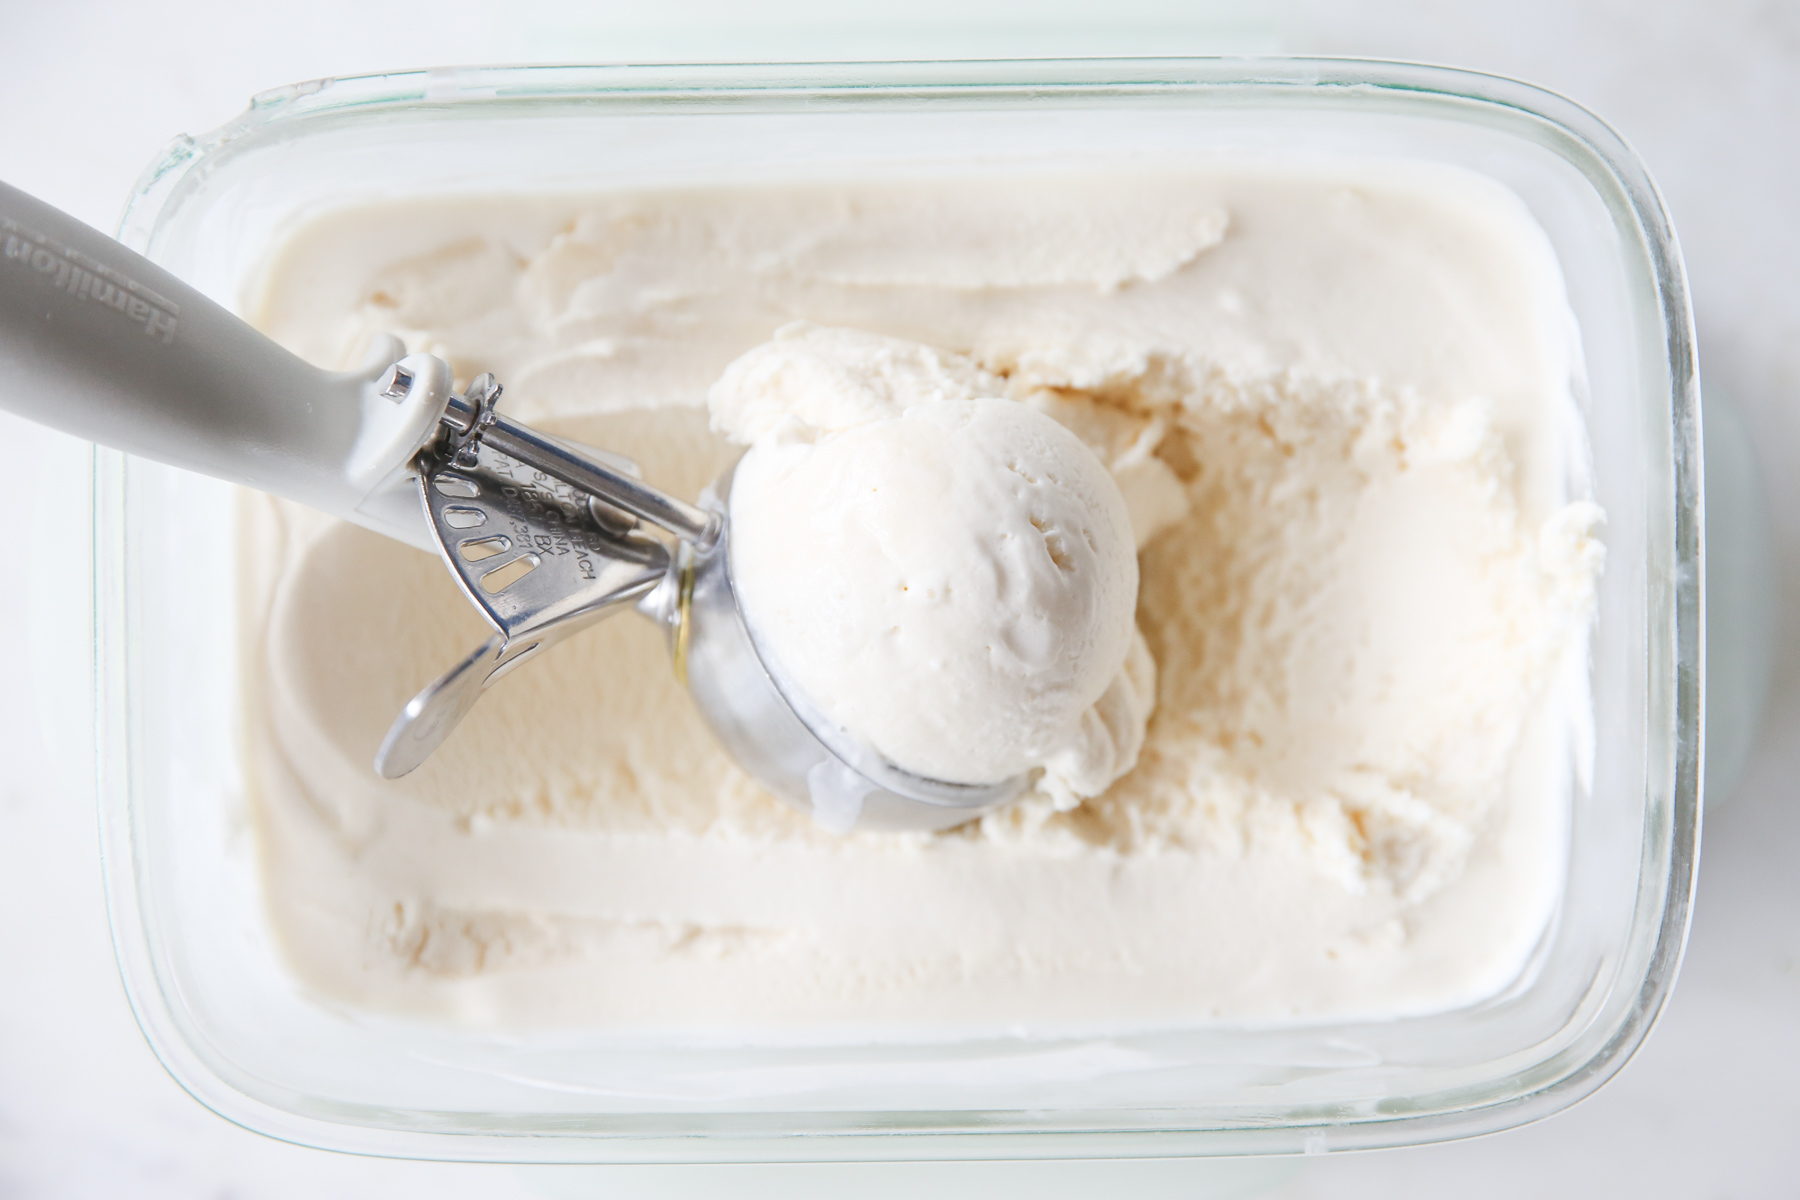
I often start new testers with the freezer-bag method. It is an easy homemade ice cream maker option that shows results in 10–20 minutes. People love seeing the mix firm up in the bag. It builds confidence before moving to larger methods.
Step-by-step: quick vanilla using an easy homemade ice cream maker (freezer-bag method)
This simple recipe works well for an easy homemade ice cream maker test. It takes 15–20 minutes and makes about 2 cups.
Ingredients
- 1 cup heavy cream
- 1 cup whole milk
- 1/3 cup sugar
- 1 teaspoon vanilla extract
- Ice and 1/2 cup rock salt
- 1 quart-size freezer bag and 1 gallon-size freezer bag
Steps
- Mix cream, milk, sugar, and vanilla in the quart bag. Seal the bag well, removing air.
- Fill the gallon bag half full of ice. Add rock salt to lower the ice temperature.
- Place the sealed quart bag inside the gallon bag. Seal the gallon bag securely.
- Shake the bag for 10–20 minutes until the mix firms to soft-serve. Rinse the quart bag before opening to avoid salty ice cream.
Tips
- Use cold cream and milk to speed up freezing.
- Shake with a partner for less effort.
- For firmer ice cream, freeze for 1–2 hours after churning.
This approach proves how flexible an easy homemade ice cream maker can be. It needs no machine and gives great taste fast.

Step-by-step: larger batches with an ice-and-salt churn
If you want larger, creamier batches, the ice-and-salt churn is a great easy homemade ice cream maker that scales well.
Materials
- Metal can or bucket for the mix
- Larger pail for ice bath
- Rock salt and ice
- Long paddle or wooden spoon
Method
- Chill your ice cream base well in the fridge first.
- Place the mix container inside the outer pail. Pack ice and rock salt around the inner container.
- Turn the paddle and rotate the can steadily for 30–40 minutes until thick.
- Remove the inner can and scrape the ice cream into a freezer-safe container to harden.
This method yields dense and rich texture. It is an easy homemade ice cream maker style that feels like old-school craft. I learned to keep the paddling steady and slow to avoid air pockets.

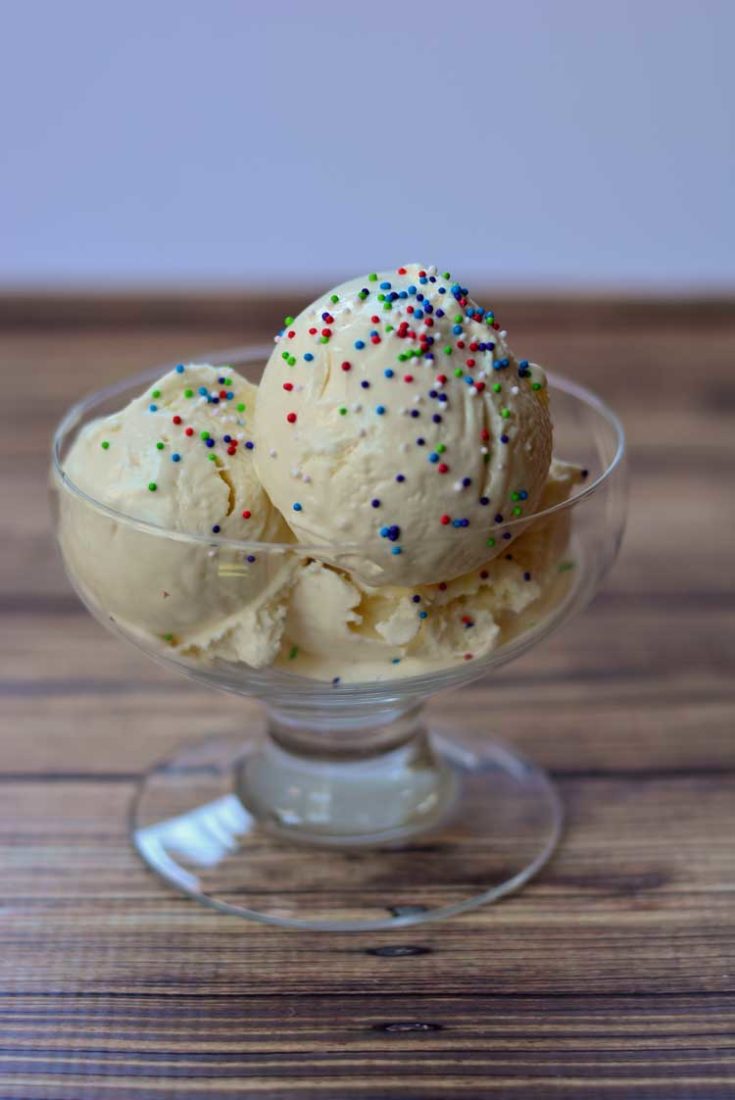
Recipes and flavor ideas for your easy homemade ice cream maker
Once you master the base, flavors are easy to add. Use a simple custard or no-cook cream base. Here are ideas that work in any easy homemade ice cream maker.
- Fresh fruit puree for sorbet-style blends.
- Toasted nuts and chocolate chips folded in after churning.
- Coffee or espresso for an adult twist.
- Swirls of caramel or jam added at the last minute.
- Spices like cardamom or cinnamon for warm notes.
I often test small spoonfuls before mixing into full batches. This saves ingredients and helps find the right balance for your taste. For those using a blender or food processor method, understanding what a food processor is used for can help optimize your ice cream texture.
Tips, troubleshooting, and common mistakes
Good results come from small habits. These tips come from trials and tests with different easy homemade ice cream maker methods.
- Don’t skip chilling the base. Cold mix freezes faster and makes less ice crystal growth.
- Use enough salt and ice in salt-ice methods. The mix needs strong cold to freeze well.
- Avoid over-churning. Over-churned ice cream becomes grainy or icy. Stop when it reaches soft-serve thickness.
- Store in a shallow, airtight container for fast firming and less crystallization.
- If your ice cream is grainy, try adding a small amount of alcohol or glucose syrup to limit crystals.
I once made a big batch that stayed icy. I fixed it by folding in a hot custard base next time and by chilling the bowl beforehand. These small changes made my easy homemade ice cream maker yield smooth results.
:max_bytes(150000):strip_icc()/140877-easy-eggless-strawberry-ice-cream-ddmfs-3x4-1-092e4d11b59049c8b3843014ea3c57f2.jpg)
Maintenance and storage for equipment used in an easy homemade ice cream maker
Care and storage keep your device ready and safe. Follow these simple steps for any easy homemade ice cream maker gear.
- Clean all parts soon after use to prevent odors and sticky build-up.
- Dry metal parts fully to avoid rust.
- Store frozen canisters upright to keep the coolant even.
- Label containers with flavor and date. Use within two weeks for best texture.
Proper care means your easy homemade ice cream maker is always ready for the next treat. I learned that drying metal parts right away saved me from rust and bad smells.

Frequently Asked Questions of easy homemade ice cream maker
What is the easiest way to make ice cream at home?
The freezer-bag churn method is the easiest. It needs just a few ingredients, ice, and some shaking.
How long does churning take with an easy homemade ice cream maker?
Most quick methods take 10–30 minutes. Larger or denser batches need up to an hour.
Can I use non-dairy milk in an easy homemade ice cream maker?
Yes, you can use almond, soy, or coconut milk. Fat and sugar levels may need adjustments for creaminess.
How do I prevent ice crystals in homemade ice cream?
Chill the base, churn quickly, and store in a shallow, airtight container. Small amounts of sugar or alcohol can also help.
Do I need special salt for the ice-and-salt churn?
No special salt is required; rock salt or coarse salt works best because it lowers the ice temperature quickly. Regular table salt works but is less effective.
Can I double recipes in an easy homemade ice cream maker?
You can double some recipes, but make sure your churn or container can handle the extra volume. Overfilling reduces freezing efficiency.
Is making ice cream at home cheaper than buying it?
Often, yes, especially if you use simple ingredients and make several flavors at once. The cost depends on ingredients and equipment choice. If you’re investing in kitchen tools, consider whether a slow cooker for energy-smart cooking might also fit your meal prep routine.
Conclusion
Making great frozen treats is simple when you use an easy homemade ice cream maker. You can pick a method that fits your time, space, and skill. Start with a small batch, test flavors, and keep notes so each batch gets better. Try one method this week and share your favorite twist in the comments or subscribe for more tested recipes and tips.