
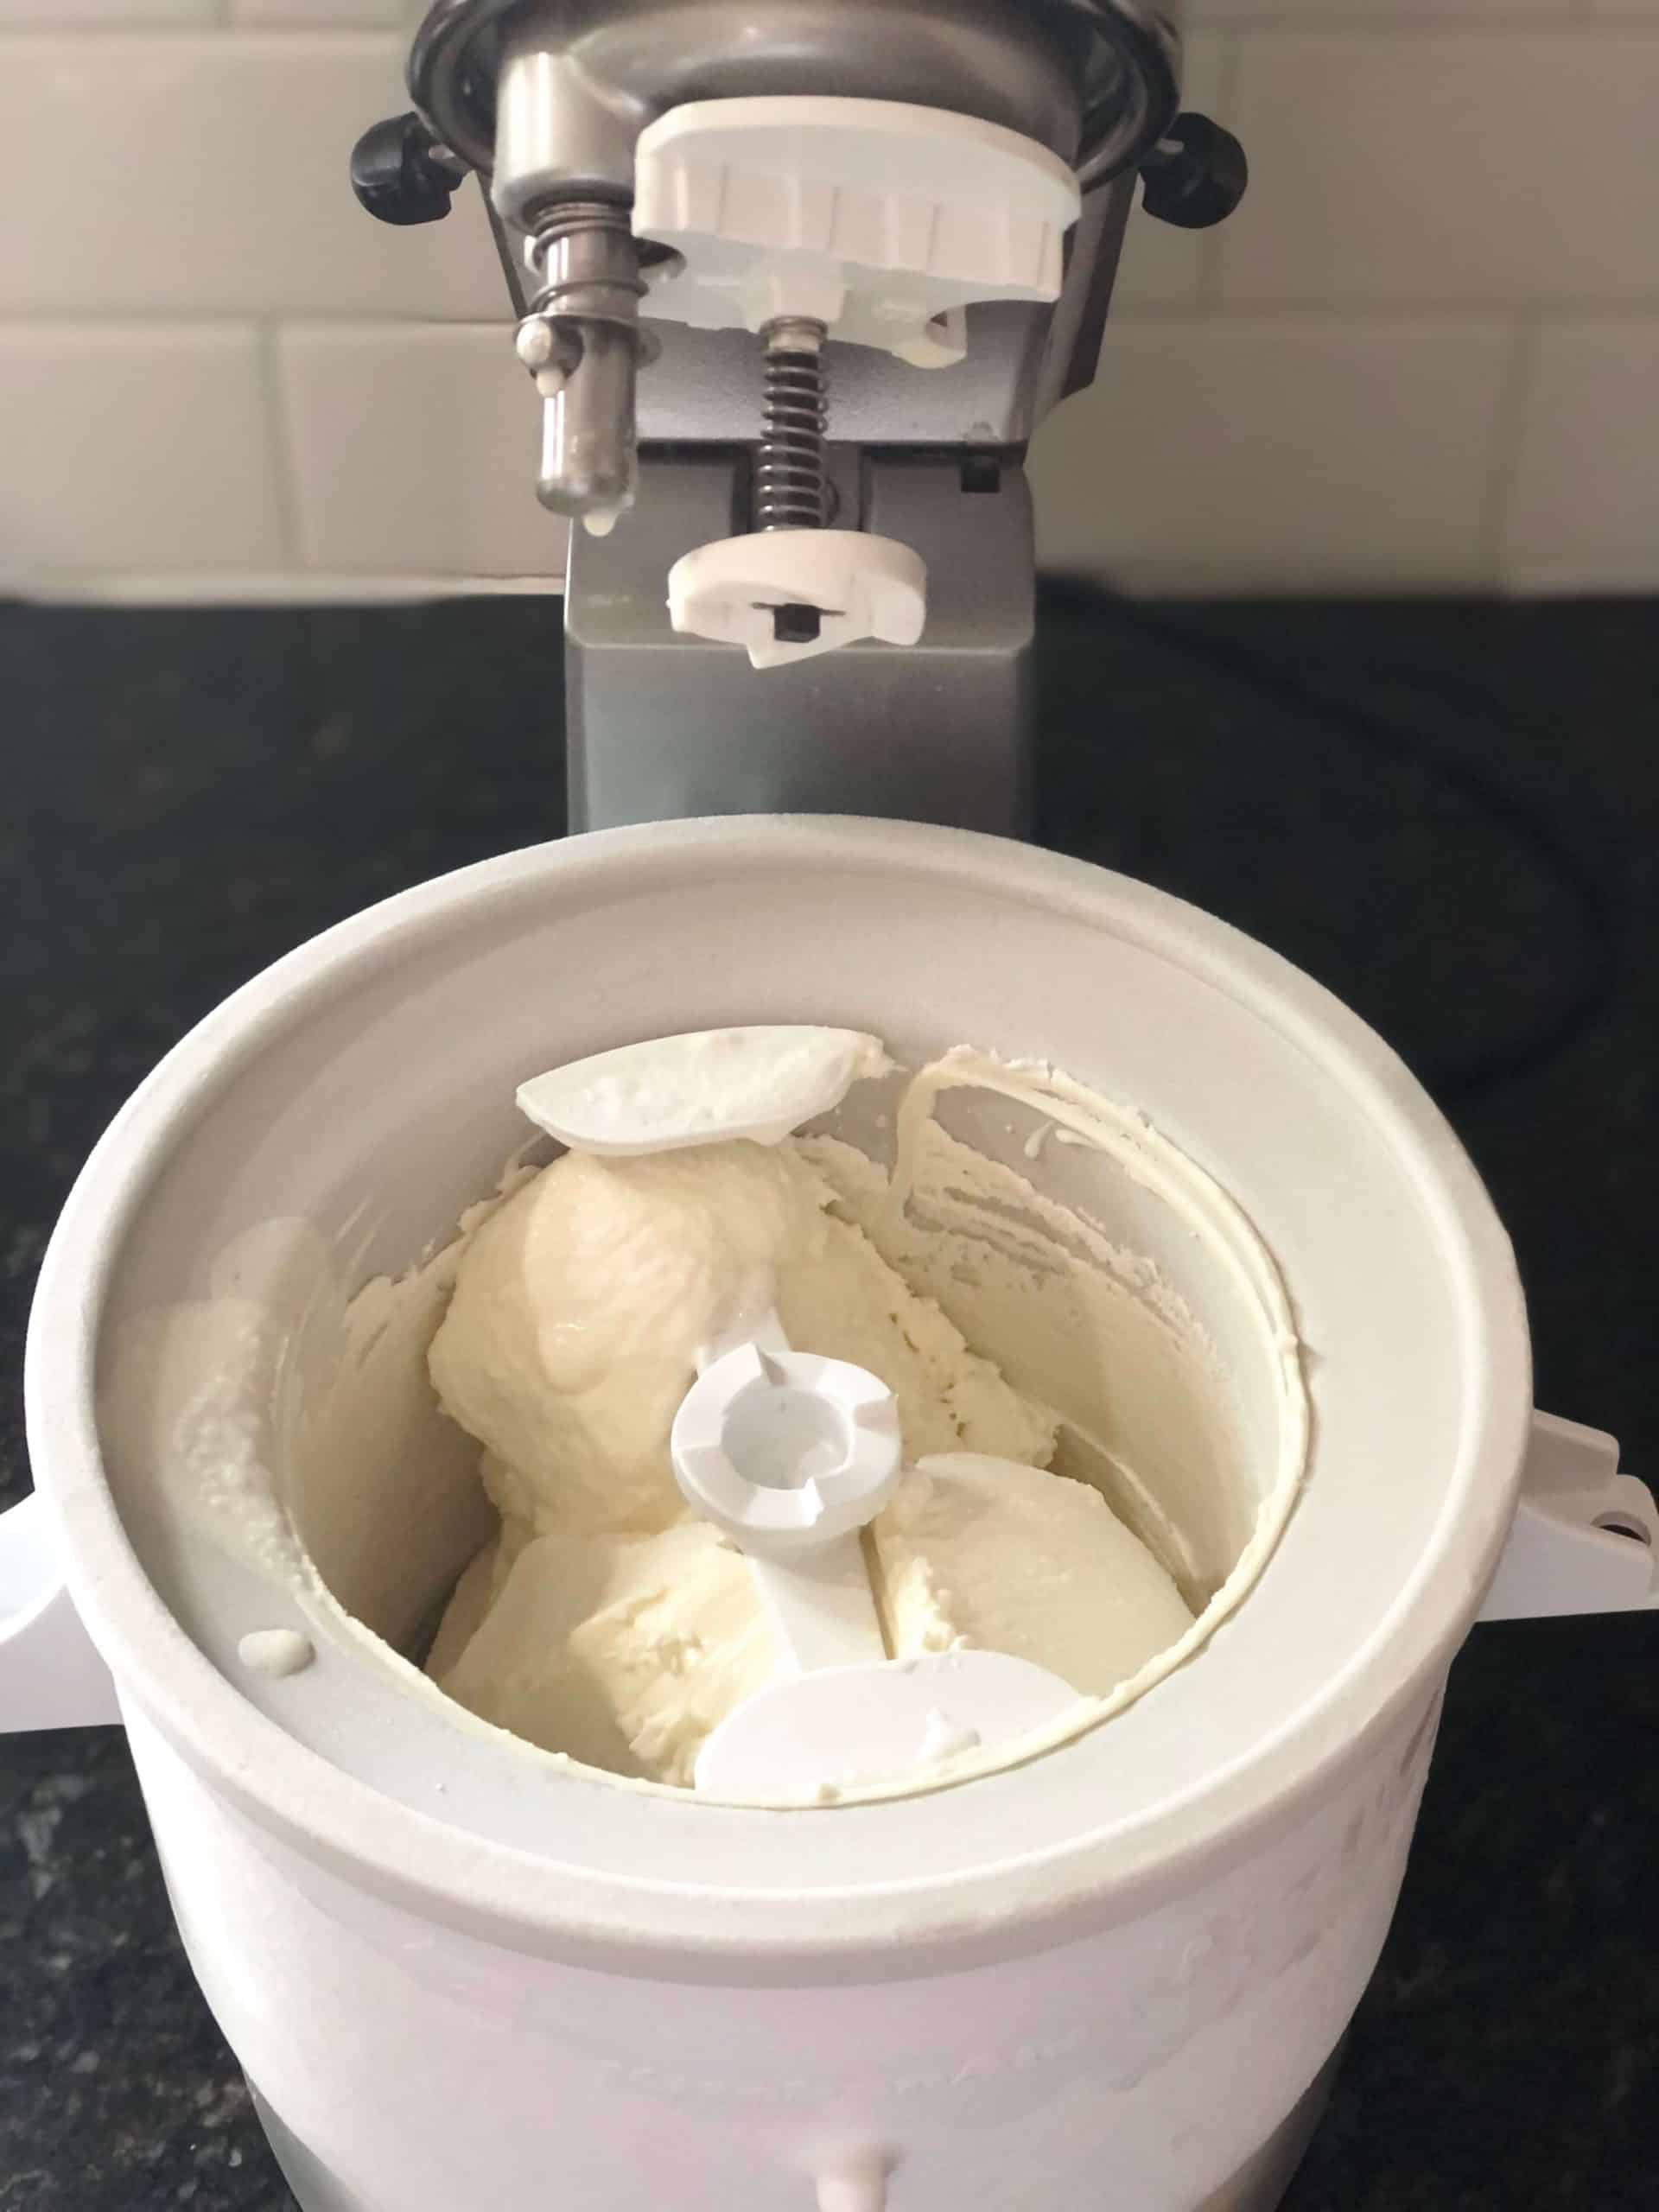
KitchenAid ice cream makers freeze and churn a base simultaneously to produce smooth, creamy ice cream.
I’ve used and tested KitchenAid ice cream attachments and standalone freezers for years, so I’ll walk you through exactly how the device works, why each part matters, and how to get the best results. This guide explains how does the kitchenaid ice cream maker work in simple steps, offers hands-on tips from real use, and answers common questions so you can make perfect batches every time.
How the KitchenAid Ice Cream Maker Works: The Basics
At its core, the KitchenAid ice cream maker uses two things at once: cold and motion. Understanding how does the kitchenaid ice cream maker work starts with knowing that freezing the base and churning it while it freezes prevents large ice crystals and adds air for a softer texture.
The motor or attachment spins a dasher inside a chilled bowl or compressor unit. The chilled surface removes heat from the mix while the spinning scrapes frozen bits into the center and folds them in. This combination of scraping and folding is what transforms liquid custard into creamy ice cream.
:max_bytes(150000):strip_icc()/KitchenAid_KitchenAttachments_IceCreamMaker_HeroSquare-69e0830dacf64623807477369c6540e6.jpg)
Key Components and What They Do
Knowing parts clarifies how does the kitchenaid ice cream maker work and why each step matters.
- Freezing bowl or compressor unit: Provides the cold surface that removes heat from the mix.
- Dasher (paddle): Scrapes frozen mix off the bowl and folds it to incorporate air.
- Motor or mixer attachment: Keeps the dasher turning at a steady speed to ensure even texture.
- Lid and feed chute: Lets you add mix or inclusions while churning without too much heat.
From my tests, the freezer-bowl models rely on pre-freezing the bowl for many hours, while compressor models control temperature on demand. That difference changes prep and timing but not the core physics of freezing plus churning.

Step-by-Step: Making Ice Cream with a KitchenAid Attachment
This step-by-step shows how does the kitchenaid ice cream maker work in practical terms when using the popular bowl or attachment method.
- Chill the bowl if required
- For freezer-bowl attachments, put the bowl in the freezer for at least 12–24 hours so it reaches the needed cold.
- Prepare and chill the base
- Heat and cool custard or mix per recipe, then refrigerate until very cold to reduce churn time.
- Assemble and start the mixer
- Attach the dasher and bowl to your mixer and turn it on low before pouring the base.
- Pour base and churn
- Slowly pour the cold base into the rotating dasher; it will begin to freeze on the bowl wall and be scraped inward.
- Add mix-ins near the end
- Add fruits, nuts, or chocolate in the last few minutes so they mix in evenly without breaking the texture.
- Soften or harden as needed
- For soft-serve texture serve immediately. For scoopable ice cream, transfer to a container and freeze to firm up.
When you follow these steps, you see firsthand how does the kitchenaid ice cream maker work: the dasher prevents big ice crystals and the cold surface freezes the mix quickly for a smooth result.

Tips, Tricks, and Common Mistakes
Practical tips from my experience help you get consistent results and show more clearly how does the kitchenaid ice cream maker work.
- Use a well-chilled base to shorten churn time and reduce ice crystal formation.
- Avoid overfilling the bowl; it needs space to fold air into the mix.
- Rotate speeds gently; high speed can heat the motor or make the texture too fluffy.
- Mistake to avoid: pouring warm mix into a cold bowl — it thaws the bowl and prolongs freezing.
- For richer ice cream, use higher fat in the base or add dry milk powder to improve body.
I once tried a recipe right after a long run of batches and the motor struggled; giving the appliance a short rest helped maintain consistent churning and shows how heat buildup can affect how does the kitchenaid ice cream maker work.

Cleaning and Maintenance
Good care keeps your machine working and explains why consistent results happen when you understand how does the kitchenaid ice cream maker work.
- Clean the bowl, dasher, and lid after each use with warm soapy water; avoid soaking metal parts for long periods.
- Dry parts fully before storing the freezer bowl to prevent ice buildup.
- For attachment models, inspect the drive components and keep the mixer head clean to ensure smooth power transfer.
- If using a compressor model, follow recommended service intervals and keep vents clear to avoid overheating.
Regular maintenance preserves the cold transfer efficiency and the smooth action of the dasher — both key elements in how does the kitchenaid ice cream maker work.

Troubleshooting Common Problems
When things don’t go right, troubleshooting helps you quickly fix issues and understand how does the kitchenaid ice cream maker work.
- Ice cream isn’t freezing: Check that the bowl was fully frozen or the compressor is set to the right temperature.
- Texture too icy: Churn time may be too long or the base wasn’t cold enough going in.
- Motor slows or stalls: Don’t overload the bowl, and allow cool-down periods between batches.
- Mix-ins clump or sink: Add them late in the cycle and use small, uniform pieces.
These fixes reflect the underlying mechanics: temperature control and steady churning are the main drivers of success.

Frequently Asked Questions of how does the kitchenaid ice cream maker work
What is the difference between a freezer bowl and a compressor model?
Freezer-bowl models use a removable bowl that must be frozen ahead of time. Compressor models have a built-in refrigeration system that cools on demand. Both freeze and churn, but compressor units are more convenient for multiple batches.
How long do I need to pre-freeze the bowl?
Most freezer bowls need 12–24 hours in a home freezer to reach the right temperature. The exact time depends on your freezer and the bowl model.
Can I use the KitchenAid attachment with any mixer model?
The attachment fits most full-size KitchenAid stand mixers, but check compatibility with your mixer's model and year before buying. Fit and power affect performance.
Why is my ice cream grainy instead of smooth?
Grainy texture usually comes from slow cooling, warm ingredients, or insufficient churning. Make sure the base is well-chilled and the bowl or compressor is cold before starting.
How long should I churn before adding mix-ins?
Add mix-ins in the final 2–5 minutes of churning. This allows them to disperse without getting crushed or sinking.
Conclusion
Understanding how does the kitchenaid ice cream maker work gives you control over texture, timing, and flavor. The machine only speeds up a process that depends on cold and motion: cool the base, apply a cold surface, and churn steadily. Try the steps and tips here, and you’ll see better batches with less guesswork.
Takeaway: start with a cold base, respect chill times, and add inclusions late. If you experiment with these basics, you’ll make ice cream you’re proud to share. Leave a comment with your favorite recipe or question, and consider subscribing for more hands-on kitchen guides.