
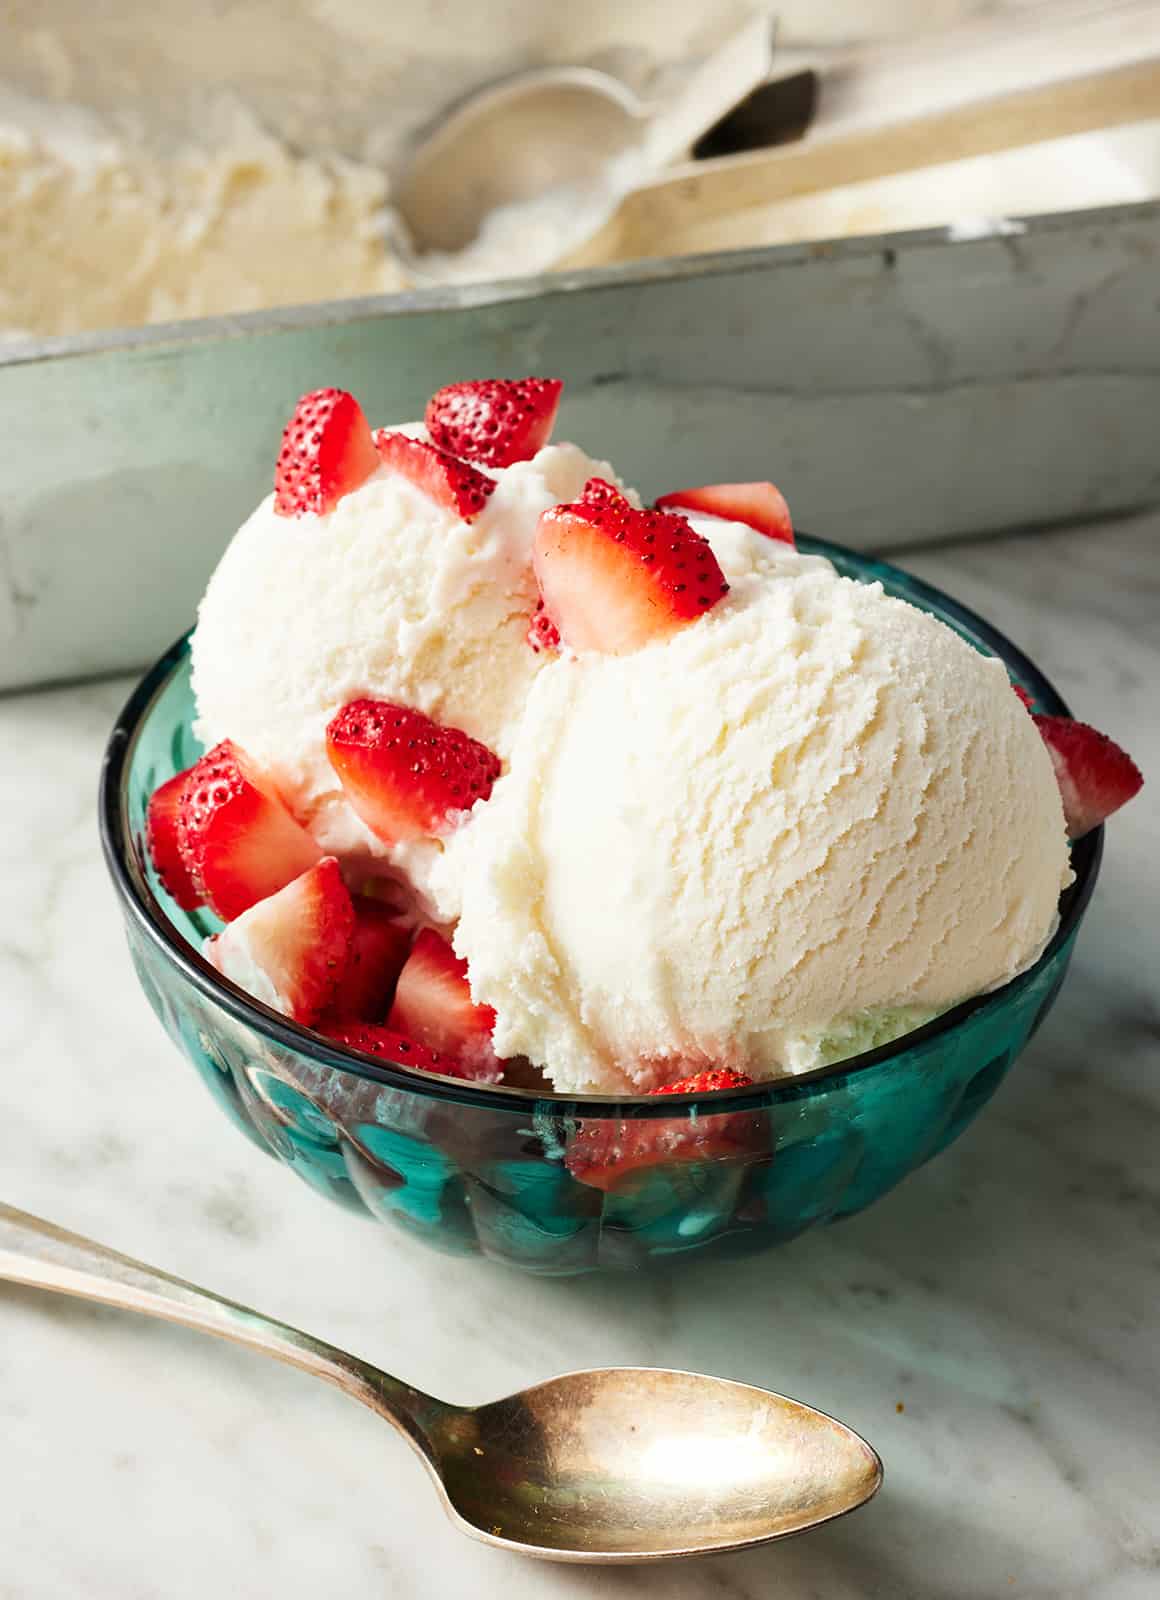
Let homemade ice cream harden in the freezer for 4 to 6 hours for scoopable texture.
I’ve made dozens of batches and taught kitchen classes on frozen desserts, so I know how long to let homemade ice cream harden and why it matters. This guide walks you through proven timelines, the science behind freezing, practical tips, and mistakes I learned the hard way. You’ll leave confident about timing, storage, and how to get perfect scoopable ice cream every time.

Why proper hardening matters
How long to let homemade ice cream harden affects texture, flavor, and scoopability. If you don’t harden it enough, the mix will be soft and oily. If you over-freeze it, ice crystals can form and mute flavors. Knowing the right hardening time helps you balance creaminess and firmness for best results.

Typical hardening timeline by method
Different freezing methods need different times. Below are clear timelines you can follow.
-
Freezer-only (no ice cream maker):
- Hardens in 6 to 12 hours.
- Best if you stir every 30 to 60 minutes during the first 3 hours.
-
Ice cream maker then freezer:
- Freeze in machine until soft-serve (20 to 40 minutes).
- Transfer to freezer and harden 4 to 6 hours for scoopable texture.
-
Quick-freeze shallow container method:
- Use a wide, shallow pan to freeze faster.
- Hardens in 3 to 4 hours, check after 3 hours.
-
Blast or commercial freezer:
- Hardens in 1 to 3 hours depending on equipment.
- Often used for professional shops.
These timelines answer the common question of how long to let homemade ice cream harden for different setups. Adjust times for flavor, fat, and sugar content.

Factors that affect hardening time
Several variables change how long to let homemade ice cream harden. Understand them to predict timing and avoid surprises.
- Fat content: Higher fat mixes stay softer and may need longer to reach scoopable firmness.
- Sugar and alcohol: Both lower the freezing point and increase softness, requiring more hardening time.
- Container shape: Wide, shallow containers freeze faster. Deep, narrow ones take longer.
- Initial temperature: Chill the mix in the fridge first. A cold base freezes faster in the freezer.
- Freezer temperature and load: A colder, less crowded freezer shortens hardening time.
Control these factors to reliably hit your target timeframe.
Tips to get perfect hardening consistently
Small steps yield big improvements. Follow these practical tips I use every time.
- Chill the base: Refrigerate your custard or mix for at least 4 hours before churning. This speeds freezing and improves texture.
- Use an ice bath: Cool hot custard quickly in an ice bath to limit time at unsafe temperatures.
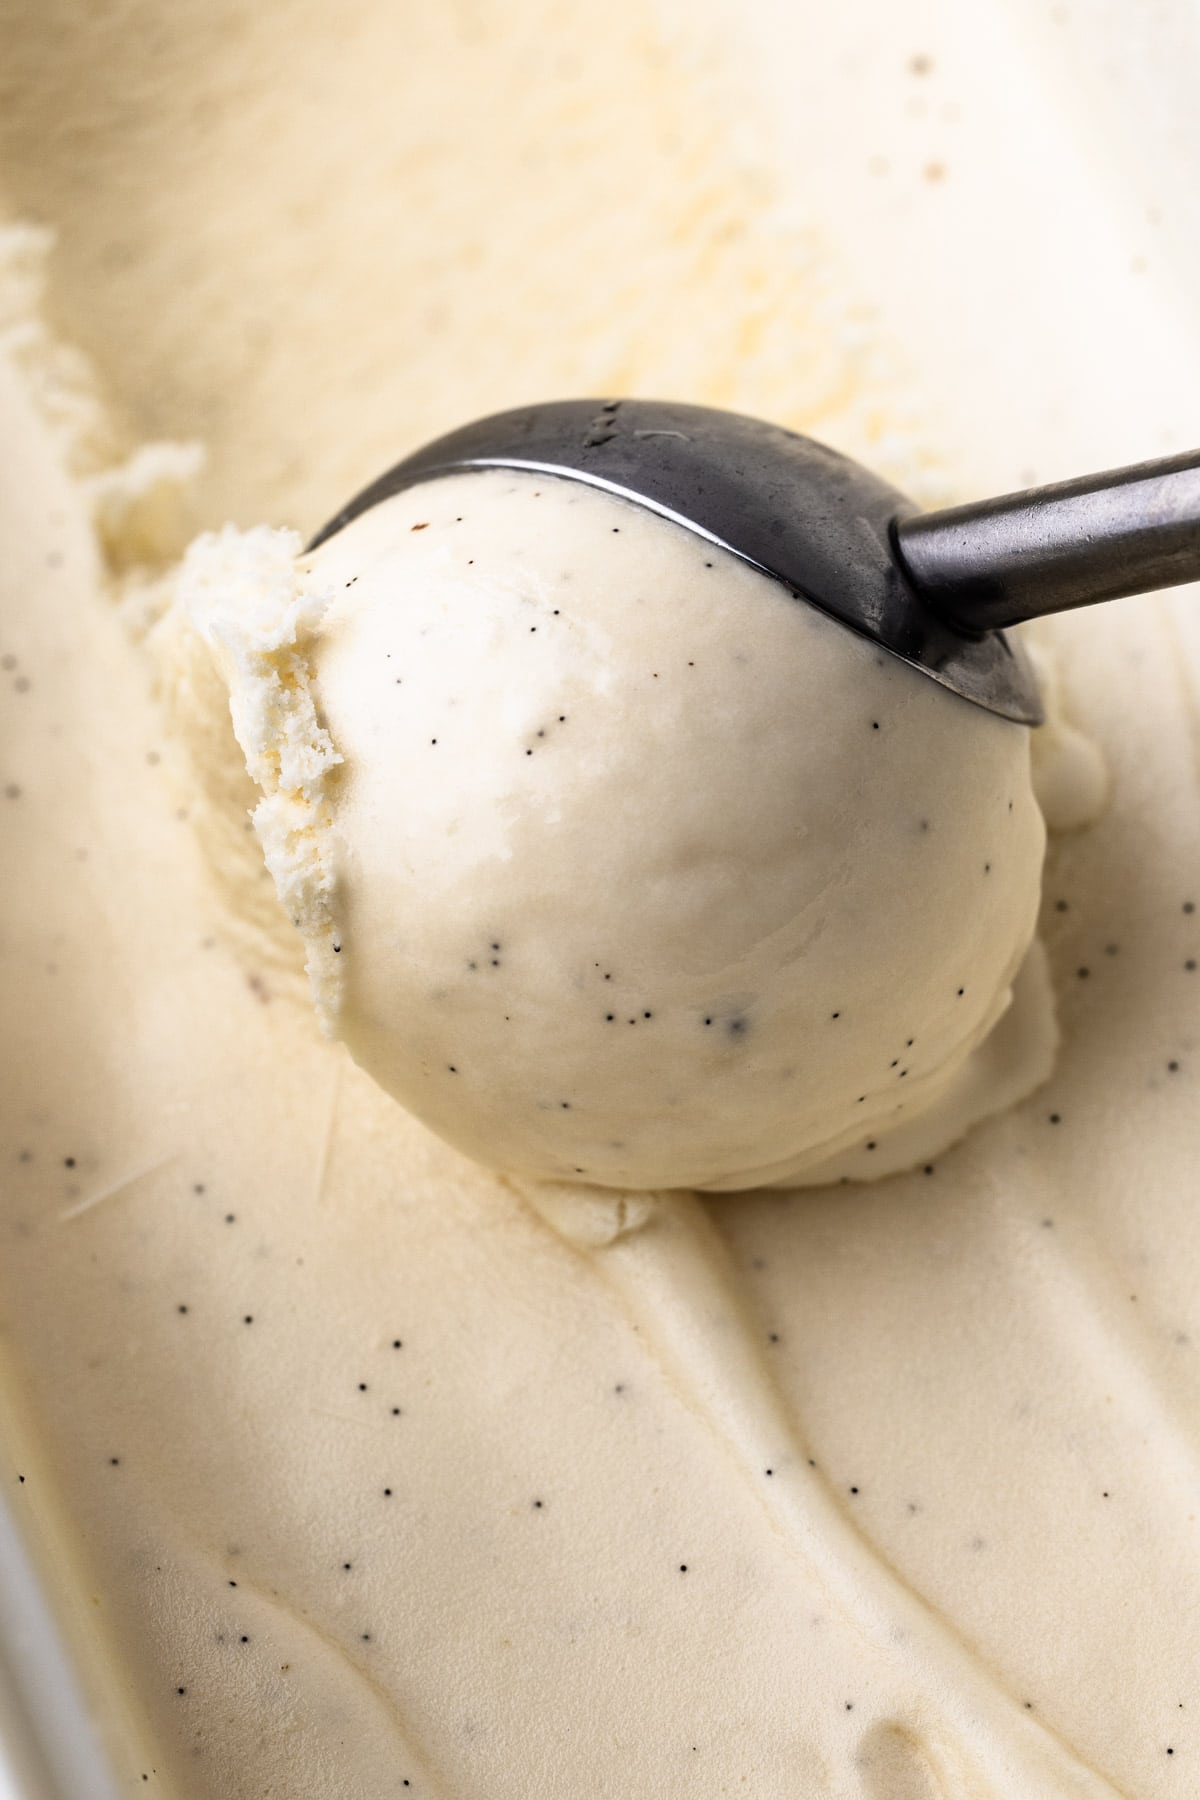
- Pack containers correctly: Smooth the surface, press plastic wrap directly on top to limit ice crystals, then seal with lid.
- Label with time: Write the time you placed it in the freezer so you know when to check.
- Let rest before scooping: Let frozen ice cream sit 3 to 5 minutes at room temp before scooping for easier serving.
These steps answer how long to let homemade ice cream harden by helping you plan and control the process.
Common mistakes and how to avoid them
Avoid these errors that stretch hardening time or ruin texture.
- Putting warm mix directly in the freezer: This adds heat and prolongs hardening. Always chill first.
- Using deep, narrow containers: They trap the center soft and slow freezing; choose shallow pans instead.
- Skipping the “soft-pack” step: If using a machine, don’t skip the quick freeze in the freezer after churning. It needs that rest to firm up.
- Ignoring sugar/alcohol levels: Too much sweetener or liqueur keeps the mix too soft even after long hardening. Adjust recipes if needed.
Fix these and you’ll reliably hit the right hardening window every time.

Personal experience and best practices
Over years of testing, I learned practical rules for how long to let homemade ice cream harden. I once rushed a batch and served slurry ice cream at a dinner party. Guests were polite, but I vowed never to skip the final freeze. My routine now: chill mix, churn to soft-serve, transfer to a shallow container, press plastic on top, and freeze 4 to 6 hours. This routine works for most recipes and keeps my kitchen stress-free.

Frequently Asked Questions of how long to let homemade ice cream harden
How long should I let churned ice cream sit in the freezer?
Churned ice cream usually needs 4 to 6 hours to harden to scoopable texture. Longer chilling (overnight) makes it firmer for scooping and serving later.
Can I speed up hardening without harming texture?
Yes. Use a shallow, cold metal pan and set the freezer to its coldest safe setting. Check after 3 hours to avoid over-freezing and large ice crystals.
How do sugar and alcohol change hardening time?
Sugar and alcohol lower the freezing point, so they make ice cream softer and increase the time needed to harden. Reduce added alcohol or increase solids if you want firmer results.
Is it safe to store homemade ice cream for a long time?
Yes, if stored in airtight containers with minimal air exposure. For best quality, consume within 2 to 4 weeks to avoid ice crystal growth and flavor loss.
What’s the best container for hardening ice cream?
Wide, shallow, airtight containers work best. They freeze evenly and reduce center softness. Press plastic wrap on the surface before sealing to prevent ice crystals.
Conclusion
Knowing how long to let homemade ice cream harden turns good ice cream into great ice cream. Follow the timelines, control the key factors, and use the practical tips above to get consistent results. Try my chill, churn, shallow-freeze routine and note the times on the container—then adjust for your freezer and recipe. Ready to make a perfect batch? Try one tonight, leave a comment with your recipe, or subscribe for more simple tips and recipes.