
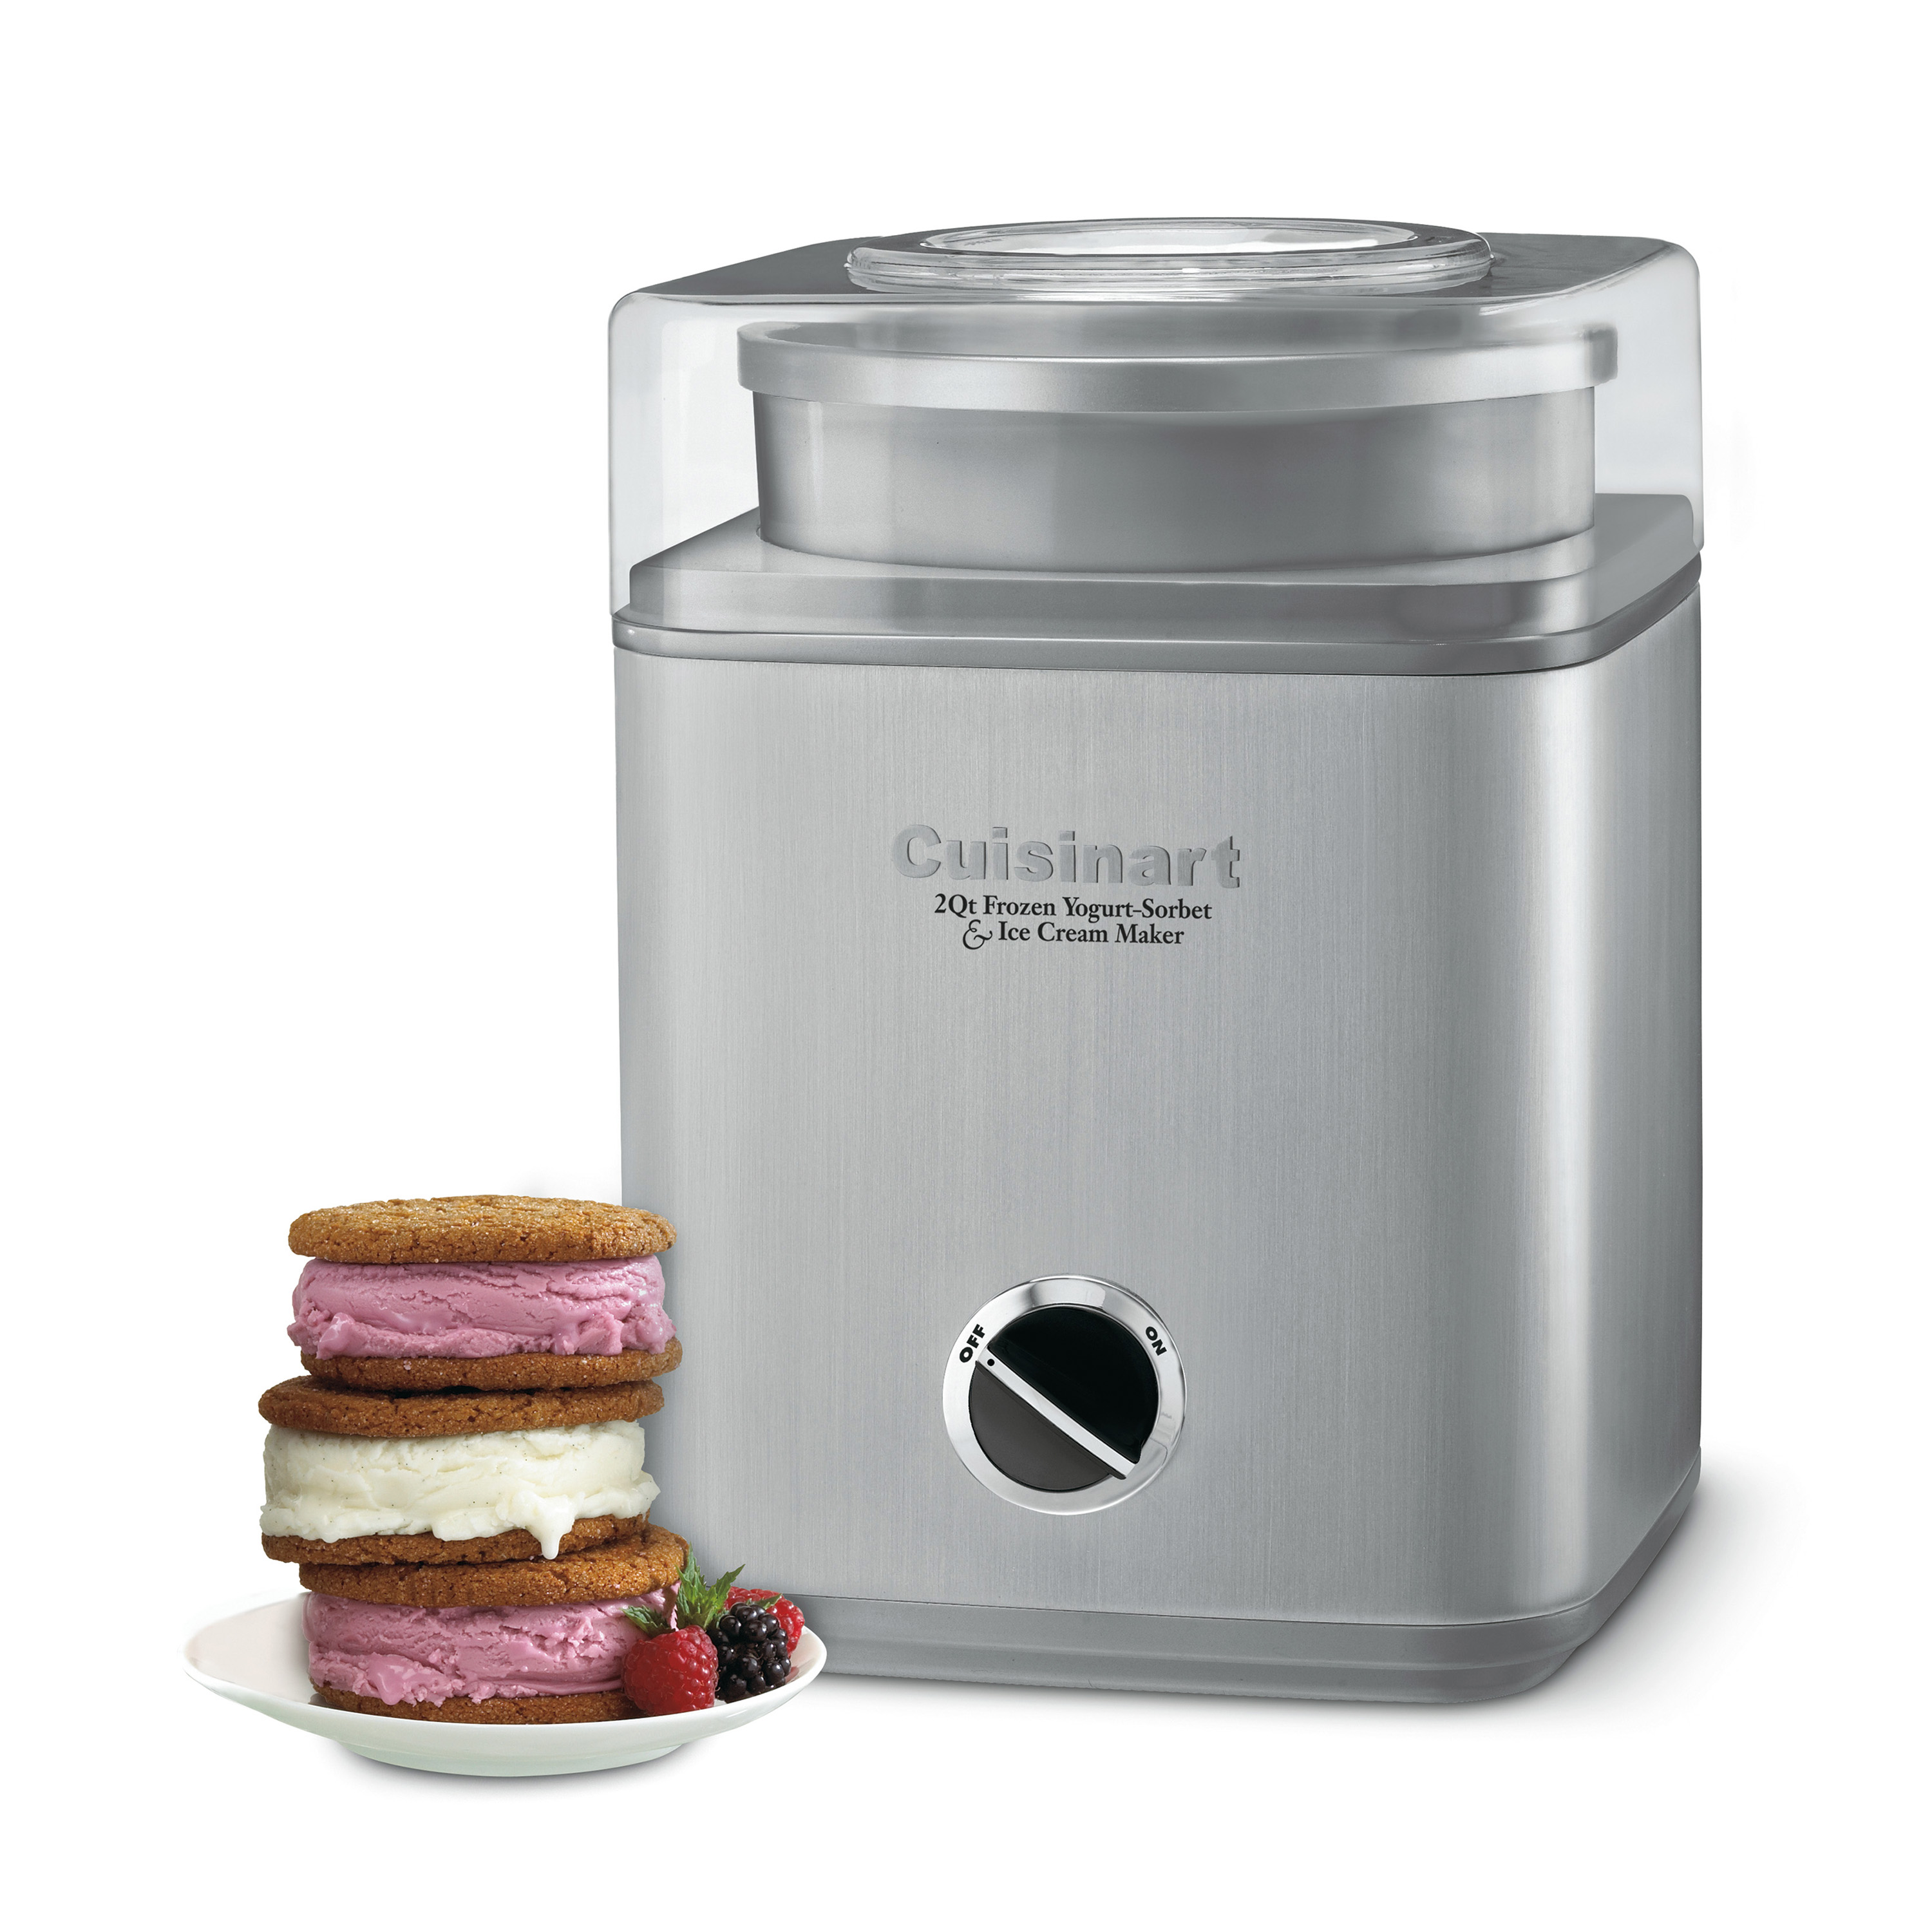
Attach the frozen bowl, insert the dasher, connect the drive socket, snap on the lid, and plug in.
I have assembled and tested multiple Cuisinart machines in my kitchen and for friends. This guide teaches how to assemble a cuisinart ice cream maker step by step. I explain parts, clear steps, common mistakes, and tips from my hands-on experience. Read on to confidently set up your machine and start churning perfect ice cream.

Tools and parts checklist
Before you start, gather parts and workspace. A clean counter and a towel help keep things tidy. This checklist makes assembling a cuisinart ice cream maker quick and safe.
- Frozen freezer bowl
- Dasher (paddle)
- Motor base
- Drive socket or coupling
- Lid with opening (and measuring cap if included)
- Power cord
- Scoop and spatula for later use
I once tried to assemble without checking for the frozen bowl. That led to wasted time and a soft churn. Make sure the bowl has been frozen per the manufacturer’s instructions. This avoids poor freezing and motor strain.
 assembly guide”
style=”max-width: 100%; height: auto; border: 2px solid black; border-radius: 10px; display: block; margin: 0 auto;”
loading=”lazy”
/>
Step-by-step assembly guide
Follow these clear steps to assemble a cuisinart ice cream maker. Read all steps first, then do them in order.
- Prepare the frozen bowl
- Remove the bowl from the freezer.
- Wipe off any frost or moisture with a dry towel.
- Let it sit for one minute if surface ice is thick.
- Place the motor base
- Set the motor base on a stable, level surface.
- Ensure the base is dry and away from edges.
- Install the frozen bowl
- Lower the frozen bowl into the motor base.
- Align any tabs or grooves until the bowl sits flush.
- Attach the dasher (paddle)
- Insert the paddle into the bowl, aligning with the drive shaft.
- Push gently until it fits securely; do not force.
- Connect the drive socket or coupling
- Check that the drive socket is seated on the motor shaft.
- If your model requires a separate coupling, snap it into place.
- Place the lid
- Set the lid on top and align it with the opening.
- Lock or twist the lid if your model has a locking mechanism.
- Plug in and test run
- Plug the unit into a suitable outlet.
- Turn it on briefly to check rotation before adding mix.
When you first assemble, watch the paddle for wobble. A wobbling paddle means something is misaligned. Correct alignment prevents damage and ensures smooth churning.
Tips, common mistakes, and best practices
A few simple habits make assembling and using your machine easier. These tips are from hands-on use and help avoid common problems.
- Always freeze the bowl for the recommended time to reach proper firmness.
- Dry the bowl surface to prevent ice build-up that blocks the paddle.
- Inspect the drive socket for wear before each use; replace if cracked.
- Avoid overfilling the bowl; check your model’s max fill line.
- Do a short test run after assembly to ensure smooth rotation.
A common mistake is forcing the paddle onto the shaft. If it resists, remove and realign instead of pushing hard. I learned that the hard way and ended up needing a replacement paddle for one unit.

Cleaning, storage, and maintenance
Proper care extends the life of your ice cream maker. Clean parts promptly and store them correctly.
- Unplug the unit and remove the bowl and paddle.
- Wash the paddle and lid in warm, soapy water. Rinse and dry.
- Do not immerse the motor base in water; wipe it with a damp cloth.
- Store the bowl in the freezer in a protective sleeve or bag to prevent odors.
- Check seals and couplings periodically for cracks or wear.
After many uses, rubber parts may become stiff. Replace worn seals to keep performance steady. Regular cleaning prevents flavor transfer and keeps texture consistent.
Safety and troubleshooting
Safety keeps your kitchen comfortable. Quick fixes solve most minor problems when you assemble a cuisinart ice cream maker.
- Do not operate without the frozen bowl in place.
- Keep hands, utensils, and children away from moving parts.
- If the motor hums but paddle doesn’t turn, unplug and check coupling alignment.
- If the machine overheats, let it cool for at least 30 minutes before retrying.
- For persistent electrical issues, contact support or a qualified technician.
If your paddle slips during churning, the drive coupling may be worn. Replacing the coupling often restores full function. I always keep a spare coupling on hand after replacing one that failed mid-churn during a family gathering.

Frequently Asked Questions of how to assemble a cuisinart ice cream maker
How long should the freezer bowl be frozen before assembly?
Freeze the bowl for at least 12 to 24 hours, depending on the model. A fully frozen bowl ensures proper freezing and prevents soft or runny results.
Can I assemble the machine without freezing the bowl first?
You can assemble it, but do not run the unit without a frozen bowl. Running without a frozen bowl risks motor damage and poor results.
What do I do if the dasher won't fit onto the shaft?
Turn off and unplug the unit, remove the dasher, and realign it with the shaft. Do not force it; check for obstructions or wrong orientation.
How much mixture should I put in the bowl?
Fill to the maximum fill line or about two-thirds full for best expansion during churn. Overfilling can block the paddle and strain the motor.
Is it safe to wash the frozen bowl in hot water?
Avoid hot water on a frozen bowl; it can cause cracks from thermal shock. Let it thaw slightly and wash in warm, not hot, water.
Why does the motor hum but the paddle not turn?
A humming motor usually means the drive coupling or socket is misaligned or worn. Unplug, check alignment, and replace worn parts if needed.
Conclusion
Assembling a cuisinart ice cream maker is simple when you follow clear steps and check parts first. Start with a fully frozen bowl, align the paddle and drive, and test rotation before adding mix. Small habits like drying the bowl and inspecting seals make a big difference in results and longevity. Try a basic recipe after assembly and tweak timing for your perfect texture. If this helped, try another flavor, share your results, or leave a comment below.