
Assembling a food processor might seem daunting, but it’s a straightforward process when you know the steps. This guide breaks down how to assemble a food processor, from identifying components to locking the lid securely. You’ll learn the correct order to attach the work bowl, blade, and lid, ensuring your appliance is both safe and ready for efficient food prep. Proper assembly is crucial for safety and optimal performance, preventing common issues and letting you enjoy the full benefits of your kitchen companion.
How to Assemble Food Processor Step by Step
Welcome to the exciting world of efficient food preparation! A food processor is a true kitchen workhorse, capable of everything from finely chopping vegetables and mixing dough to shredding cheese and pureeing sauces. But before you can unleash its culinary power, you need to know how to assemble food processor correctly and safely.
Don’t worry if it looks like a puzzle with many pieces. Assembling a food processor is usually a simple, logical process once you understand the basic steps and the purpose of each component. This comprehensive, step-by-step guide will walk you through everything you need to know to get your appliance up and running. We’ll cover identifying the parts, putting them together in the right order, and ensuring everything is secure for safe operation.
By the end of this guide, you’ll be a pro at assembling a food processor, ready to tackle any recipe that comes your way. Let’s get started and make your cooking life a whole lot easier!
Key Takeaways
- Safety First: Always ensure your food processor is unplugged before you begin assembly or handling any blades. This prevents accidental activation and potential injury.
- Understand Your Components: Familiarize yourself with all the parts – the power base, work bowl, various blades/discs, lid, and food pusher – to ensure correct placement.
- Secure the Work Bowl: The work bowl must be correctly seated and locked onto the power base before any other components are added. Listen for a click or check for a secure fit.
- Handle Blades with Care: Food processor blades are extremely sharp. Always hold them by the plastic hub or center, never by the cutting edge, when inserting or removing.
- Lid Locking Mechanism: The lid must be properly aligned and locked into place. Most food processors have a safety interlock that prevents the motor from running if the lid isn’t secure.
- Follow Manufacturer’s Manual: While this guide covers general assembly, always refer to your specific model’s instruction manual for precise details, as designs can vary.
- Test for Proper Assembly: Before adding food, gently attempt to turn the appliance on (after plugging it in) to ensure all safety mechanisms are engaged and it’s ready to operate.
Safety First! Pre-Assembly Checklist
Before you even think about putting pieces together, safety must be your top priority. Food processors contain very sharp blades and powerful motors.
Always Unplug
Ensure the food processor’s power cord is completely unplugged from the electrical outlet. This is the golden rule! You don’t want any accidental starts while your hands are inside the bowl or near the blades.
Read Your Manual
Every food processor model can have slight variations in design and assembly. Take a few minutes to glance over your specific model’s instruction manual. It often contains diagrams and specific locking instructions unique to your appliance. If you prefer a visual aid, many manufacturers also offer a how to assemble a food processor step by step video guide that can be very helpful.
Clean All Parts
Before the first use, or after storage, wash all removable parts (work bowl, lid, blades, accessories) with warm, soapy water. Rinse them thoroughly and dry them completely. This removes any manufacturing residue and ensures your food is prepared hygienically.
Find a Stable Surface
Set up your food processor on a clean, dry, flat, and stable countertop. This prevents the appliance from tipping over during assembly or operation.
Step 1: Unboxing and Identifying Components
Let’s get acquainted with the various parts of your food processor. Carefully unpack everything from the box and lay the components out on your clean surface.
The Power Base
This is the heaviest part of your food processor. It houses the motor and the controls (buttons or dials). It will have a central drive shaft or spindle where the work bowl attaches. Always keep the power base away from water, as it contains electrical components.
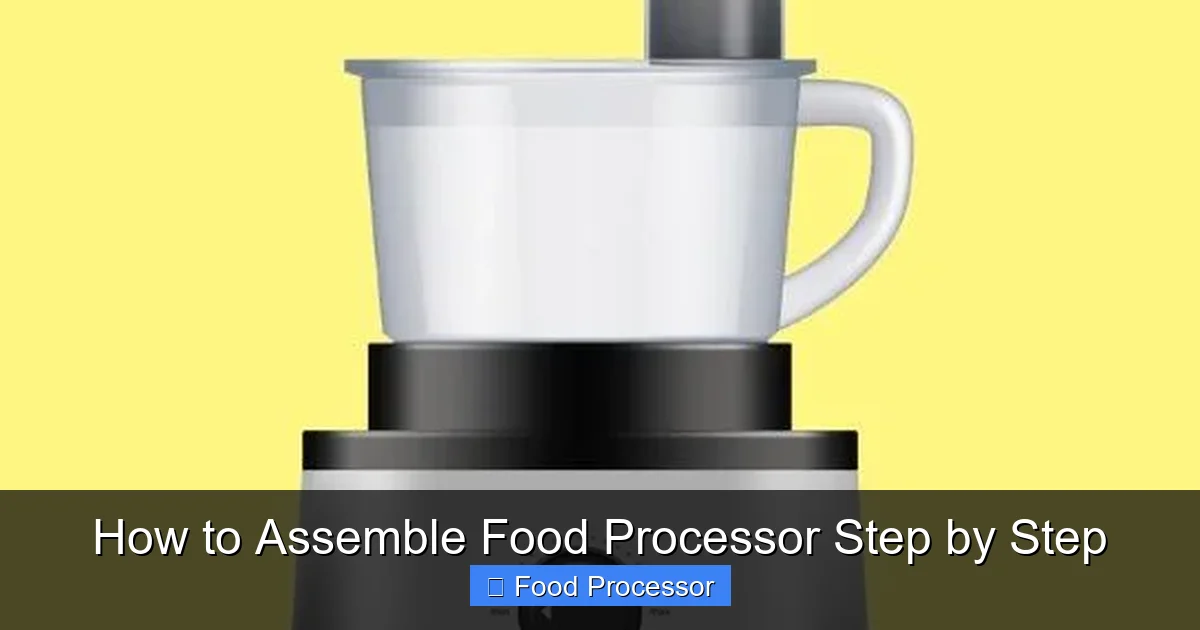
The Work Bowl
This is the main container where your food processing magic happens. It’s usually a clear plastic bowl with a handle and a spout. The bottom of the work bowl will have an opening that fits over the power base’s drive shaft.
The Blade/Disc
This is where the cutting, chopping, and shredding power comes from.
- S-Blade (Chopping/Mixing Blade): This is the most common blade, shaped like an “S” with sharp edges. It’s used for chopping, mincing, pureeing, and mixing. Handle it with extreme care; it’s very sharp! Always hold it by the plastic hub in the center, not the blades themselves.
- Dough Blade (Plastic Blade): Some food processors include a plastic dough blade, which is less sharp and designed for kneading dough without overworking it.
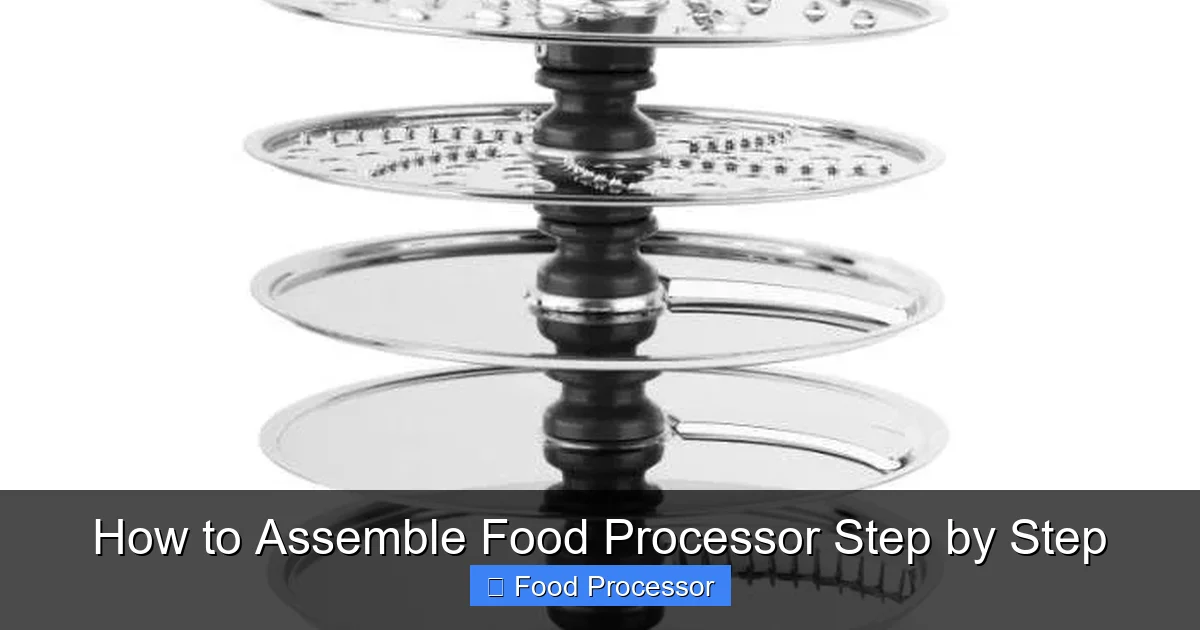
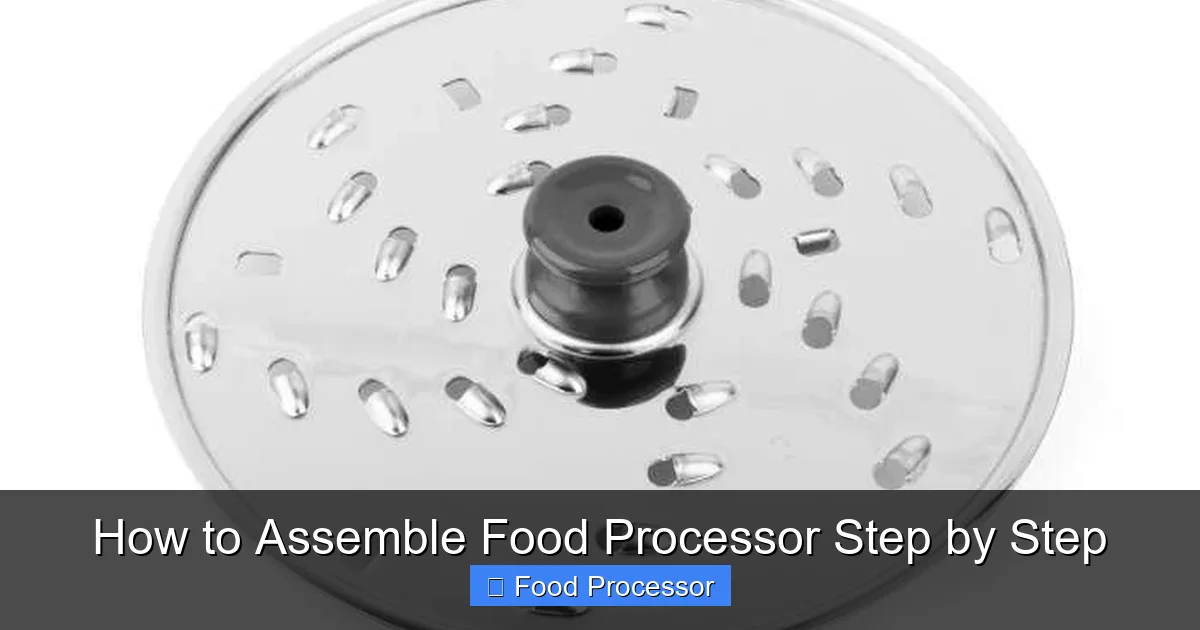
- Slicing/Shredding Discs: These are flat, round discs with various holes or blades. They sit on top of a spindle inside the work bowl. You might have reversible discs (one side for slicing, the other for shredding) or individual discs for fine/coarse shredding or thick/thin slicing.
The Lid with Feed Tube
The lid covers the work bowl and typically features a “feed tube” or “chute” where you insert food items. Crucially, the lid also contains safety interlocks that prevent the food processor from running if it’s not properly secured.
The Food Pusher
This is a plunger-like accessory that fits inside the feed tube of the lid. It’s used to safely push food down towards the rotating blade or disc while the machine is operating, keeping your fingers well clear of danger.
Other Attachments
Depending on your model, you might also find:
- Mini bowl and mini blade (for smaller batches)
- Whisking attachment
- Citrus juicer attachment
- Spatula
- Storage case for blades
Step 2: Placing the Power Base
First things first, position the heart of your food processor.
Set on a Stable Surface
Place the power base firmly on your chosen clean, flat, and stable countertop. Ensure it’s close enough to an electrical outlet for future use, but remember, keep it unplugged for now.
Ensure Adequate Space
Make sure there’s enough clearance around the base for you to comfortably assemble the other parts and for the lid to rotate and lock without hitting overhead cabinets or other appliances.
Step 3: Attaching the Work Bowl
The work bowl is the foundation for all the other components.
Align the Work Bowl
Pick up the work bowl by its handle. Look at the bottom of the work bowl and the top of the power base. You’ll see notches, tabs, or a central opening that needs to align.
Lower and Rotate
Carefully lower the work bowl onto the power base. It might initially sit a little loosely. Once it’s seated, gently rotate the work bowl clockwise (or counter-clockwise, depending on your model) until it locks into place.
Listen for the Click
Many models will make an audible “click” when the work bowl is securely locked. The handle of the work bowl will usually align with a specific position on the power base (often to the front or slightly to the right). If it doesn’t click, try rotating it slightly more or lifting it and reseating it. It should feel stable and not wobble when properly locked.
Tip: If your work bowl seems resistant to locking, double-check that nothing is obstructing the base’s spindle or the bowl’s bottom. Sometimes a stray piece of packaging or a crumb can prevent a secure fit.
Step 4: Inserting the Blade or Disc
This step requires extreme caution due to the sharp edges.
Choose the Right Attachment
Decide what you’re doing. Are you chopping with the S-blade? Kneading with the dough blade? Or slicing/shredding with a disc? Select the appropriate attachment.
For S-Blade or Dough Blade
- Hold by the Hub: Carefully pick up the S-blade (or dough blade) by its central plastic hub. NEVER touch the sharp blades directly.
- Place on Spindle: Lower the blade onto the drive shaft (spindle) inside the center of the work bowl. It should slide down easily and rest securely on the bottom of the bowl. It does not usually “lock” in place but rather sits on the spindle, ready to rotate.
For Slicing/Shredding Discs
- Insert Drive Adapter: Many food processors require you to first place a drive adapter or stem onto the central spindle in the work bowl. This adapter then holds the disc.
- Place Disc on Adapter: Carefully place your chosen slicing or shredding disc onto the drive adapter. Ensure the cutting edge is facing upwards (unless it’s a reversible disc and you want to use the underside). The disc should rest securely and level.
- Consider a Storage Hub: Some food processors have a specialized storage hub for discs, which can be useful when you want to get the most out of your food processor by keeping accessories organized and easily accessible.
Safety Tip: Always insert the blade BEFORE adding any food to the work bowl. This prevents accidental contact with the blade while trying to push food past it.
Step 5: Securing the Lid
The lid is the final and often most crucial safety component.
Align the Lid
Place the lid onto the work bowl. Look for alignment arrows, tabs, or indicators on both the lid and the work bowl handle. The feed tube on the lid will generally align with the front of the food processor, or slightly to the right of the handle.
Rotate and Lock
Gently press down on the lid and rotate it clockwise (or counter-clockwise, again, depending on your specific model) until it locks into place. You should hear a click, and the lid should feel firmly secured.
The Safety Interlock
Modern food processors have a safety interlock system. This means the motor will not operate unless both the work bowl and the lid are correctly locked into their respective positions. This is a vital safety feature designed to prevent injuries from the spinning blades. If your food processor won’t turn on later, a misaligned lid is often the culprit.
Tip: Don’t force the lid. If it’s not locking, gently remove it and try realigning it. Sometimes the angle is just slightly off.
Step 6: Positioning the Food Pusher
While the food processor is still unplugged, you can place the food pusher in the feed tube.
Insert into Feed Tube
Slide the food pusher into the feed tube opening in the lid. It should fit snugly but slide easily.
Don’t Force It
The food pusher is designed to fit specific dimensions. If it feels stuck, check for any obstructions in the feed tube. The food pusher is used only when the machine is running to guide food towards the blade, so it doesn’t need to be locked in place during assembly.
Step 7: Testing for Proper Assembly
Once everything is assembled, it’s a good idea to perform a quick check.
Visual Inspection
Look over your food processor. Is the base stable? Is the work bowl firmly locked? Is the blade centered and resting correctly? Is the lid securely clicked into place?
Gentle Tug
Give the work bowl and lid a gentle tug. They should not lift off or rotate freely if properly locked.
Ready to Process! Using Your Assembled Food Processor
Congratulations! You’ve successfully learned how to assemble your food processor. Now you’re ready for the fun part.
Plug it In
Once you’re satisfied with the assembly, plug the power cord into a grounded electrical outlet.
Add Food
Add your ingredients to the work bowl. If using the S-blade, add ingredients directly to the bowl (ensure they don’t exceed the ‘max fill’ line). If using a slicing or shredding disc, place food into the feed tube.
Start Processing
Turn your food processor on using the appropriate control button or dial. Use the food pusher to guide ingredients down the feed tube if using a disc. If you encounter issues, like the appliance not turning on, refer to our guide on how to fix a food processor that isn’t turning on, as assembly issues are a common cause. For a comprehensive guide on its functions, check out how to use your food processor step by step.
Tips for Smooth Food Processor Assembly
- Practice Makes Perfect: The first few times might feel a little awkward, but with practice, assembling your food processor will become second nature.
- Cleanliness is Key: Keeping your parts clean and free of dried food residue will ensure they fit together smoothly every time.
- Store Safely: When not in use, disassemble the food processor, clean the parts, and store blades safely in their designated storage containers or away from reach to prevent accidents.
- Don’t Force It: If a part isn’t fitting, don’t try to force it. Re-evaluate the alignment and try again. Forcing parts can damage your appliance.
- Check for Wear and Tear: Periodically inspect the plastic parts for cracks or damage, especially the work bowl and lid. Damaged parts can compromise the safety interlock and overall function.
Troubleshooting Common Assembly Issues
Sometimes, despite following the steps, you might encounter a minor hiccup. Here are a few common issues and their quick fixes.
The Work Bowl Won’t Lock into the Power Base
Possible Causes: Incorrect alignment, obstruction on the spindle, or residue on the base/bowl.
Solution: Lift the work bowl off completely. Check the central spindle on the power base for any debris. Realign the work bowl and try rotating it again firmly until it clicks. Ensure the handle is aligned with the front or a designated mark on the power base.
Visual guide about How to Assemble Food Processor Step by Step
Image source: catchyfinds.com
Visual guide about How to Assemble Food Processor Step by Step
Image source: catchyfinds.com
Visual guide about How to Assemble Food Processor Step by Step
Image source: catchyfinds.com
The Lid Won’t Close or Lock
Possible Causes: Work bowl not properly locked, lid misaligned, or safety tab not engaging.
Solution: First, ensure the work bowl is securely locked onto the power base. Then, remove the lid, check for any obstructions in the locking tabs, and realign it carefully. Give it a firm but gentle rotation until you hear the click. Sometimes, the lid needs to be pressed down slightly while rotating.
The Food Processor Won’t Turn On After Assembly
Possible Causes: Most commonly, the safety interlock is not engaged, meaning either the work bowl or the lid (or both) are not fully locked into place. The appliance is unplugged.
Solution: Double-check that the power cord is securely plugged into a working outlet. Then, verify that the work bowl is firmly locked onto the power base and the lid is securely clicked into the work bowl. All safety tabs must be engaged for the motor to activate. If it still doesn’t turn on, you might need to consult your user manual or a repair guide for further steps. Do not attempt to bypass safety features.
Conclusion
Assembling a food processor doesn’t have to be a complicated task. By following these step-by-step instructions, prioritizing safety, and understanding how each component fits, you’ll be able to assemble your food processor with confidence every time. This powerful kitchen tool is an investment that will save you time and effort in countless recipes, from simple everyday meals to elaborate culinary creations.
Remember, practice makes perfect. Soon, you’ll be assembling your food processor quickly and efficiently, ready to chop, slice, shred, and puree your way to delicious dishes. Happy cooking!