
Attach the frozen bowl, insert dasher, fit lid, and lock base — then plug in and churn.
I have assembled and tested small ice cream machines for years. In this guide I explain how to assemble hamilton beach ice cream maker step by step. You will get clear parts lists, short steps, and smart tips I learned by doing. Read on to build confidence and finish assembly fast.

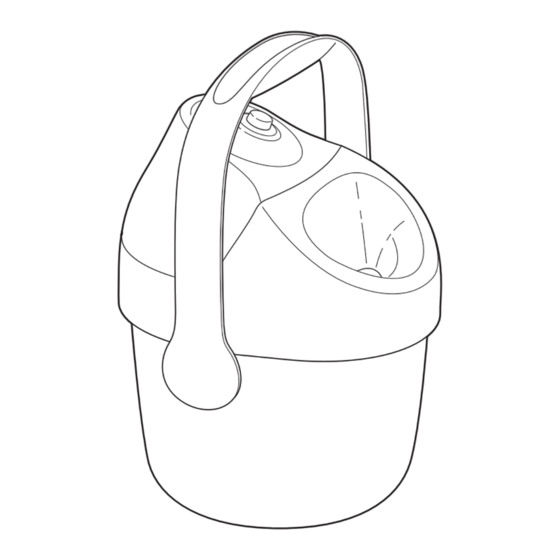
What you need before assembly
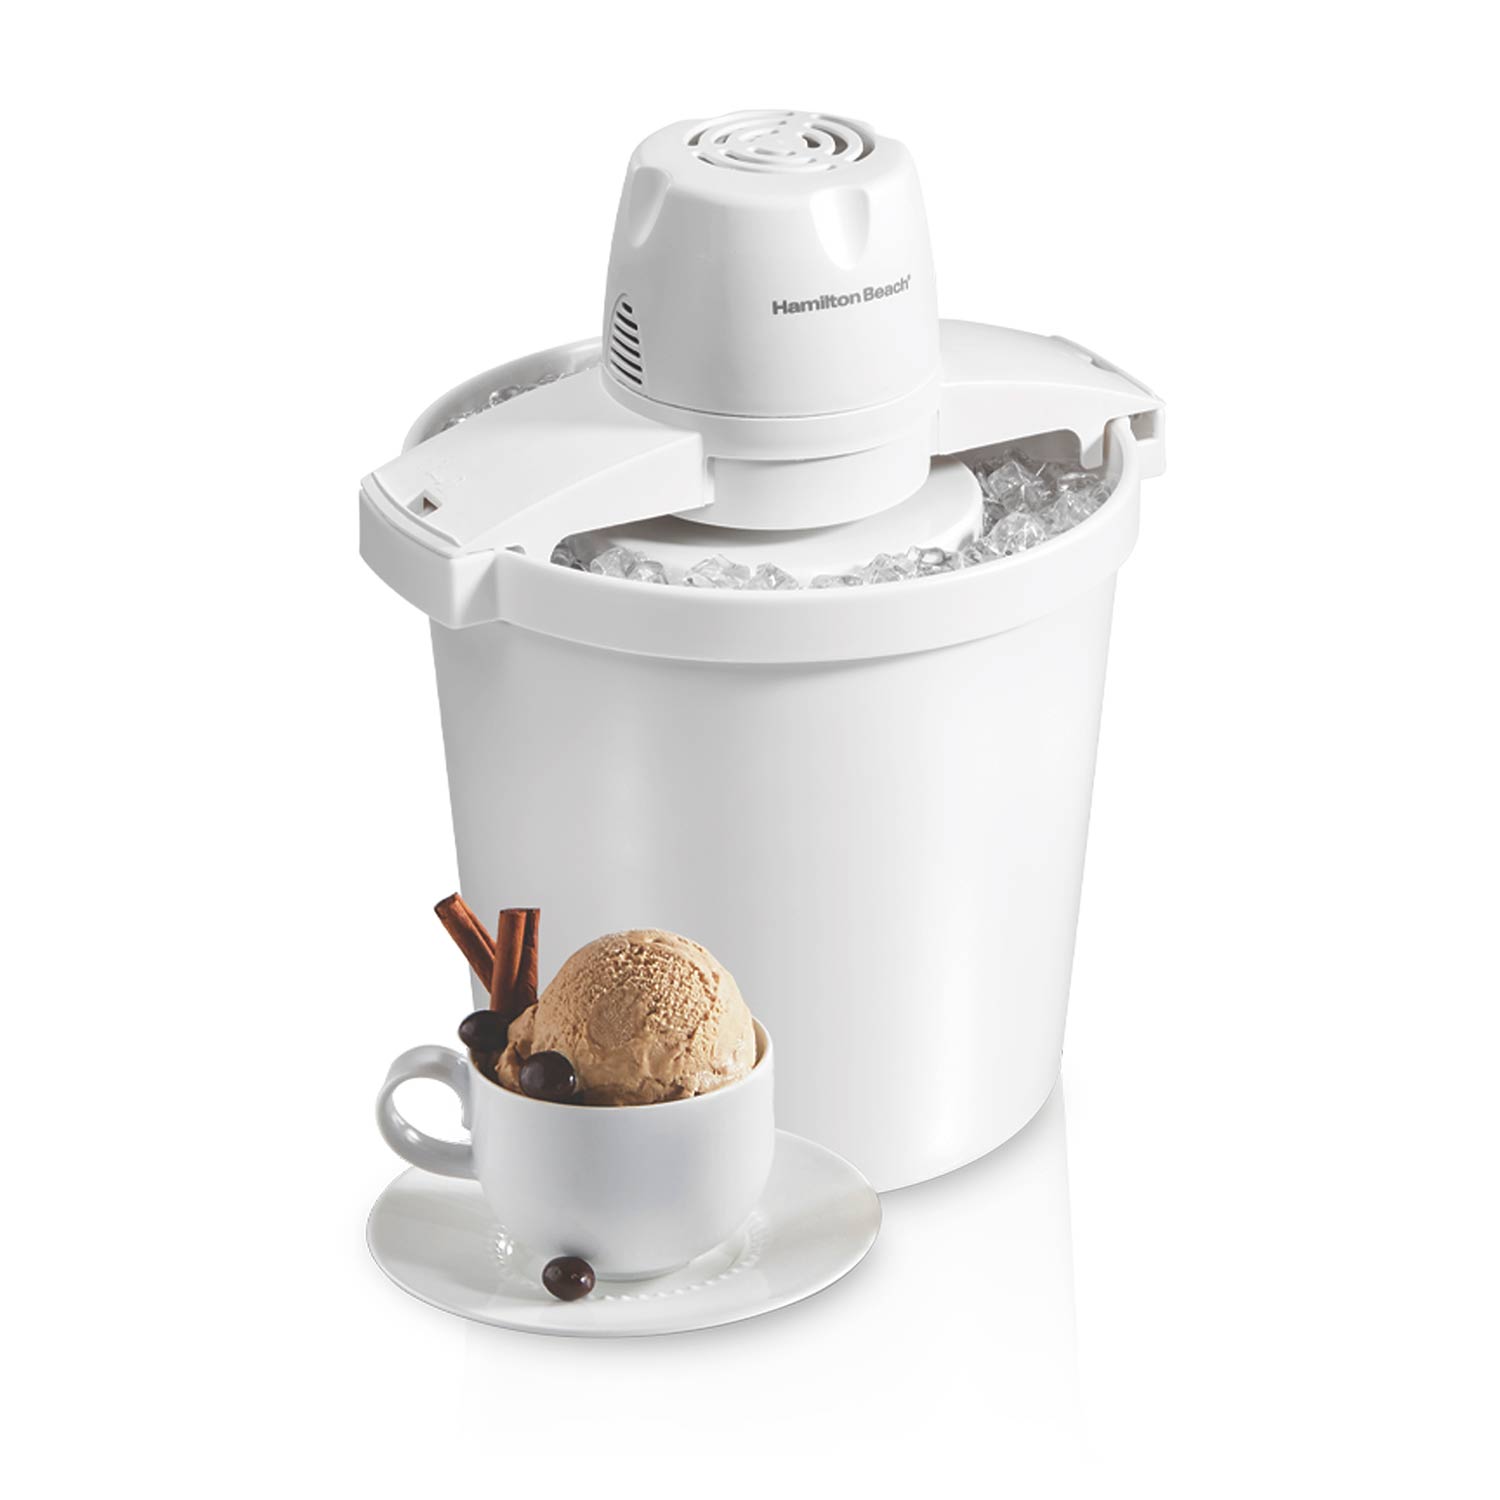
Start with a clean counter. Gather all parts. The box usually includes a frozen bowl, dasher (paddle), lid with a fill hole, and a motor base. You also need a clean towel and a power outlet.
The phrase how to assemble hamilton beach ice cream maker matters. Knowing the parts speeds things up. Below is a quick checklist.
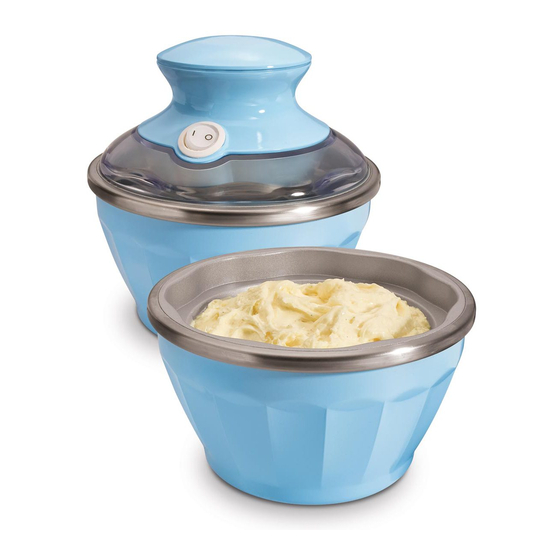
- Frozen bowl — must be fully frozen for best results.
- Dasher (paddle) — fits inside the bowl.
- Lid — snaps or locks onto the bowl.
- Motor base — holds and spins the bowl or paddle.
- Power cord — usually attached or stored under the base.
I recommend freezing the bowl flat for at least 15 hours. If you skip that, the machine won’t make firm ice cream. This guide shows how to assemble hamilton beach ice cream maker the right way.
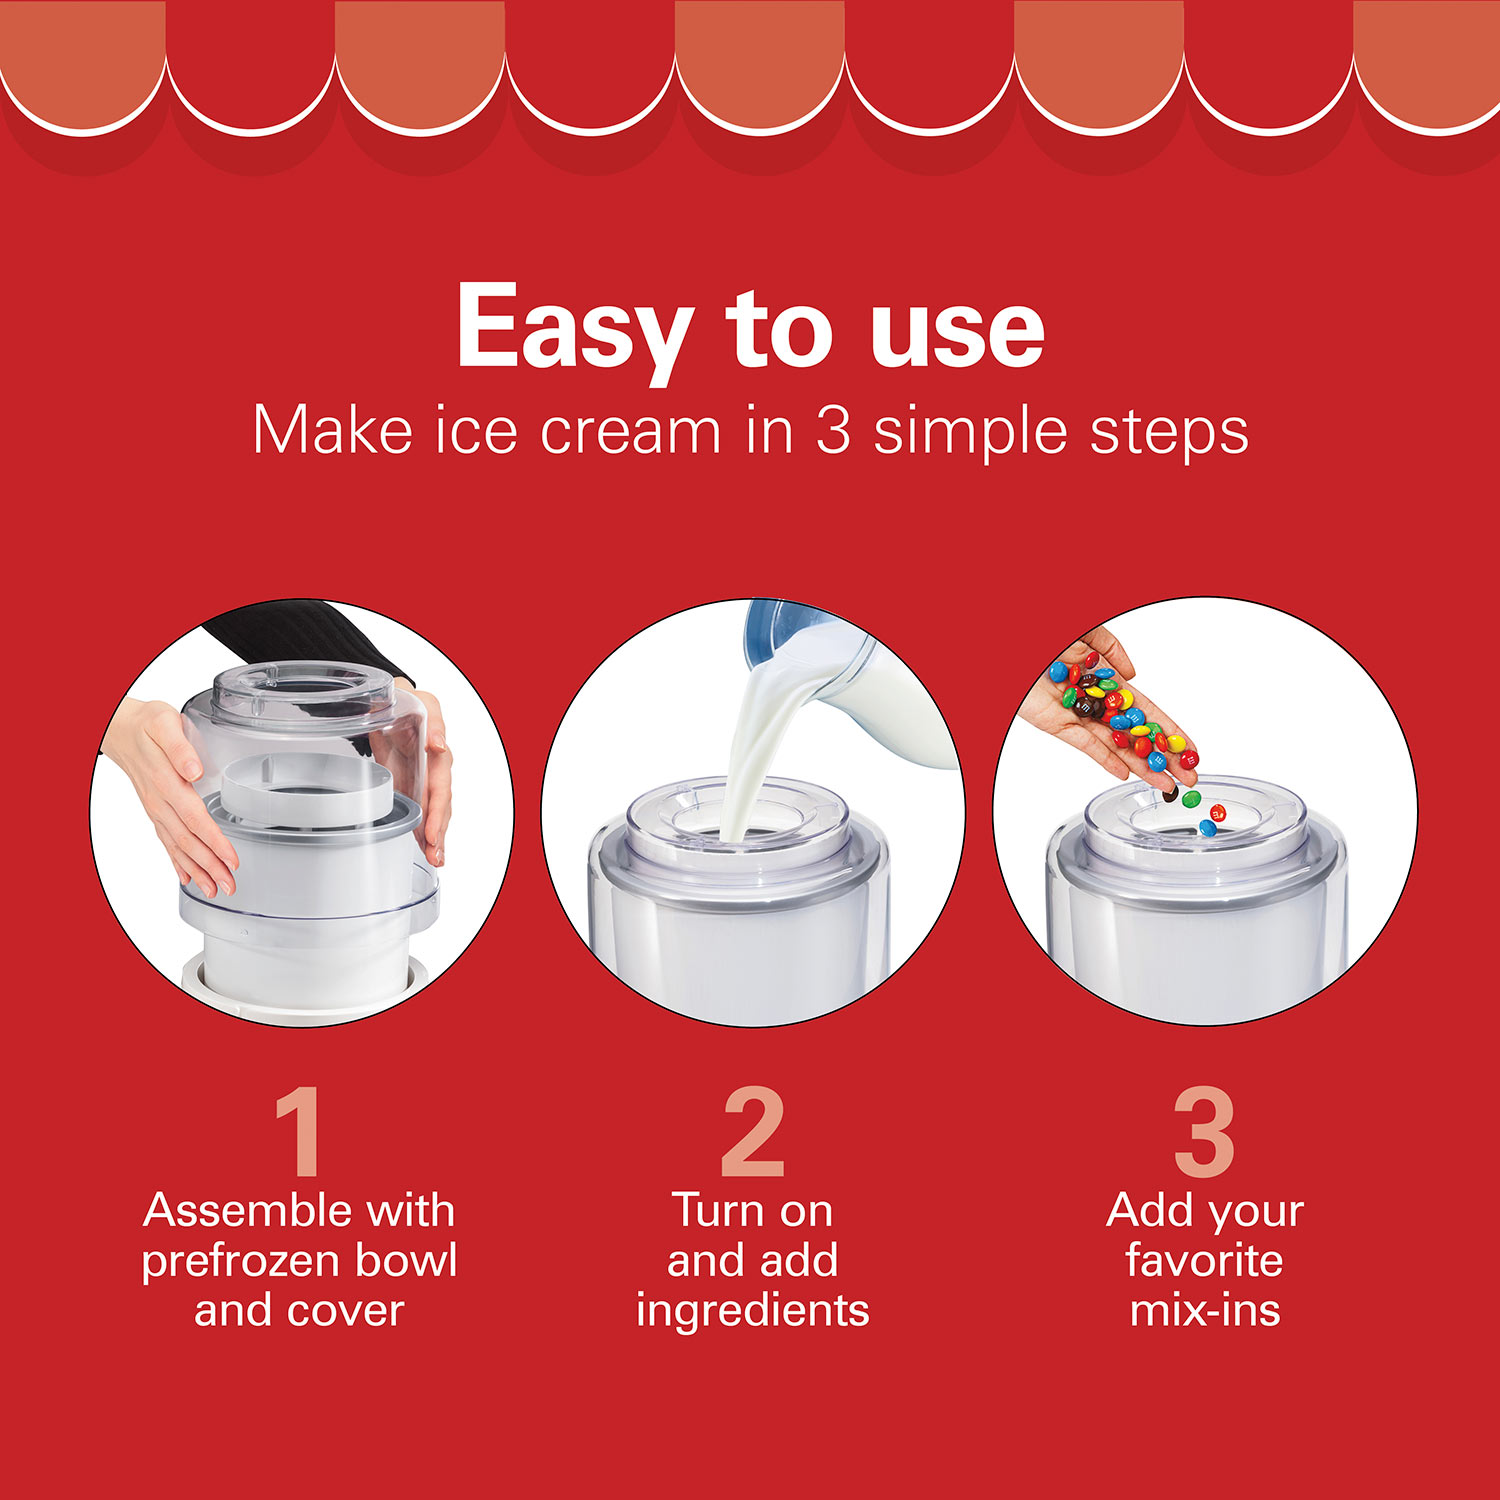
Step-by-step assembly guide
Follow these steps for safe and fast assembly. Each step is short and precise.
- Prepare the bowl
- Remove the frozen bowl from the freezer. Wipe exterior dry with a towel. Cold moisture can clog the motor.
- Place the base
- Set the motor base on a flat surface. Make sure the outlet is nearby. Keep the cord away from water.
- Insert the bowl
- Lower the frozen bowl into the base. Some models have a keyed fit. Turn slightly until it seats firmly.
- Fit the dasher
- Slide the dasher onto the motor shaft. It should sit snug but move freely. If it binds, remove and re-seat.
- Attach the lid
- Place the lid over the bowl and align the tabs. Lock or snap the lid into place. Use the fill hole to add mix later.
- Check the seal
- Ensure the lid and bowl form a good seal. A loose lid can slow freezing. Press gently to confirm lock.
- Plug in and test
- Plug the machine into the outlet. Turn it on briefly to confirm the paddle turns. Unplug before adding mix if your model requires it.
- Add mix and churn
- Add your chilled ice cream mix through the lid. Secure the lid and start the motor. Follow your model's time guide.
This clear list helps you learn how to assemble hamilton beach ice cream maker without fuss. I repeat these steps while coaching new users. They work every time.
Practical tips and common mistakes
Small habits speed assembly and prevent errors. I learned these from testing multiple machines.
- Pre-freeze the bowl as the manual advises. Short freezes make soft results.
- Dry the exterior of the bowl before you insert it. Water can slow the motor start.
- Do not force the dasher. Forcing can bend the paddle or damage the shaft.
- Add mix that is cold. Warm mix delays freezing and stresses the motor.
- Lock the lid fully. A loose lid spills or lets air in, making ice crystals.
A common mistake is rushing the freezing step. People skip it and then ask why the mix never firms. Keep things slow and steady. This keeps your machine safe and long-lived. It also shows you exactly how to assemble hamilton beach ice cream maker like a pro.
Cleaning and maintenance after assembly
Clean parts after each use. This keeps flavors pure and parts working well.
- Unplug the machine. Wait until moving parts stop.
- Remove the lid, dasher, and bowl. Wipe the bowl gently with a soft cloth.
- Wash the lid and dasher in warm, soapy water. Dry fully before storing.
- Do not submerge the motor base. Wipe it with a damp cloth only.
Store the frozen bowl flat in the freezer. If you have spare bowls, rotate them to avoid long downtime. Regular care helps when you learn how to assemble hamilton beach ice cream maker again and again.
Troubleshooting assembly problems
If the machine does not run or makes noise, try these fixes.
- Paddle won’t fit — Check alignment and clean any ice or debris from shaft and bowl.
- Motor stalls — Make sure the bowl is fully frozen and mix is chilled. Overfilling can stall the motor.
- Leaks or spills — Re-seat the lid and confirm the bowl is centered in the base.
- Strange noises — Stop and inspect the paddle for bends or food caught under it.
If none of these fixes help, consult customer service or the manual. Keep your receipt and model number handy. These steps will help you assemble and use the unit correctly and safely.
Frequently Asked Questions of how to assemble hamilton beach ice cream maker
How long should the bowl be frozen before use?
Freeze the bowl for at least 15 hours or overnight. A fully frozen bowl gives the best texture and prevents motor strain.
Can I put the frozen bowl in the dishwasher?
No. Most frozen bowls are not dishwasher safe. Hand wash with a soft cloth to protect the cooling surface.
What if the dasher does not turn when plugged in?
Unplug and check alignment. Remove any ice or debris and reseat the paddle on the shaft. Try again after that.
Is any assembly required after buying the unit?
Only simple steps. Insert the frozen bowl, place the dasher, attach the lid, and plug in. The manual lists model-specific notes.
Can I make gelato or sorbet in this machine?
Yes. Use colder mixes and shorter churn times for denser results. Adjust recipes as you go to get the texture you like.
How full should I fill the bowl when churning?
Fill to about two-thirds full. Overfilling can cause spillage and stop the paddle from turning.
Do all Hamilton Beach models assemble the same way?
Most follow the same basic steps. Always read your model manual for exact fit and safety steps.
Conclusion
You now have a clear, hands-on path for how to assemble hamilton beach ice cream maker. The steps are simple: freeze the bowl, seat it in the base, add the dasher, lock the lid, and plug in. Use the tips and troubleshooting steps to save time and avoid mistakes. Try one small batch today to build confidence and enjoy homemade ice cream. Leave a comment with your favorite flavor or any assembly question, and subscribe for more appliance tips.