
Use small bags, ice, salt, and shake to make quick creamy ice cream with kids.
I’ve taught dozens of kids and parents how to make ice cream in a bag for kids, and I know how simple and fun it can be. This guide breaks down safe steps, clear supplies, flavor ideas, and real tips from my own kitchen trials so you can confidently teach this hands-on activity. Read on to learn exactly how to make ice cream in a bag for kids, avoid common mistakes, and turn a science lesson into a tasty treat.

Why this activity is great for kids
Making ice cream in a bag for kids mixes play, taste, and learning. Kids get to measure, pour, and shake. They watch cream turn into ice cream. This builds curiosity and fine motor skills.
I use this activity in parties and classrooms. It is low cost and high reward. Parents and teachers often tell me it becomes a favorite hands-on lesson. For more fun kitchen activities that teach science, check out our guide on what a food processor is used for.

Ingredients and supplies you need
Here is an easy list of items to make ice cream in a bag for kids. Keep everything ready before you begin.
- 1 cup half-and-half or heavy cream for a richer texture.
- 2 tablespoons sugar for sweetness.
- 1/2 teaspoon vanilla extract for flavor.
- 1 small resealable plastic bag (snack size) for the ice cream mix.
- 1 large resealable plastic bag (gallon size) for the ice and salt.
- 1 to 2 cups crushed ice to chill fast.
- 2 tablespoons rock salt or kosher salt to drop the freezing point.
- Optional toppings like sprinkles, chocolate chips, or fruit.
These ingredients are easy to find and safe for kids. If you have allergies or dietary needs, I’ll show alternatives below. Preparing supplies first makes teaching how to make ice cream in a bag for kids simple and smooth.
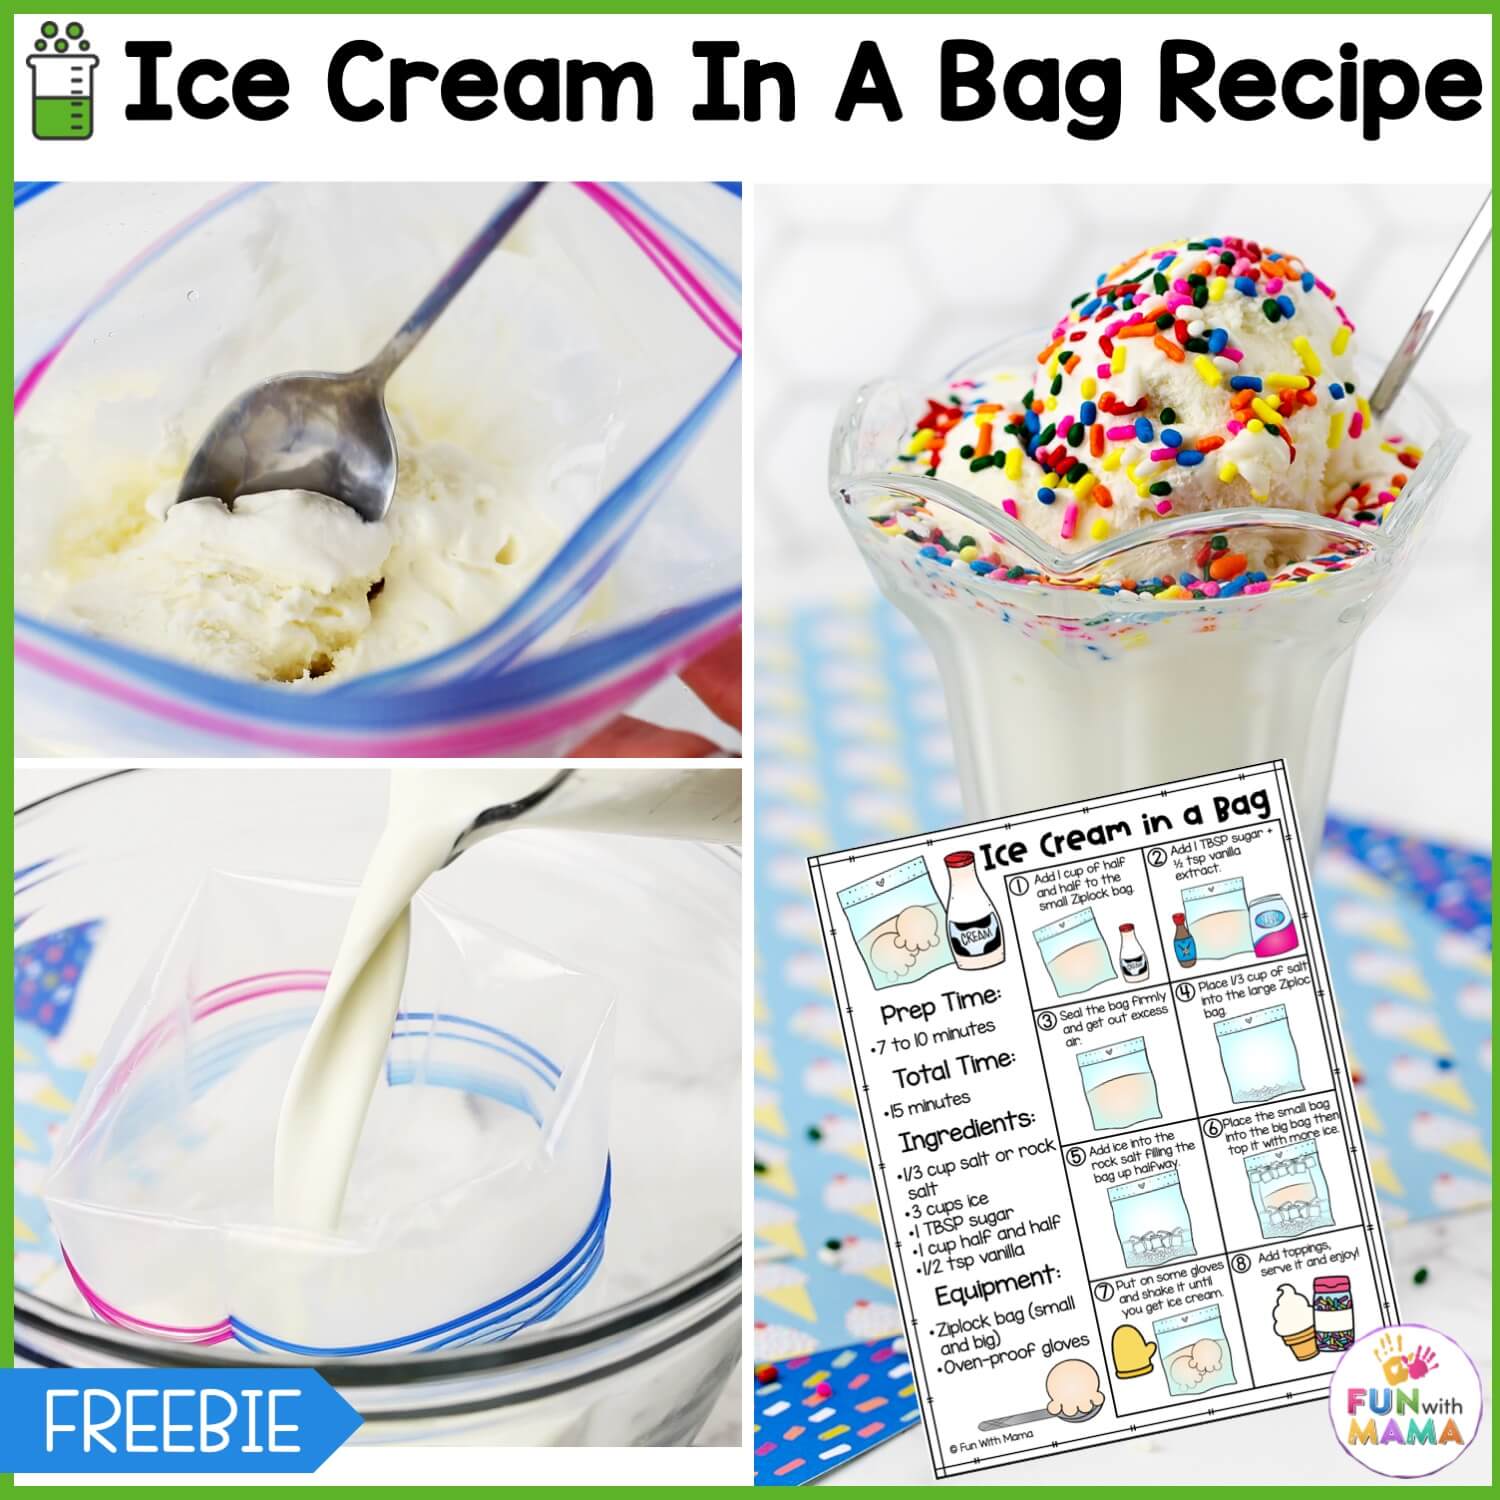
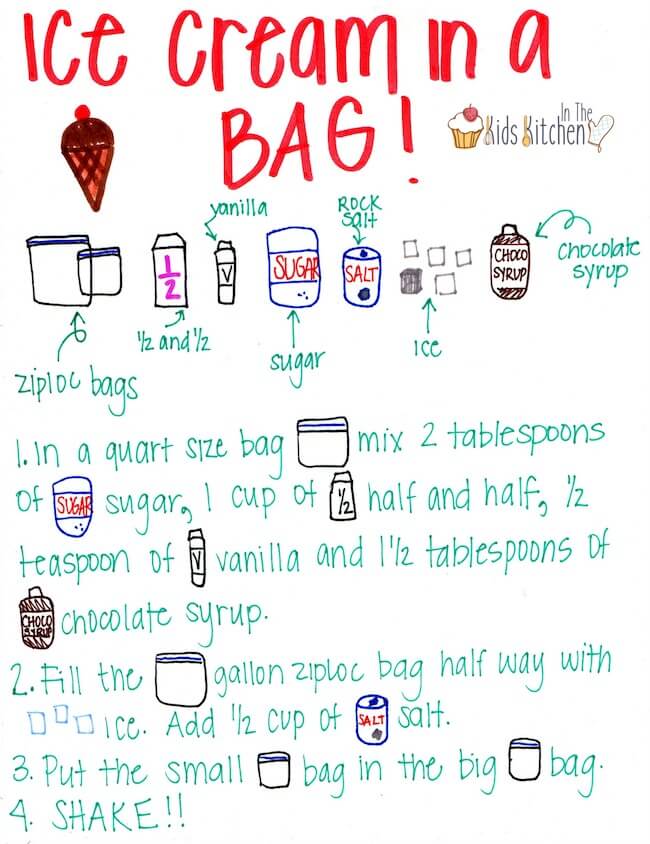
How to make ice cream in a bag for kids: step-by-step
Follow these short steps to make ice cream in a bag for kids. Each step is quick and easy.
- Mix milk, sugar, and vanilla.
- Pour 1 cup cream, 2 tablespoons sugar, and 1/2 teaspoon vanilla into the small bag. Seal tightly and remove as much air as possible.
- Prepare the ice bath.
- Fill the large bag half full with crushed ice. Add 2 tablespoons salt and mix the ice a bit.
- Seal the bags together.
- Place the small bag inside the large bag and seal the large bag. Double-bag if you want extra protection.
- Shake and play.
- Let kids shake the bag for 5 to 10 minutes. Use a towel or oven mitt if hands get cold. Encourage kids to take turns.
- Check and serve.
- Open the large bag, remove the small bag, wipe it off, and open it carefully. Scoop the ice cream into cups and add toppings.
This method shows kids how temperature and salt change water to make ice. It also gives a fast reward. If it’s too soft, shake longer. If it’s too icy, use a bit more cream. For more kitchen tools that simplify cooking, explore our comparison of the Ninja vs Breville Sous Chef food processor.

Tips, flavor ideas, and common mistakes
These tips come from my hands-on tests. They help when you teach how to make ice cream in a bag for kids.
- Use cold cream for faster results.
- Crush ice ahead of time. Small pieces work best.
- Make sure bags are sealed well. Freeze disasters often come from leaks.
- Rotate who shakes to keep kids engaged.
- For dairy-free: use coconut milk or oat milk and a touch more sugar.
- For instant mix-ins: fold in chocolate chips or fruit after the ice cream forms, not before.
- For a milkshake-like result: add a small spoon of sweetened condensed milk.
Common mistakes I’ve made:
- Not removing air from the small bag. This makes shaking messy.
- Using too little salt. Less salt = slower freezing.
- Letting young kids handle salt and ice unsupervised.
These tips will help you avoid those issues and make the activity fun and safe when showing how to make ice cream in a bag for kids.
Safety, cleanup, and adult supervision
Safety matters when you make ice cream in a bag for kids. Keep rules simple and clear.
- Always supervise young children. Handle salt and sealed bags for them.
- Use towels or gloves so small hands don’t get too cold.
- Clean spills quickly. Salt can stain or corrode some surfaces.
- Dispose of ice-melt water safely. It is fine down the drain.
- Wash hands and surfaces before and after to stay hygienic.
I remind kids to stay seated while shaking the bag. That cuts down on spills. These small rules keep the activity joyful and safe. If you’re looking for more family-friendly kitchen projects, try our guide on the best food processor for baby food.

The science behind ice cream in a bag
This activity is a little science lesson. It shows how salt lowers water’s freezing point. That causes the ice to get colder than 32°F. The colder ice pulls heat from the cream. As the cream loses heat, fat and water form tiny ice crystals. Cream becomes thicker and turns into ice cream.
Explaining this in simple terms helps kids connect action and effect. I say it’s like giving the ice extra power to chill the cream. This makes the project both tasty and educational.

Frequently Asked Questions of how to make ice cream in a bag for kids
How long does it take to make ice cream in a bag for kids?
It usually takes 5 to 10 minutes of shaking for soft-serve texture. Time varies with ice size, salt amount, and how hard you shake.
Can I make different flavors when I make ice cream in a bag for kids?
Yes. Add cocoa powder, fruit puree, or extracts to the cream before sealing the bag. Mix-ins like chips work best after the ice cream forms.
Is it safe for small children to handle the salt and ice?
Adults should measure salt and handle bag sealing. Kids can shake and add toppings. Supervision keeps things safe.
What if the ice cream is too runny or too icy?
If runny, shake longer. If icy, try using slightly more cream or a touch more salt next time. Using heavy cream makes a creamier result.
Can I make dairy-free ice cream in a bag for kids?
Yes. Use coconut milk, almond milk, or oat milk and add extra sugar if needed. Texture may be slightly different but still tasty.
How do I avoid leaks during the process?
Double-bag the small bag and press out all air before sealing. Use good-quality zipper bags and check seals before shaking.
How many kids can one batch serve?
One standard batch serves 2 to 3 small portions. To serve more, prepare several small bags or double the recipe and use a larger container.
Can I prepare the mix ahead of time when making ice cream in a bag for kids?
You can mix the cream and flavor ahead, but keep it chilled. For best results, assemble and shake right before serving.
Conclusion
Making ice cream in a bag for kids is a quick, safe, and joyful way to teach kitchen skills and simple science. The steps are easy, the supplies are cheap, and kids love the hands-on part. Try different flavors, keep safety rules clear, and expect a little mess that turns into a big smile.
Give it a try this weekend. Share the results, tweak flavors, and let the kids lead a round of shaking. If you enjoyed this guide, leave a comment, subscribe for more family-friendly recipes, or try a new flavor and tell us how it went.