
Unlocking the full potential of your food processor means understanding its various blades and discs. This guide will walk you through each common food processor blade, from the versatile S-blade to specialized shredding and slicing discs, showing you how to correctly attach, use, and clean them. You’ll learn essential techniques for everything from chopping vegetables to kneading dough, ensuring safe and efficient food preparation.
Welcome to the world of efficient cooking! Your food processor is a true kitchen superhero, capable of making countless tasks faster and easier. But its real power lies in its various food processor blades. Understanding how to use these different food processor blades safely and effectively is the key to unlocking its full potential.
In this guide, we’re going to dive deep into each common food processor blade. We’ll show you exactly how to use them for chopping, shredding, slicing, mixing, and more. By the end, you’ll be a pro at making everything from chunky salsa to perfectly grated cheese, all with confidence and ease. Let’s get started!
Key Takeaways
- Safety First: Always unplug your food processor and handle sharp blades with extreme care to prevent injuries.
- Understand Blade Types: Familiarize yourself with the S-blade (multi-purpose), shredding disc, slicing disc, and dough blade, as each serves a unique purpose.
- Proper Assembly is Key: Ensure the work bowl, blade, and lid are securely locked into place before turning on your food processor.
- Prep Ingredients Correctly: Cut food into appropriate sizes for the feed tube or work bowl to ensure even processing and prevent jamming.
- Use the Pulse Function: For most tasks, especially chopping and mixing, short pulses give you better control over consistency and prevent over-processing.
- Don’t Overfill: Overloading the work bowl or feed tube can lead to uneven results, strain the motor, and potentially damage your food processor.
- Clean Promptly and Safely: Disassemble and wash all parts immediately after use, still exercising caution with the sharp food processor blades.
Safety First: Handling Your Food Processor Blades
Before we even think about turning on the machine, let’s talk about safety. Food processor blades are incredibly sharp. They need to be to do their job well!
Always Unplug Before Handling
Before you attach, remove, or clean any food processor blade, make sure your appliance is unplugged. This is the golden rule for preventing accidental startups and serious injury.
Handle Blades by the Hub
When you pick up a blade, always grasp it by the central plastic hub. Never touch the sharp edges directly. Many blades come with a plastic sheath or cover; use it when storing them.
Keep Fingers Away from Moving Parts
It might sound obvious, but always use the food pusher when feeding ingredients into the disc blades. Never use your fingers or any other utensil to push food down the feed tube.
Understanding Your Food Processor Blades
Most food processors come with a few standard food processor blades. Let’s look at the most common ones and what they’re best for.
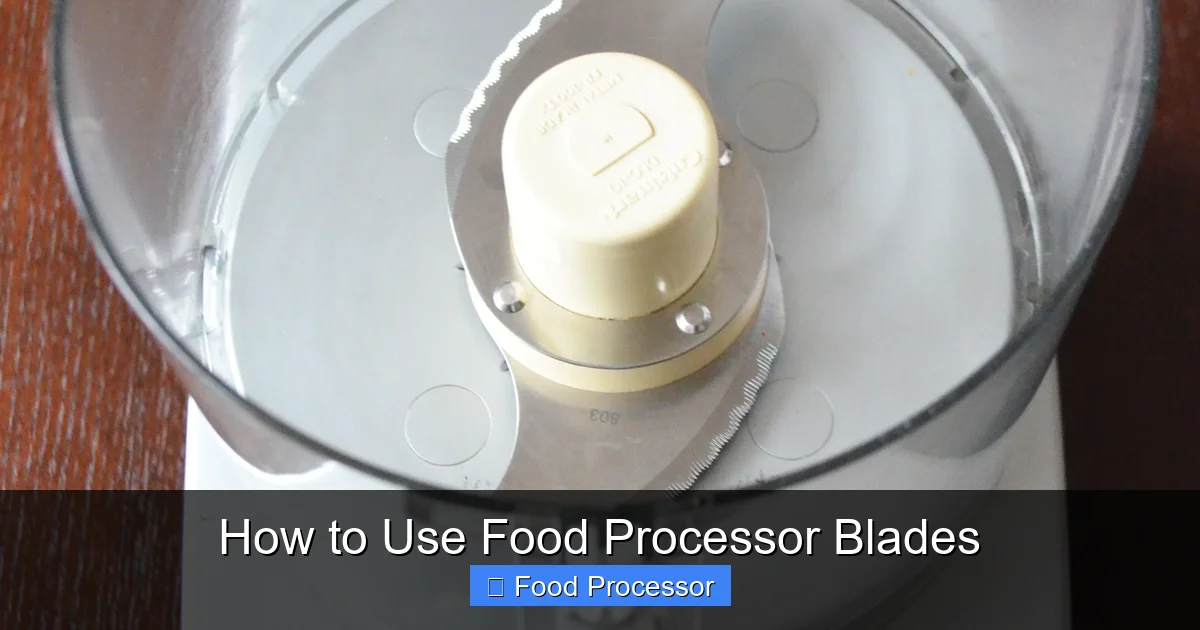
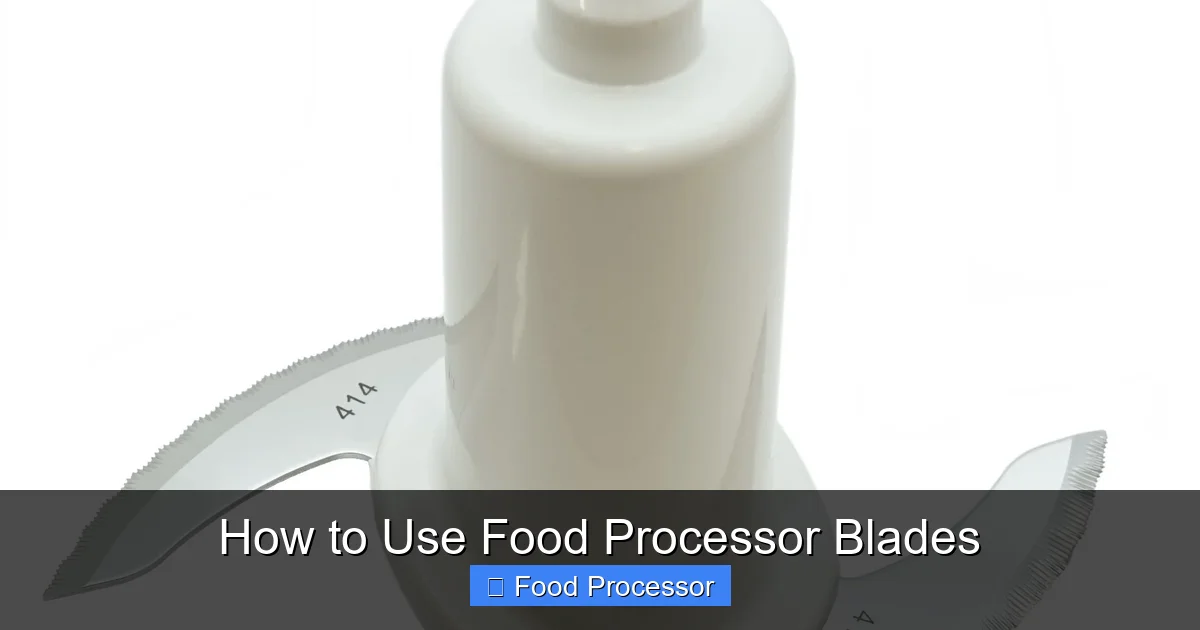
The S-Blade (Multi-Purpose Blade)
This is the workhorse of your food processor. It looks like an “S” and usually sits at the bottom of the work bowl. It’s also sometimes called a chopping blade, utility blade, or even a mini-blade if you have a smaller model.
What It Does:
- Chopping: Perfect for onions, garlic, herbs, nuts, and chopping vegetables evenly.
- Minced Meat: Can quickly mince raw meat for burgers or meatballs.
- Pureeing: Ideal for making smooth sauces, dips, hummus, baby food, or smooth soups.
- Mixing: Great for combining ingredients for batters, dressings, or even kneading soft doughs.
- Crumbing: Turns bread into breadcrumbs or cookies into pie crusts.
The Shredding Disc
This disc-shaped blade typically has raised, sharp holes. It sits on top of the central stem in the work bowl, under the lid. You drop ingredients into the feed tube, and they get shredded as they pass over the spinning disc.
What It Does:
- Shredding Cheese: Transforms blocks of hard or semi-hard cheese into fluffy shreds in seconds. It’s the best way to shred cheese in a food processor.
- Shredding Vegetables: Excellent for cabbage, carrots, potatoes, zucchini, or any vegetable you need grated for salads, slaws, or baking.
The Slicing Disc
Similar to the shredding disc, this disc also sits on top of the central stem. Instead of holes, it has a single, long, sharp blade that slices ingredients into uniform pieces. Many slicing discs are adjustable, allowing you to choose thin or thick slices.
What It Does:
- Slicing Vegetables: Perfect for cucumbers, potatoes (for gratin or chips), carrots, onions, mushrooms, or bell peppers.
- Slicing Fruits: Can create even slices of apples or other firm fruits.
The Dough Blade (Plastic Blade)
Some food processors come with a specialized dough blade, which is typically made of plastic and looks like a blunt S-blade. Its softer edges are designed to mix and knead dough without overworking it or warming it up too much.
What It Does:
- Kneading Dough: Ideal for making bread dough, pizza dough, or pastry dough.
Getting Started: Assembling Your Food Processor
Before using any of the food processor blades, you need to properly assemble your machine. This ensures it works safely and effectively. If you need a more detailed guide, check out how to assemble your food processor step-by-step.
Step 1: Place the Work Bowl
Set the work bowl onto the motor base. Twist it until it locks securely into place. You’ll usually hear a click or feel it engage.
Step 2: Attach the Blade or Disc
For S-Blades or Dough Blades:
Carefully lower the blade onto the central stem inside the work bowl. It should slide down easily and sit snugly.
For Shredding or Slicing Discs:
Place the disc directly onto the central stem, above the S-blade (if your model requires both for support) or directly onto the stem if it’s designed to sit alone. Ensure the cutting side is facing up, towards the feed tube.
Step 3: Secure the Lid
Place the lid onto the work bowl. Align it correctly and twist it until it locks. Most food processors have safety interlocks that prevent the machine from running if the lid isn’t properly secured.
Step 4: Insert the Food Pusher
Place the food pusher into the feed tube. This is a safety measure; the food processor often won’t start without it, and it’s essential for guiding food into the disc blades.
How to Use Food Processor Blades: Step-by-Step Applications
Now that you know your blades and how to assemble the machine, let’s get into the practical applications.
Using the S-Blade for Chopping, Pureeing, and Mixing
The S-blade is your everyday hero. It’s perfect for fast prep work.
Step 1: Prep Your Ingredients
Cut large ingredients into smaller, uniform pieces (about 1-2 inches) that will fit easily into the work bowl. For example, quarter an onion or cut carrots into 1-inch chunks. This helps with even processing.
Step 2: Attach the S-Blade
With the food processor unplugged, carefully place the S-blade onto the central stem in the work bowl.
Step 3: Load the Work Bowl
Add your ingredients to the work bowl. For best results, don’t overfill it. The food should typically be below the top of the S-blade to allow for proper circulation.
Step 4: Secure the Lid and Process
Lock the lid into place. Plug in the food processor.
- For Chopping: Use the “Pulse” function. Press and release quickly. This gives you control and prevents over-processing into a mush. Pulse until you reach your desired consistency.
- For Pureeing: Use the “On” setting or “Continuous” run. Let it run until the mixture is smooth. For liquids, add them gradually through the feed tube while the processor is running.
- For Mixing: Use “Pulse” for chunky mixes or “On” for more uniform batters.
Step 5: Check Consistency and Scrape Down (If Needed)
Unplug, remove the lid, and check your food. If necessary, use a spatula to scrape down the sides of the bowl and continue processing. When done, carefully remove the S-blade by its hub before scooping out your food.
Using the Shredding Disc
This disc makes short work of cheese, carrots, and more.
Step 1: Prep Your Ingredients
Cut ingredients to fit comfortably into the feed tube. For example, cut blocks of cheese into manageable pieces or carrots into lengths that stand upright. Ensure ingredients are firm and cold for best shredding results.
Step 2: Attach the Shredding Disc
With the food processor unplugged, place the shredding disc onto the central stem in the work bowl. Ensure the disc is oriented correctly (cutting side up). Secure the lid.
Step 3: Load the Feed Tube
Plug in the food processor. Turn it “On” or to the “Continuous” setting. Place your prepped ingredients into the feed tube.
Step 4: Process with the Food Pusher
Apply gentle, even pressure with the food pusher to guide the ingredients down onto the spinning disc. Avoid forcing the food, as this can strain the motor or result in uneven shreds.
Step 5: Collect Shredded Food
Once all ingredients are shredded, turn off and unplug the food processor. Carefully remove the lid and then the shredding disc (by its hub!) before emptying the work bowl.
Using the Slicing Disc
Get perfectly uniform slices every time with this versatile disc.
Step 1: Prep Your Ingredients
Trim and peel ingredients as needed. For example, cut cucumbers into lengths that fit the feed tube. Ensure ingredients are firm and consistent in shape for the best slices.
Step 2: Attach the Slicing Disc
With the food processor unplugged, carefully place the slicing disc onto the central stem. Make sure it’s facing the right way (blade up). If your disc is adjustable, set the desired slice thickness now. Secure the lid.
Step 3: Load the Feed Tube
Plug in the food processor. Turn it “On” or to the “Continuous” setting. Place your prepped ingredients into the feed tube.
Step 4: Process with the Food Pusher
Use light, even pressure with the food pusher to guide the ingredients onto the spinning slicing disc. Let the blade do the work. Consistent pressure helps create consistent slices.
Step 5: Collect Sliced Food
Turn off and unplug the food processor. Carefully remove the lid and the slicing disc before taking out your perfectly sliced ingredients.
Using the Dough Blade (Plastic Blade)
This blade is a savior for bakers, making dough preparation a breeze.
Step 1: Attach the Dough Blade
With the food processor unplugged, carefully place the dough blade onto the central stem in the work bowl.
Step 2: Add Ingredients
Add your dry ingredients (flour, salt, sugar) to the work bowl first, then liquids (water, oil). This ensures they mix properly.
Step 3: Process
Secure the lid and plug in the food processor.
- For Dough: Use the “On” setting. Let the food processor run until the dough forms a ball and cleans the sides of the bowl (typically 30 seconds to 2 minutes, depending on the recipe and food processor).
- For Pastry Dough: Use “Pulse” to cut cold butter into flour, then add water by pulsing until just combined.
Step 4: Remove Dough
Unplug, remove the lid, and carefully lift the dough blade by its hub. Remove the dough and continue with your recipe (e.g., kneading by hand briefly, letting it rise).
General Tips for Success with Your Food Processor Blades
Here are some extra tips to get the most out of your appliance:
- Don’t Overload: Always process in batches if needed. Overloading can lead to uneven results, strain the motor, and damage the food processor blades.
- Use the Pulse Function Often: For most chopping and mixing tasks, pulsing gives you much better control than continuous running.
- Cut Ingredients Evenly: For consistent chopping, shredding, or slicing, try to cut your initial ingredients into similar sizes and shapes.
- Chill Foods for Shredding/Slicing: Cold, firm foods like cheese, butter, or certain vegetables slice and shred much cleaner than warm or soft ones.
- Clean Promptly: Food residue can dry and harden, making it difficult to clean. Wash all parts immediately after use.
- Read Your Manual: Every food processor is a little different. Your specific model’s manual will have unique instructions and safety warnings for its food processor blades.
Troubleshooting Common Issues
Even with the right knowledge, you might encounter a hiccup or two.
Issue: Inconsistent Chopping/Shredding/Slicing
Solution: This often happens when ingredients aren’t cut uniformly before processing, or if the bowl is overloaded. Try processing smaller batches and ensuring your initial cuts are even. For discs, apply consistent, gentle pressure with the food pusher.
Visual guide about How to Use Food Processor Blades
Image source: cdn.apartmenttherapy.info
Visual guide about How to Use Food Processor Blades
Image source: m.media-amazon.com
Issue: Food Stuck in the Blade or Under the Disc
Solution: Turn off and unplug the machine immediately. Remove the lid and carefully use a spatula to dislodge the food. Never reach in with your hands while the blade is attached.
Issue: Food Processor Blade Not Spinning
Solution: First, ensure the work bowl and lid are properly locked into place. Many food processors have safety interlocks. If they’re not fully engaged, the motor won’t activate the food processor blades. Also, check if the appliance is plugged in and if there’s any food jamming the blade. If these simple checks don’t work, you might need to investigate further. For more detailed help, see our guide on how to fix a food processor blade not spinning.
Issue: Processor Motor Strains or Stops
Solution: This is almost always a sign of overloading or trying to process something too hard for your machine (like large chunks of ice if your model isn’t designed for it). Unplug, remove some ingredients, and try again in smaller batches.
Conclusion
You’ve now got the knowledge to confidently handle your food processor blades! From the multi-tasking S-blade to the precision of the slicing disc and the power of the dough blade, each component is designed to make your kitchen life easier. Remember to always prioritize safety, understand what each blade does, and practice these techniques. With a little practice, you’ll be chopping, shredding, slicing, and mixing like a pro, saving time and enjoying delicious homemade meals more often. Happy processing!