
A food processor is a versatile kitchen appliance that can dramatically reduce your meal preparation time and effort. It excels at a wide range of tasks, from basic chopping and shredding to more complex jobs like pureeing, kneading dough, and grinding nuts. Learning the various functions and techniques will help you unleash the full power of your food processor and transform your cooking experience.
Welcome to the wonderful world of food processors! This kitchen workhorse is far more than just a chopping machine. Once you understand its capabilities, your food processor can become your best friend in the kitchen, saving you time, effort, and making culinary tasks much more enjoyable. If you’ve ever wondered how to get the most out of this incredible appliance, you’re in the right place.
In this comprehensive guide, we’ll walk you through a wide array of practical and creative ways to use a food processor. From everyday chopping to specialized tasks like shredding, pureeing, and even kneading dough, you’ll learn how to transform your ingredients with ease. We’ll cover essential techniques, offer helpful tips, and even tackle some common troubleshooting scenarios to ensure you become a food processor pro. Get ready to simplify your cooking and expand your culinary horizons!
Key Takeaways
- Master Basic Functions: Learn to use your food processor for essential tasks like chopping vegetables, mincing herbs, and dicing ingredients quickly and efficiently.
- Utilize Specialized Blades: Explore shredding discs for cheese and vegetables, and slicing discs for uniform cuts, saving significant time compared to manual methods.
- Perfect Purees and Dips: The food processor is ideal for creating smooth purees for soups, sauces, hummus, and homemade baby food, offering superior consistency.
- Simplify Dough Preparation: Use your food processor to quickly mix pie crusts, cookie doughs, and even bread doughs, making baking less labor-intensive.
- Unlock Grinding Capabilities: Discover how to grind nuts into flour or butter, make fresh breadcrumbs, and even grind spices for enhanced flavors.
- Embrace Efficiency and Safety: Always use the pulse function for better control, avoid overfilling the bowl, and prioritize safety by ensuring the machine is properly assembled before operation.
Mastering Basic Chops and Mincing
The fundamental use of any food processor is, of course, chopping and mincing. It does these jobs faster and more uniformly than any knife can.
Chopping Vegetables
Your food processor can make quick work of a pile of vegetables. Think onions, carrots, celery, bell peppers – anything you need diced for a soup, stew, or stir-fry.
To how to chop vegetables in your food processor:
- Prepare Ingredients: Cut larger vegetables into 1-2 inch pieces. This ensures they fit well in the bowl and process evenly.
- Add to Bowl: Place the prepared vegetables into the food processor bowl with the S-blade (also known as the chopping blade) attached. Do not overfill; process in batches if necessary.
- Pulse for Control: Close the lid securely and use the “pulse” function in short bursts (1-2 seconds each). This gives you control over the consistency.
- Check and Repeat: Open the lid, check the size of your chop, and continue pulsing until you reach your desired consistency. Be careful not to over-process, or you’ll end up with a puree instead of a chop.
Practical Tip: For a more uniform chop, ensure all pieces are roughly the same size before adding them to the bowl. Pulsing rather than continuous running prevents ingredients at the bottom from becoming mush while those at the top are still whole.
Mincing Garlic and Herbs
Mincing garlic or fresh herbs like parsley, cilantro, or rosemary by hand can be tedious. Your food processor makes it a breeze.
Here’s how to do it:
- Prep: Peel garlic cloves. Wash and dry herbs thoroughly; remove thick stems.
- Process: Place garlic or herbs in the bowl with the S-blade. For garlic, you can add a few cloves at once. For herbs, a handful is usually sufficient.
- Pulse: Use the pulse function in very short bursts. Garlic will quickly become minced. Herbs will achieve a fine chop.
Practical Tip: If mincing a very small amount of herbs, add a tablespoon of olive oil to the bowl. This helps to catch the ingredients and ensures a more even mince.
Shredding and Grating with Ease
One of the most powerful time-saving features of a food processor is its ability to shred and grate ingredients in seconds. This is where the shredding and slicing discs come into play.
Shredding Cheese
Say goodbye to pre-shredded cheese with its anti-caking agents! Your food processor can shred cheese perfectly for pizzas, tacos, gratins, and more.
To shred cheese:
Visual guide about Ways to Use a Food Processor
Image source: myfoodstory.com
- Chill Cheese: Make sure your block of cheese is firm and cold. This prevents it from gumming up the shredding disc.
- Cut to Fit: Cut the cheese block into pieces that fit easily into the feed tube of your food processor.
- Assemble: Attach the shredding disc (usually a medium or coarse shred) to the food processor shaft. Secure the lid.
- Shred: Turn the food processor on. Feed the cheese through the feed tube, applying gentle, even pressure with the food pusher.
Practical Tip: For soft cheeses, you can sometimes freeze them for 15-20 minutes before shredding to firm them up. This makes them easier to handle and prevents smearing.
Shredding Vegetables (Cabbage, Carrots, Potatoes)
Whether you’re making coleslaw, carrot salad, or hash browns, the shredding disc is your best friend.
How to shred vegetables:
- Prep Veggies: Wash and peel vegetables if necessary. Cut them into pieces that fit the feed tube. For cabbage, cut a wedge.
- Attach Disc: Secure the shredding disc.
- Process: With the food processor running, feed the vegetables through the feed tube, using gentle pressure with the food pusher.
Practical Tip: When shredding items like carrots or zucchini, make sure the pieces are cut lengthwise to produce longer, more appealing shreds.
Perfect Purees and Smooth Consistencies
Beyond chopping, the food processor excels at turning ingredients into wonderfully smooth purees, pastes, and dips.
Making Hummus and Dips
Homemade hummus is a revelation, and your food processor makes it incredibly simple. The same goes for pesto, bean dips, and other creamy concoctions.
For hummus:
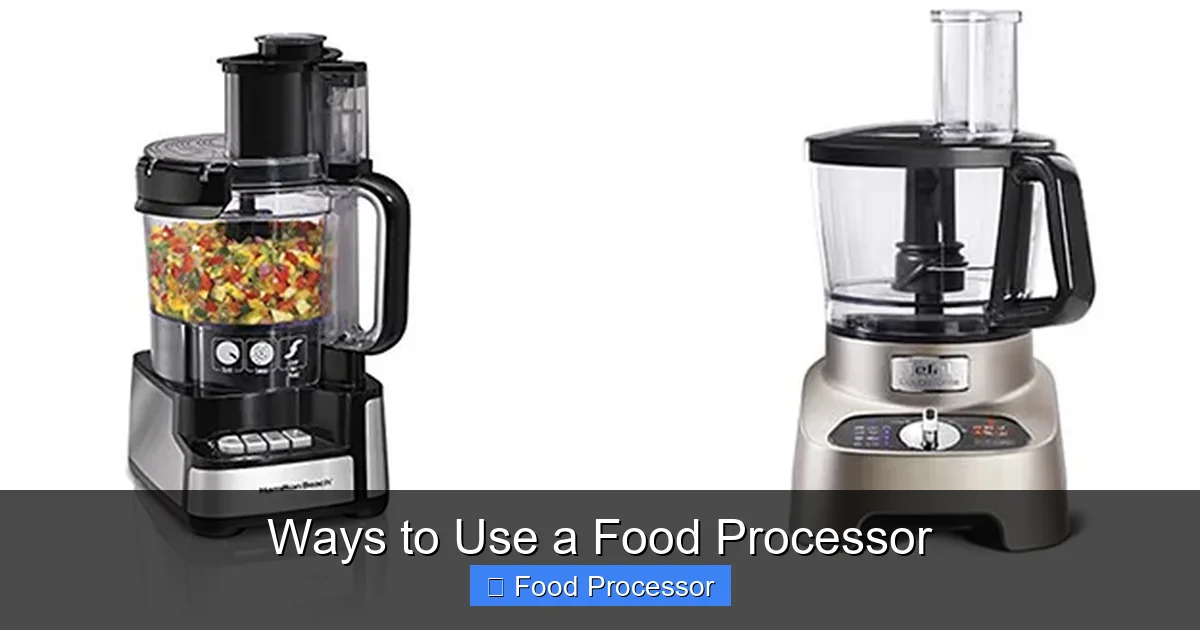
Visual guide about Ways to Use a Food Processor
Image source: kimzhouse.com
- Combine Ingredients: Add chickpeas, tahini, lemon juice, garlic, and spices to the food processor bowl with the S-blade.
- Process: Run the food processor continuously until the mixture is very smooth, scraping down the sides as needed.
- Add Liquid: With the food processor running, slowly drizzle in cold water or olive oil through the feed tube until your desired creamy consistency is achieved.
Practical Tip: For extra smooth hummus, remove the skins from the chickpeas before processing. It’s a little extra work, but makes a big difference!
Blending Soups and Sauces
Transform chunky vegetable soups into silky smooth purees, or create rich sauces without any lumps.
Steps for blending:
- Cool First: Always allow hot ingredients to cool significantly before adding them to your food processor. Hot liquids can create steam pressure, causing the lid to burst off.
- Process in Batches: Fill the bowl no more than halfway with solids and then add some liquid from the soup or sauce.
- Puree: Run continuously until smooth. For a looser consistency, add more liquid.
Important Safety Note: While some food processors claim to handle warm liquids, it’s generally safer and recommended to let hot foods cool to at least room temperature before processing. If you must process warm food, fill the bowl only halfway, remove the small inner cap from the feed tube to allow steam to escape, and cover the opening with a kitchen towel.
Preparing Baby Food
Making homemade baby food is economical and allows you to control the ingredients.
How to make baby food:
- Cook Ingredients: Steam, boil, or roast fruits or vegetables until very tender.
- Process: Place the cooked ingredients in the food processor bowl with the S-blade.
- Puree: Process until smooth, adding a little breast milk, formula, or cooking water to reach the desired consistency.
Practical Tip: Make large batches and freeze individual portions in ice cube trays for easy meal prep.
Dough Making and Baking Prep
Your food processor isn’t just for savory dishes; it’s a fantastic tool for bakers too!
Mixing Pie Crusts and Doughs
The food processor can make perfectly flaky pie crusts and quickly bring together various doughs without overworking them.
For pie crust:
- Combine Dry Ingredients: Add flour, sugar, and salt to the food processor bowl with the S-blade. Pulse to combine.
- Add Cold Fat: Add very cold butter (cut into small cubes) or shortening. Pulse in short bursts until the mixture resembles coarse meal with some pea-sized pieces of fat.
- Drizzle in Water: With the food processor running, drizzle ice water through the feed tube, a tablespoon at a time, until the dough just starts to come together. Stop immediately.
Practical Tip: Overmixing is the enemy of flaky pie crusts. As soon as the dough forms clumps, stop processing and turn it out onto a floured surface to gently form a disk.
Creating Cookie Crumbs and Crushes
Need graham cracker crumbs for a cheesecake crust, or bread crumbs for a topping? Your food processor handles it with ease.
How to make crumbs:
- Break into Pieces: Break crackers, cookies, or stale bread into smaller pieces and place them in the food processor bowl with the S-blade.
- Process: Pulse until finely ground into crumbs.
Practical Tip: For a finer crumb, process for a bit longer. For a coarser, more rustic crumb, use fewer pulses.
Grinding and Milling Tasks
Expand your culinary horizons by grinding your own nuts, seeds, and even spices.
Grinding Nuts and Seeds
Make your own nut flours for gluten-free baking or grind nuts for toppings.
Steps for grinding nuts:
- Add Nuts: Place raw nuts (almonds, pecans, walnuts, etc.) into the food processor bowl with the S-blade.
- Pulse: Pulse in short bursts until the desired consistency is reached. For nut flour, process until finely ground. For nut butter, continue processing until creamy (see below).
Important Note: Do not over-process nuts if you only want flour, or they will turn into nut butter due to their natural oils.
Making Breadcrumbs
Fresh breadcrumbs are far superior to store-bought, and you can make them in minutes.
How to make breadcrumbs:
- Dry Bread: Use slightly stale bread for best results. Cut it into 1-inch cubes.
- Process: Place bread cubes in the food processor bowl with the S-blade.
- Pulse to Crumbs: Pulse until you have fine or coarse crumbs, depending on your preference.
Practical Tip: You can toast the breadcrumbs lightly in a pan with some olive oil and herbs for extra flavor.
Grinding Spices or Coffee Beans
For the freshest flavor, grind whole spices or grind coffee beans just before use.
For grinding:
- Use Small Batch: Only grind a small amount of spices or beans at a time.
- Process: Use the S-blade and pulse until desired fineness.
Practical Tip: Be aware that strong spices or coffee can leave lingering odors in your food processor bowl and lid. Consider a dedicated inexpensive mini-chopper for spices, or clean thoroughly with baking soda and water afterward.
Emulsifying Dressings and Mayonnaise
Achieve perfectly stable emulsions for dressings, sauces, and spreads.
Whipping Up Vinaigrettes
Homemade salad dressings are incredibly fresh and easy.
To make vinaigrette:
- Combine Ingredients: Add vinegar, herbs, mustard, salt, and pepper to the food processor bowl with the S-blade. Pulse to combine.
- Slowly Drizzle Oil: With the food processor running, slowly drizzle olive oil through the feed tube until the dressing is emulsified and creamy.
Practical Tip: The slow, steady stream of oil is crucial for a stable emulsion.
Homemade Mayonnaise
Surprisingly simple to make at home, and much tastier than store-bought.
For mayonnaise:
- Combine Base: Place egg yolk, lemon juice or vinegar, mustard, salt, and pepper in the food processor bowl with the S-blade. Process for a few seconds.
- Drizzle Oil: With the food processor running continuously, slowly drizzle in neutral oil (like canola or grapeseed) through the feed tube in a very thin stream.
- Watch it Thicken: Continue drizzling until the mixture thickens into mayonnaise.
Practical Tip: If your mayonnaise breaks (separates), try adding another egg yolk to a clean bowl, process for a few seconds, then slowly add the broken mayonnaise mixture to it.
Other Creative Uses
The versatility of the food processor doesn’t stop there!
Making Nut Butters
From almonds to cashews, make your own fresh, preservative-free nut butters.
How to make nut butter:
- Roast Nuts (Optional): Roasting nuts first can enhance their flavor and release oils, making processing easier. Let them cool completely.
- Process: Place about 2 cups of nuts in the food processor bowl with the S-blade.
- Blend Continuously: Process continuously. The nuts will go through several stages: coarse meal, fine meal, a pasty ball, and finally, a creamy butter. Scrape down the sides as needed. This can take 5-15 minutes, depending on the nuts and your machine.
Practical Tip: Don’t add oil until the very end, and only if absolutely necessary to achieve your desired consistency. The natural oils in the nuts are usually sufficient.
Shredding Cooked Meats (Chicken, Pork)
Need shredded chicken for tacos or pulled pork for sandwiches? Your food processor can help.
- Cool Meat: Ensure cooked chicken breasts or thighs (or other cooked meats) are cool enough to handle, but still slightly warm is fine.
- Cut into Pieces: Cut larger pieces of meat into 2-3 inch chunks.
- Pulse: Place a few chunks in the food processor bowl with the S-blade. Pulse in short bursts until shredded to your liking. Do not over-process, or it will become mushy.
Practical Tip: This works best with tender, cooked meats. Overcooked or very lean meats might not shred as well.
Crushing Ice (with Caution)
While a blender is usually preferred for ice, some sturdy food processors can handle crushing small amounts for drinks.
How to crush ice:
- Small Batches: Only process a small amount of ice cubes at a time.
- Pulse: Use the S-blade and pulse in very short bursts until crushed.
Caution: Check your food processor’s manual. Some models are not designed for ice crushing and doing so can damage the blade or motor.
Tips for Optimal Food Processor Use
To truly harness the advantages of using a food processor and ensure its longevity, keep these tips in mind.
Sizing Ingredients Properly
Cut all ingredients into uniform, manageable pieces that fit easily through the feed tube or into the bowl without blocking the blade. This promotes even processing and prevents the motor from straining.
Don’t Overfill the Bowl
Overfilling can lead to uneven results, put excessive strain on the motor, and potentially cause leaks. Follow your manufacturer’s fill lines, or generally, don’t fill above two-thirds of the bowl’s capacity for solids and no more than halfway for liquids.
Using the Pulse Function
The pulse button is your best friend for control. Instead of running the motor continuously, pulse in short bursts. This allows you to check the consistency frequently and prevents over-processing, which can turn chops into mush or butter.
Safety First
Always ensure the lid is securely locked in place before operating your food processor. Never reach into the bowl when the machine is on or plugged in. Disassemble the blade carefully, as they are very sharp. Always unplug the unit before cleaning or changing attachments.
Troubleshooting Common Food Processor Issues
Even with the best intentions, you might run into a few common snags. Here’s how to address them.
Uneven Chops
If you find some pieces are finely minced while others are still chunky, it’s often due to inconsistent initial sizing or overfilling the bowl.
- Solution: Cut ingredients into uniform 1-2 inch pieces before adding to the bowl. Process in smaller batches if needed. Use the pulse function and scrape down the sides between pulses to redistribute ingredients.
Mushy Texture
This happens when ingredients are over-processed, especially delicate items like tomatoes or onions, or when too much liquid is added too quickly.
- Solution: Use the pulse function in short bursts, monitoring closely. Stop as soon as the desired consistency is reached. For purees, add liquids gradually.
Food Processor Not Starting
If your food processor won’t turn on, it’s almost always a safety mechanism issue rather than a broken machine.
- Solution: Ensure the bowl is correctly seated on the motor base and the lid is securely locked in place. Many models have safety interlocks that prevent operation if components aren’t perfectly aligned. Check that the power cord is fully plugged into a working outlet.
Conclusion
Congratulations! You’ve just explored a vast array of ways to use a food processor, unlocking its full potential as an indispensable kitchen tool. From simplifying daily meal prep with quick chopping and shredding to tackling more ambitious projects like homemade nut butters and flaky pie crusts, your food processor is ready for almost any culinary challenge.
Remember the key takeaways: always use the pulse function for precise control, properly size your ingredients, and prioritize safety. With practice, you’ll find yourself reaching for your food processor more often, transforming your cooking experience, and enjoying the delicious, homemade results. So, go ahead, experiment, and discover even more amazing things your food processor can do for you! Happy cooking!