
Use a pastry cutter, box grater, fork, or your hands to make a flaky pie crust without a processor.
I bake pies often and have tested many ways to make crusts when a food processor is not around. This article shows what to do if you don't have a food processor for pie crust, with clear methods, step-by-step tips, and real-life fixes that work in a home kitchen.
Why a food processor helps — and why you can skip it
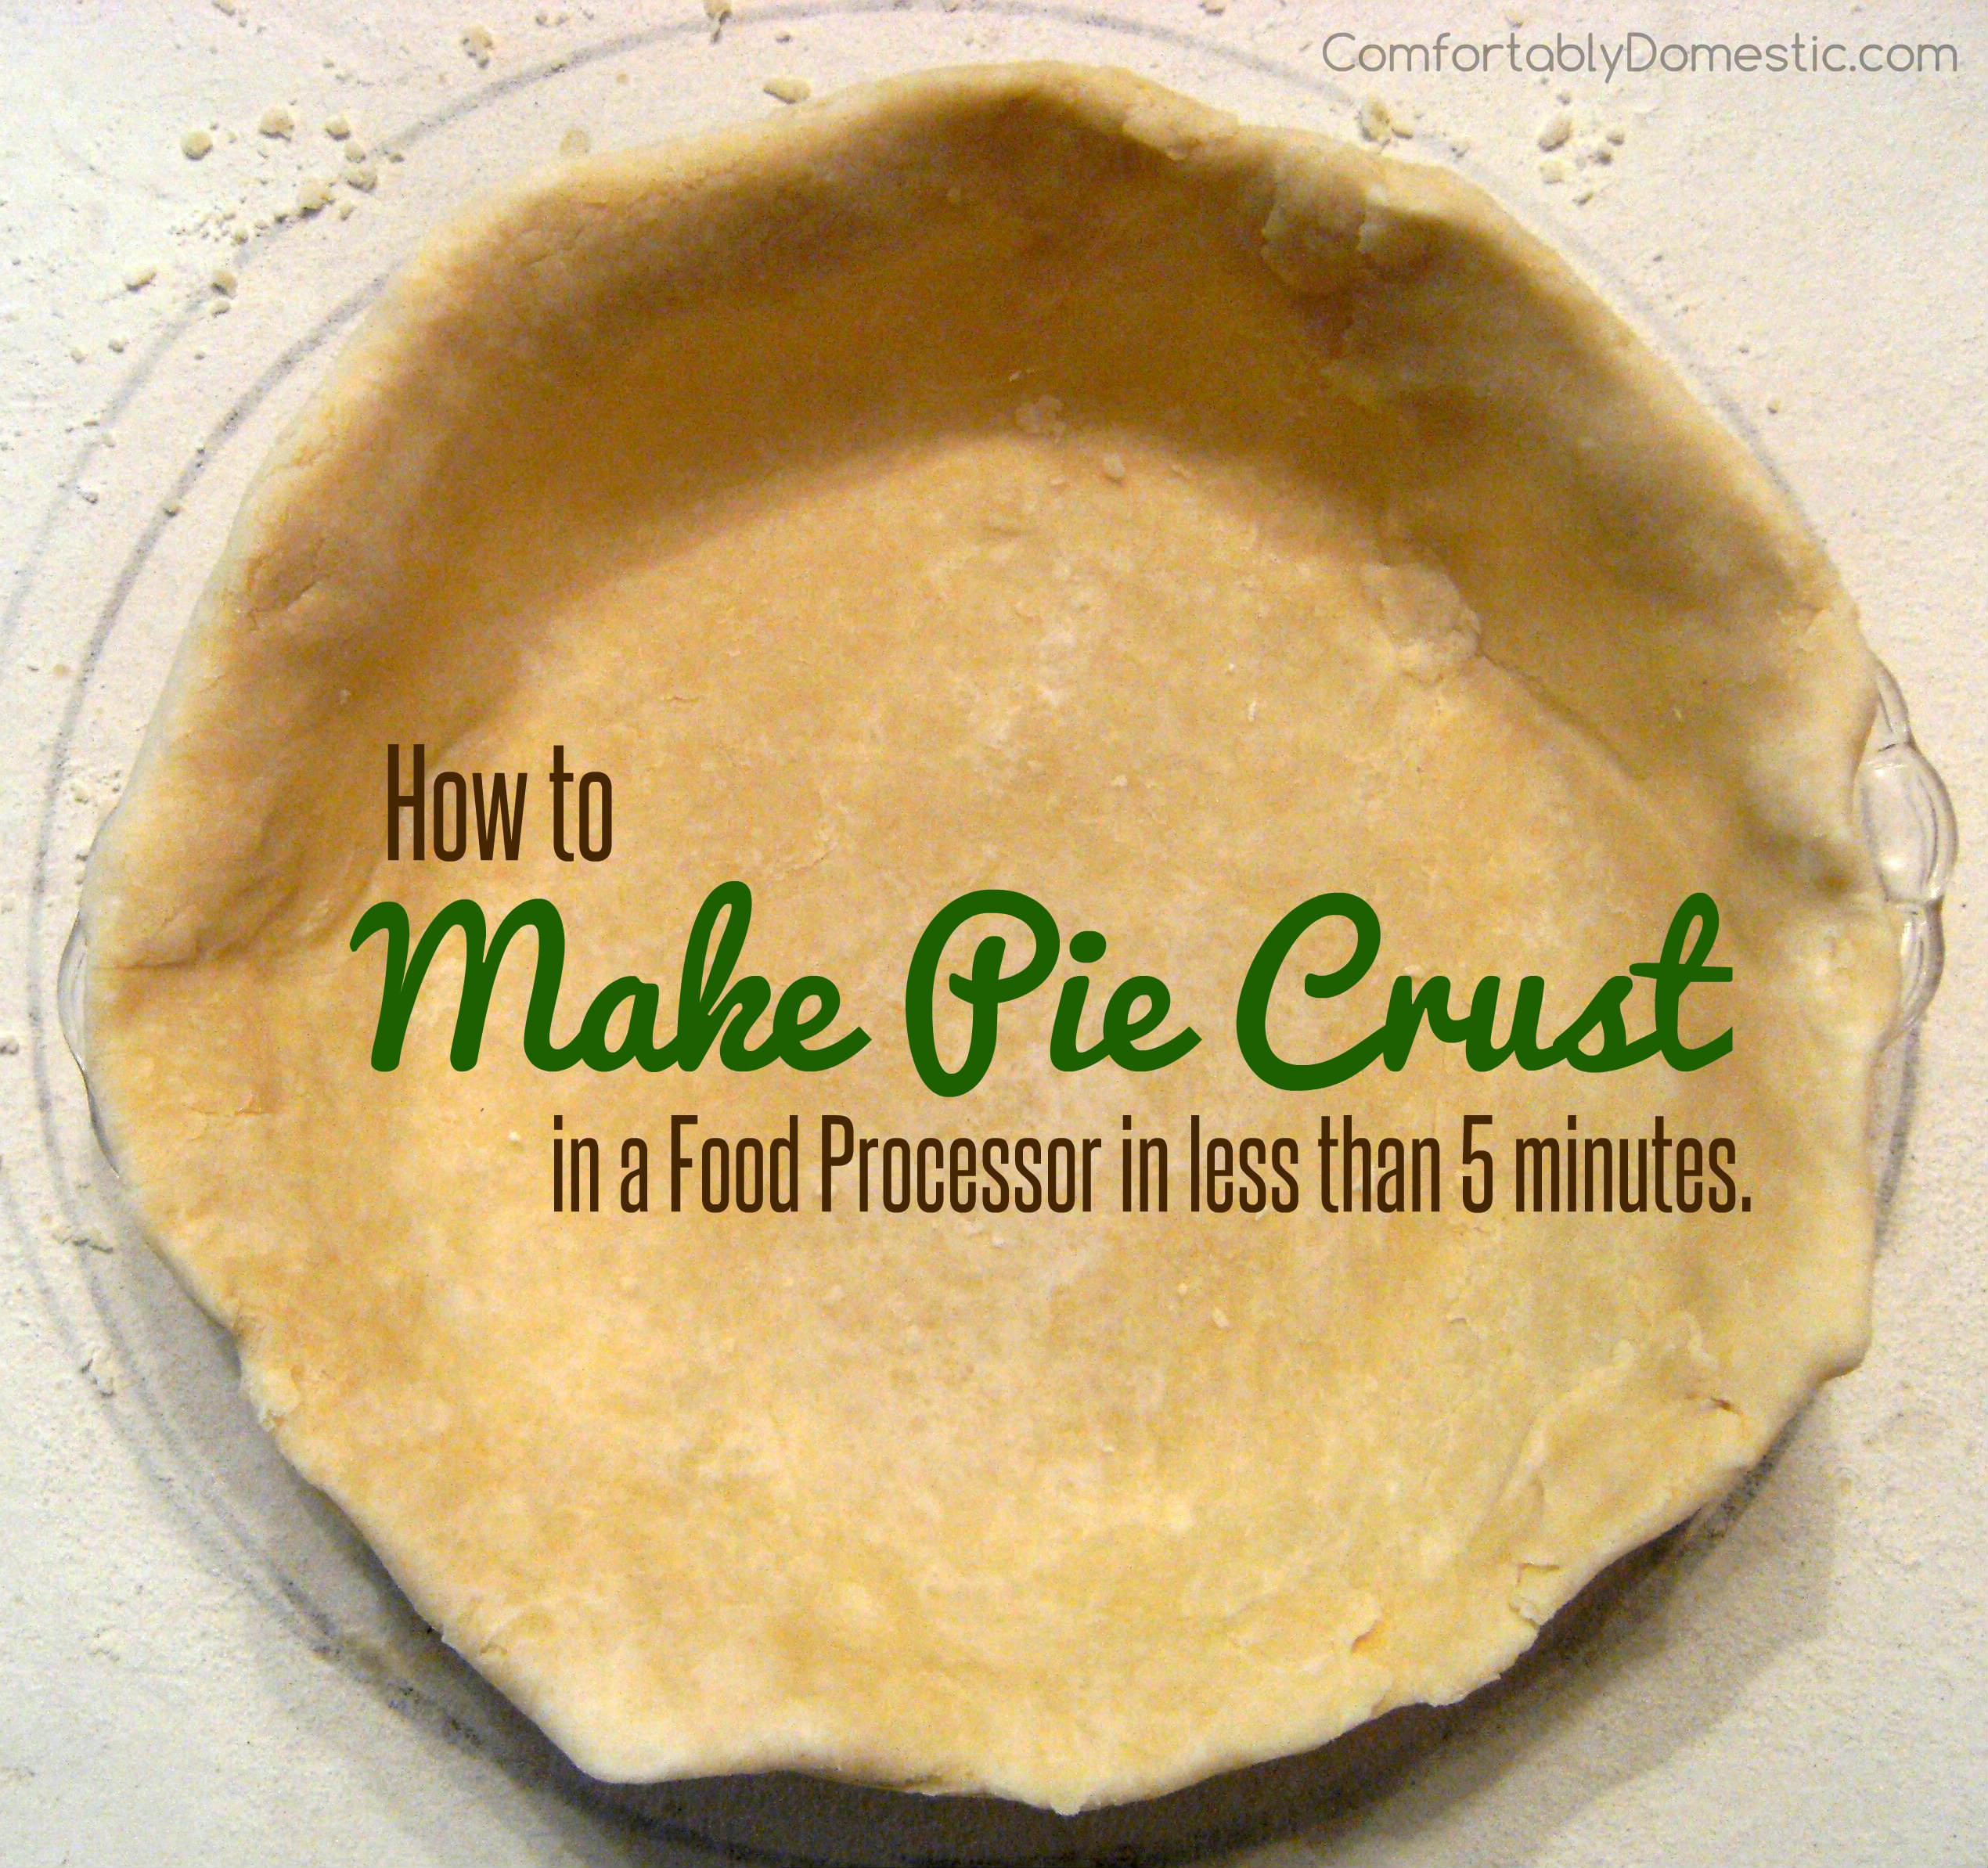
A food processor makes work fast. It cuts cold fat into flour evenly. That helps flaky layers form and saves time. But a food processor is not required. With the right tools and technique, you can match the same texture by hand.
What to do if you don't have a food processor for pie crust is to focus on cold fat, minimal handling, and consistent piece size. These three points matter more than the tool. I will show you simple swaps and why they work.

Tools you can use instead of a food processor
You likely have these tools at home. Each tool gives a similar result if you use it right.
- Pastry cutter. Holds two handles and cuts fat quickly. It gives good control over flake size.
- Box grater. Use the large holes to grate cold butter into flour. It cools fast and makes small pieces.
- Forks. Two forks or one fork work for small batches. They take longer but give good control.
- Blender. Use short pulses and a chilled bowl for small amounts. It can overwork dough, so watch it.
- Hands. Use brief pinching and rubbing with cold hands or fingertips. Keep work time very short.
- Rolling pin in a bag. Smash frozen cubes of butter in a sealed bag to break into small pieces.
What to do if you don't have a food processor for pie crust is to pick one of these and keep things cold. Your choice depends on batch size and how fast you want to work.
Step-by-step methods for each tool
Here are clear steps for each replacement. Follow short cycles to avoid warming the fat.
Pastry cutter method:
- Chill bowl, flour, and fat for 15 minutes.
- Cut butter into chunks and add to flour.
- Use the pastry cutter in quick presses until pieces are pea-sized.
- Add ice water slowly, mix until dough holds.
Box grater method:
- Freeze butter for 10 minutes so it is firm.
- Grate butter into the flour bowl using large holes.
- Toss flour and grated butter to coat and chill for 5 minutes.
- Add water and form dough quickly.
Fork method:
- Cut fat into small cubes and keep cold.
- Use two forks or one fork and wrist action to mash fat into flour.
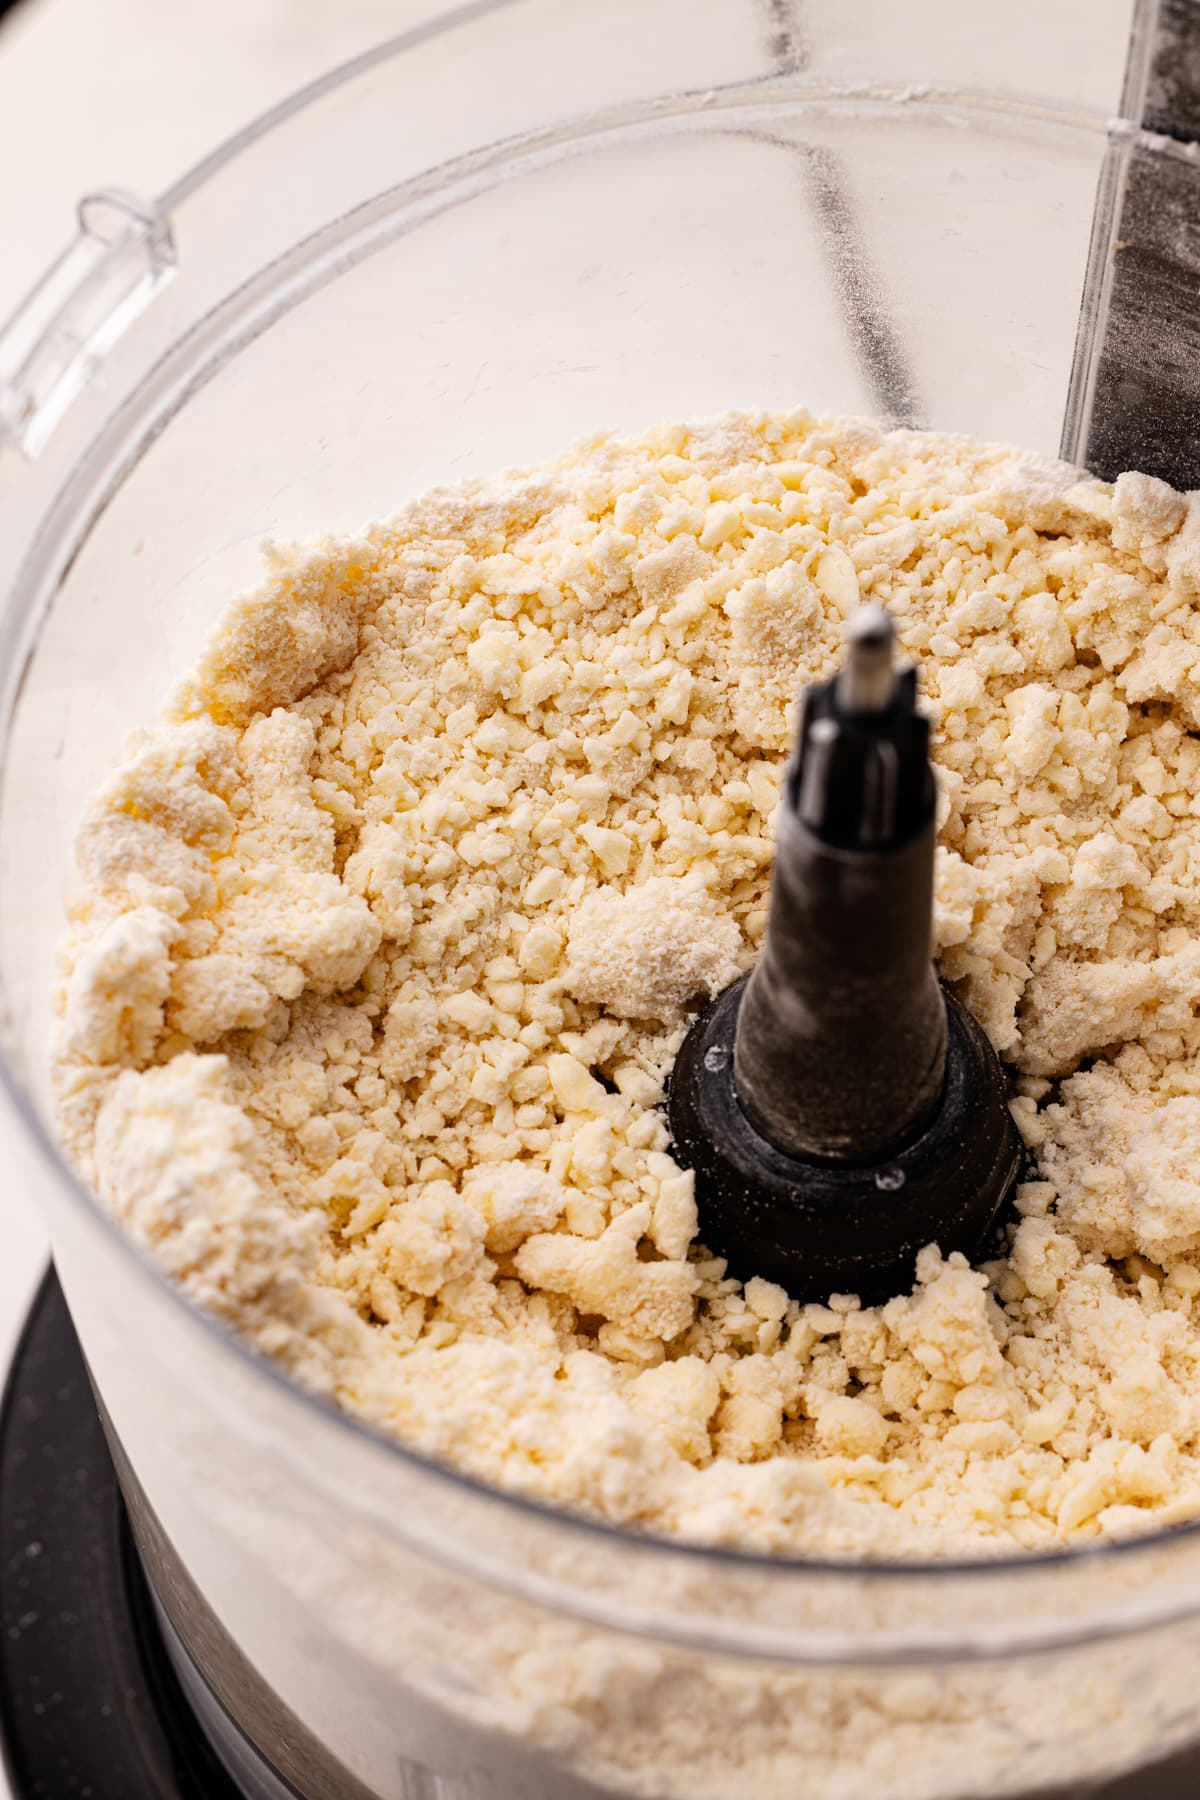
- Continue until mix resembles coarse crumbs with some pea pieces.
- Add water and bring dough together in few turns.
Hands method:
- Chill hands or wear food-safe gloves.
- Pinch fat and flour quickly between thumb and fingertips.
- Work in short bursts to avoid melting butter.
- Stop when dough holds with a few dry spots.
Blender method:
- Chill blender jar and ingredients.
- Pulse in short 1-second bursts. Check often.
- Stop when mixture looks like coarse crumbs.
- Transfer and finish by hand if needed.
What to do if you don't have a food processor for pie crust is to use short actions and check texture often. Aim for pea-sized fat pieces for the best flake.

Cold ingredients and key technique tips
Cold is the single most important factor. Warm butter gives tough crusts. Keep flour, fat, and water cold. Use ice water and chilled tools.
- Chill tools and bowls for 10 to 15 minutes before you start.
- Use very cold water, add a tablespoon at a time.
- Handle dough as little as possible. Mix just until it holds.
- Chill the dough for at least 30 minutes before rolling.
My experience shows a brief freeze of butter and a quick mix give better results than overworking warm fat. If you follow these steps, what to do if you don't have a food processor for pie crust becomes simple and reliable.
Troubleshooting and common mistakes to avoid
Mistakes happen. Here is how to fix them fast.
- Dough too dry. Sprinkle cold water a teaspoon at a time and press dough to test.
- Dough too wet. Fold in a tablespoon of flour and chill for 15 minutes.
- Butter melted while mixing. Chill dough for 30 minutes. If very soft, reshape and freeze for 10 minutes then try again.
- Crust shrinks when baked. Let dough rest in fridge for at least 30 minutes after shaping.
If you ask what to do if you don't have a food processor for pie crust and your dough fails, use chill time and small fixes. They usually save the bake.

My personal tips and a few pro tricks
I learned these by baking many pies for family and for small events. They work.
- Use a scale to weigh flour and fat. It is more accurate than cups.
- Freeze butter in small cubes. They stay cold and mix easily by hand.
- Use vodka in place of some water. It reduces gluten and gives a flakier crust without tasting like alcohol.
- Keep a bowl of ice water nearby to cool hands fast.
When people ask what to do if you don't have a food processor for pie crust, I tell them to slow down and chill more. It changes the result every time.

Frequently Asked Questions of what to do if you don't have a food processor for pie crust
How long can I handle dough if I don't have a food processor?
Keep handling time under five minutes total. Work in short bursts and chill dough if it warms.
Can I use a blender instead of a food processor for pie crust?
Yes, for small batches use short pulses and a cold jar. Stop early and finish by hand to avoid overworking.
Will grating butter give a good flake without a processor?
Grating works well. It creates small, cold pieces that bake into flakes when handled quickly.
Is vodka a good substitute for some water in crust without a processor?
Yes, vodka helps limit gluten and keeps dough tender. Use it sparingly, replacing half the water for best results.
What is the best tool if I only have a fork?
Two forks are fine for small pies. Take your time, keep the butter cold, and look for pea-sized bits.
Can I store dough made without a food processor?
Yes, wrap tightly and refrigerate up to 3 days or freeze for up to 1 month. Thaw in fridge before rolling for best texture.
Conclusion
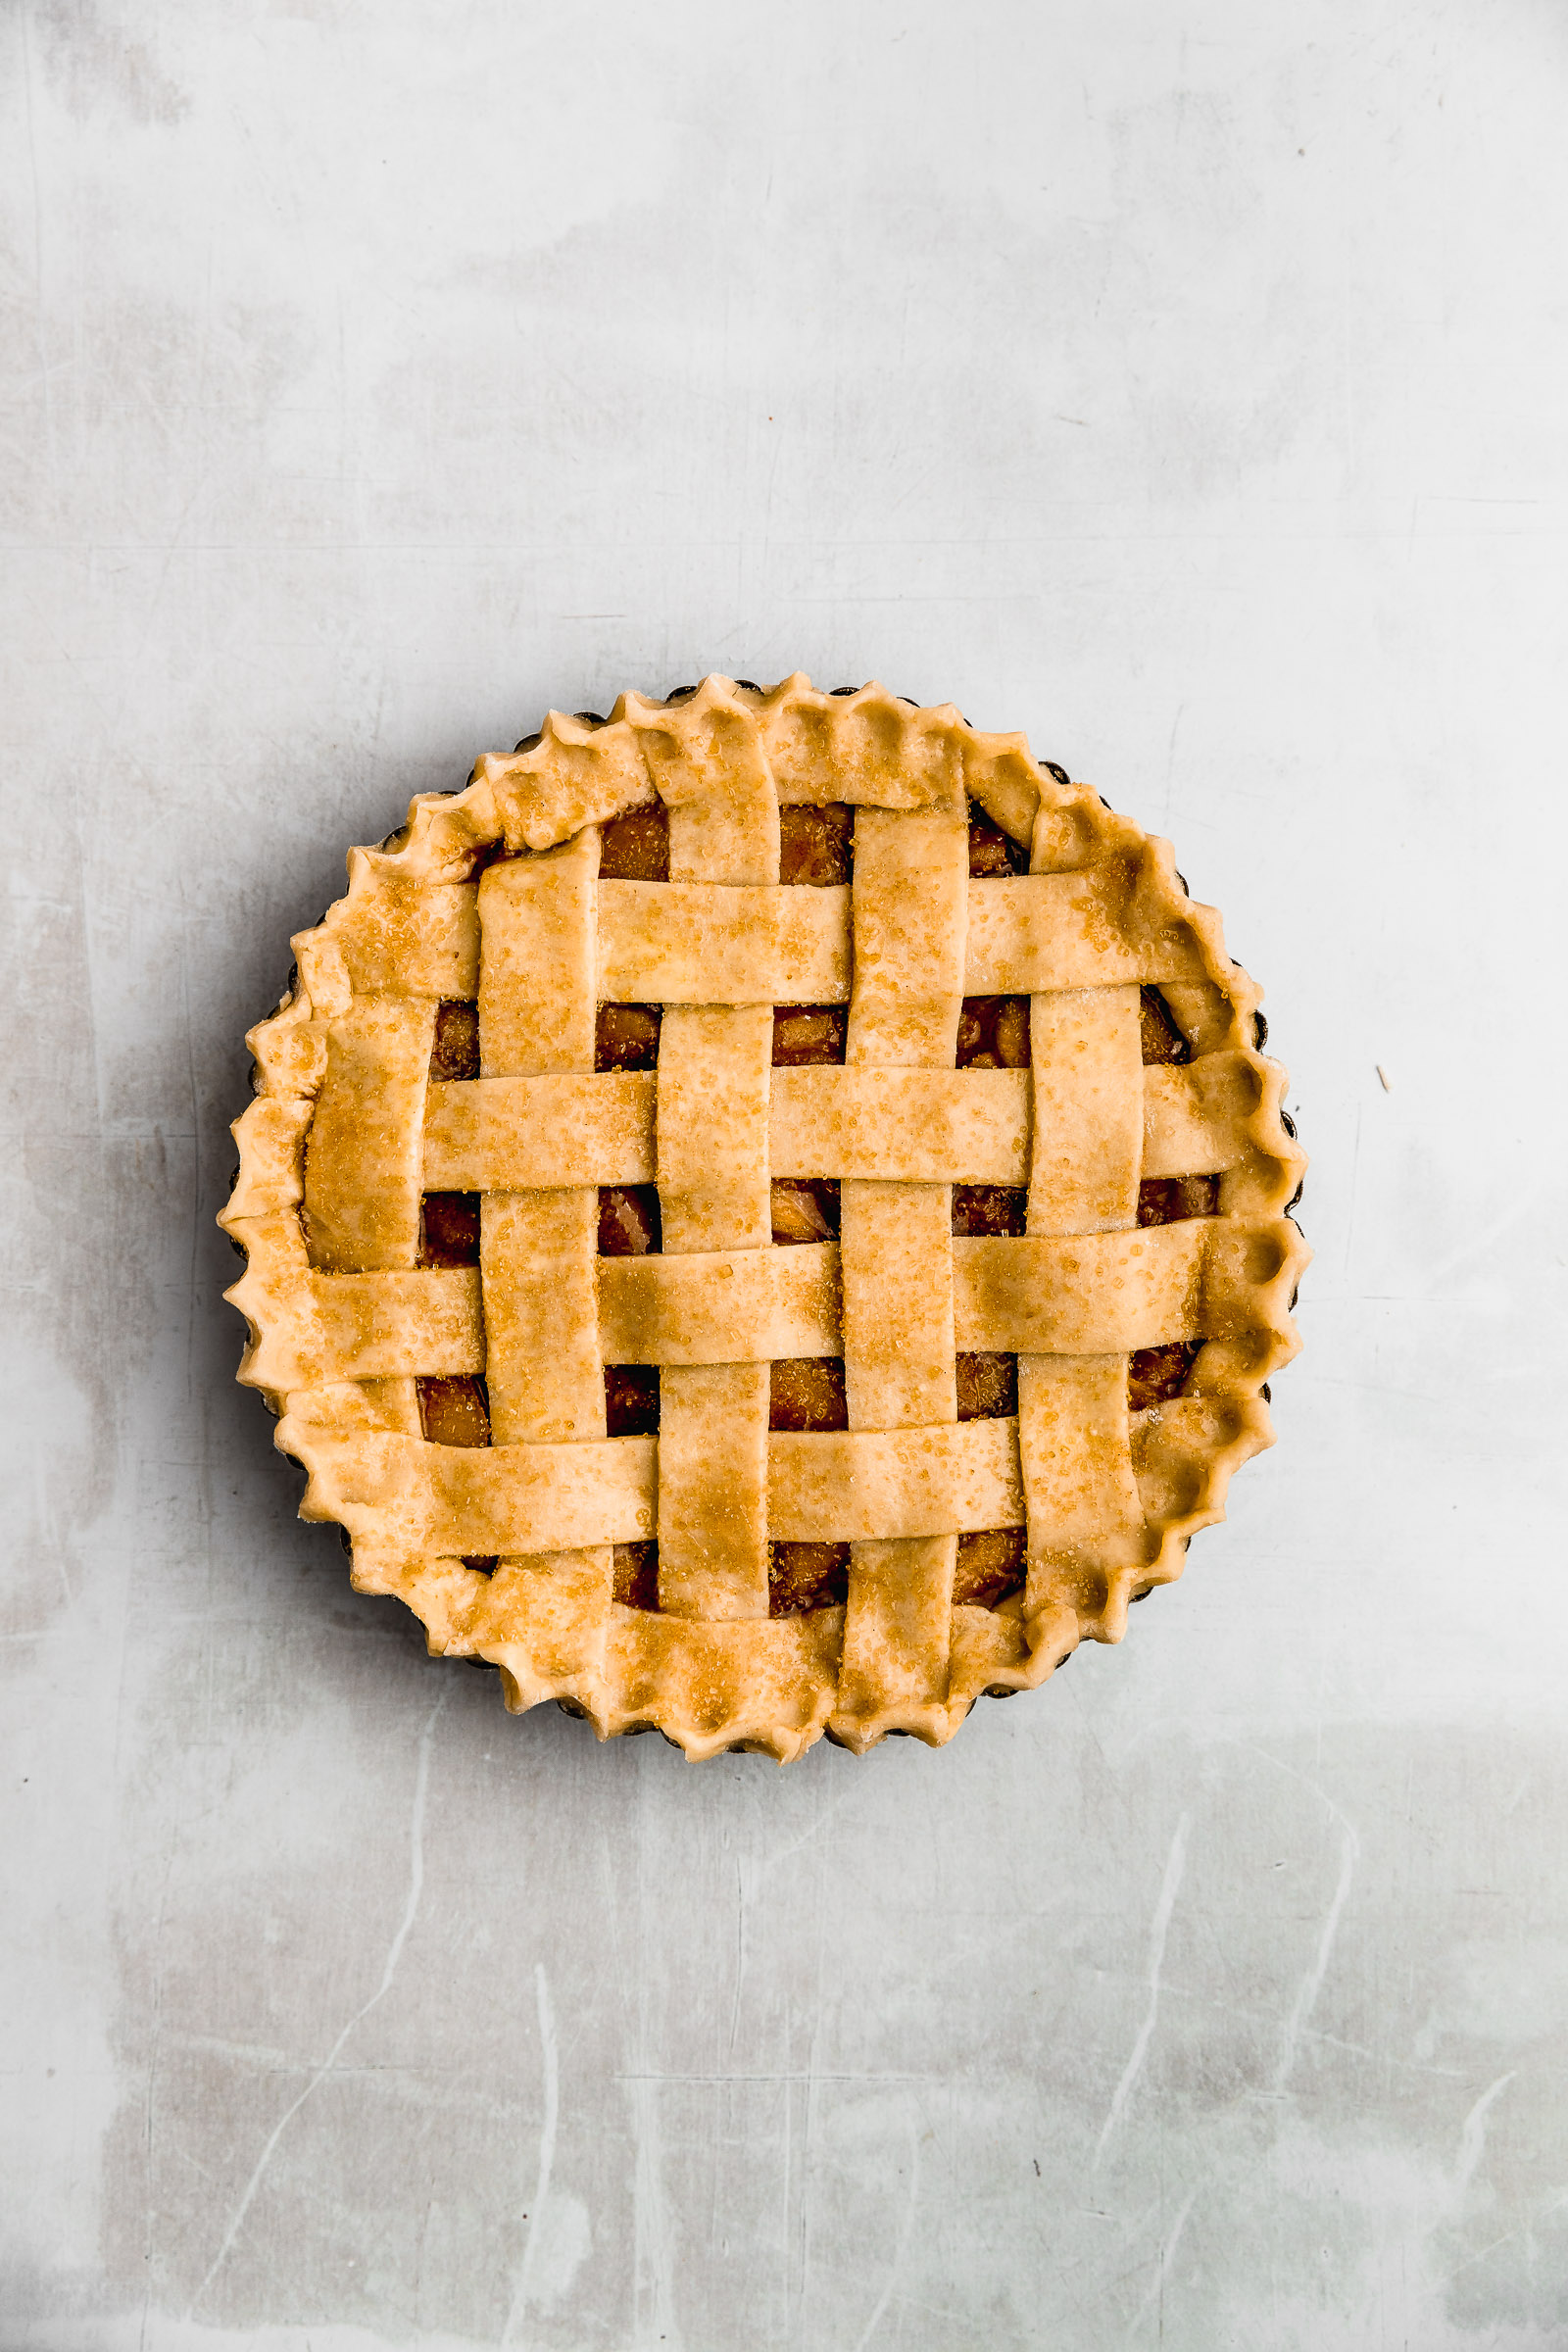
You do not need a food processor to make a great pie crust. Use a pastry cutter, box grater, forks, a blender, or your hands and focus on cold ingredients, short handling, and pea-sized fat pieces. Try the methods here, keep notes, and choose the one that fits your kitchen and pace.
Make a crust this week using one of the simple swaps above and see how it performs. If you found a favorite trick, share it in the comments or subscribe for more hands-on baking tips.