
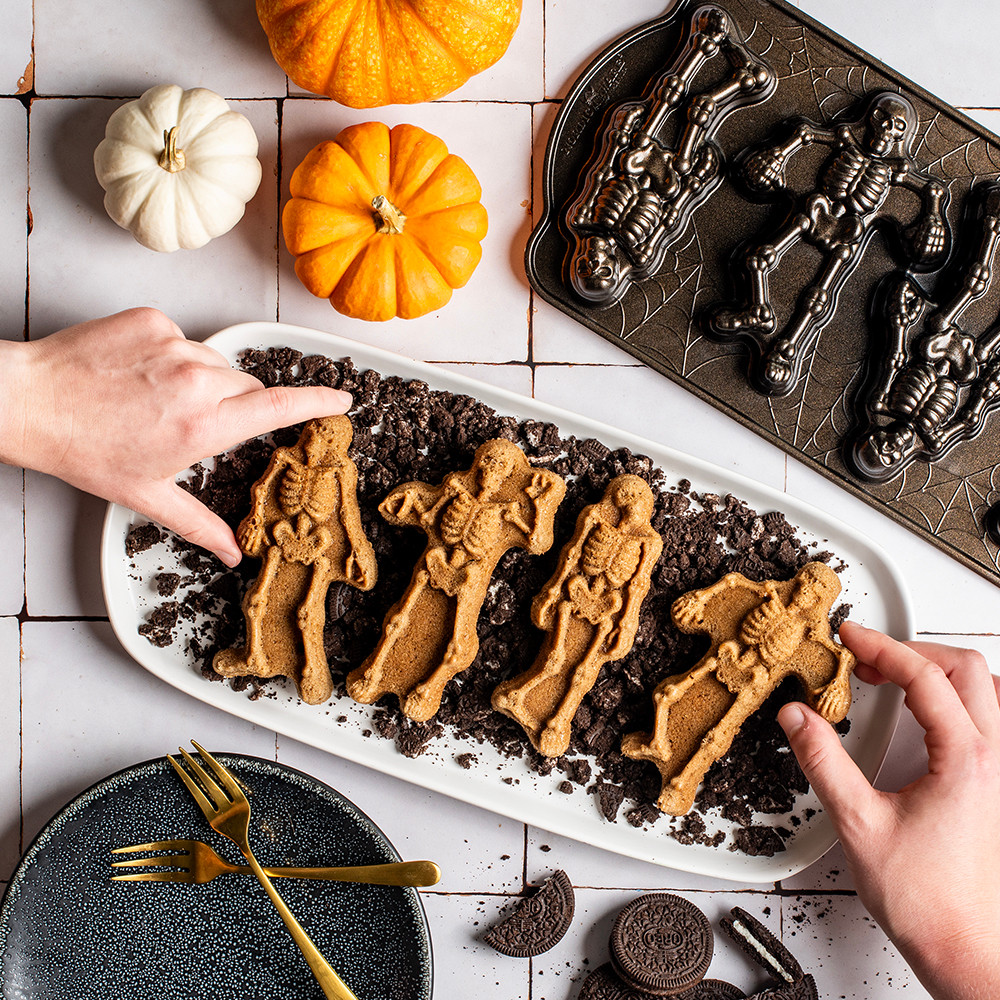
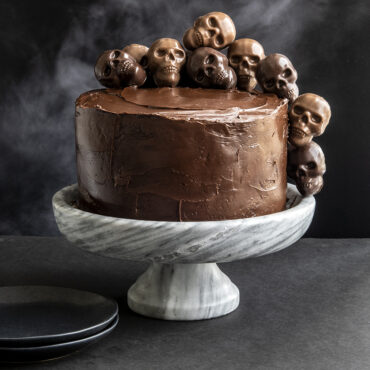
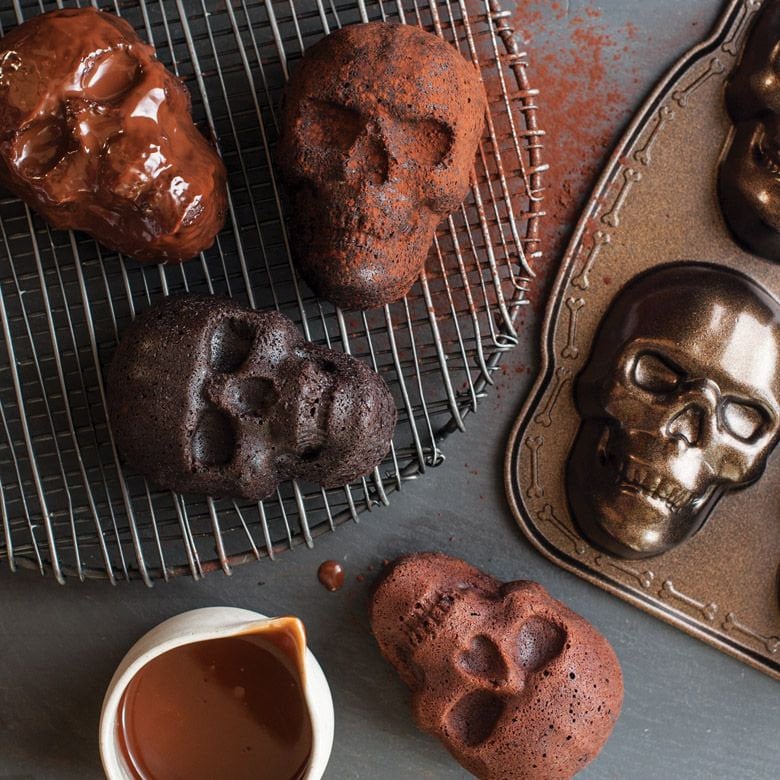
A spooky, professional-looking skull cake made easily with the Williams Sonoma skull cake pan.
I have baked many novelty cakes and tested the Williams Sonoma skull cake pan myself. This guide walks you through a reliable Williams Sonoma skull cake pan recipe, step by step. You will get ingredients, clear instructions, tips to avoid common mistakes, and simple decorating ideas. Read on to make a flawless skull cake that slices well and looks great.

Why the Williams Sonoma skull cake pan works well
The Williams Sonoma skull cake pan gives sharp detail and even bake results when used right. I chose this pan for its depth and fine facial lines. That helps the cake hold shape after unmolding.
This pan needs proper greasing, batter that is not too thin, and a steady oven temperature. Use the Williams Sonoma skull cake pan recipe tips below to get clean skull features.
Ingredients (for one skull cake)
These amounts fit a standard Williams Sonoma skull cake pan (about 10 to 12 cups). If your pan is larger, increase batter by 25 to 50 percent.
- 3 cups all-purpose flour
- 2 cups granulated sugar
- 1 cup unsalted butter, room temperature
- 4 large eggs
- 1 cup whole milk
- 2 teaspoons baking powder
- 1 teaspoon fine salt
- 2 teaspoons pure vanilla extract
- 1/2 cup sour cream (adds moisture and helps release)
- Optional: 1/2 cup cocoa powder to make a chocolate skull
I use this mix often for the Williams Sonoma skull cake pan recipe because it yields a moist crumb and holds detail. If you prefer a boxed mix, use two standard cake mixes for the pan.
Step-by-step Williams Sonoma skull cake pan recipe
Follow these steps for the best result in the Williams Sonoma skull cake pan. Read each step before you start.
-
Prep the pan and oven.
- Preheat oven to 325°F for dense batters or 350°F for lighter batters.
- Thoroughly grease the Williams Sonoma skull cake pan with butter or nonstick spray. Dust lightly with flour and tap out excess.
-
Make the batter.
- Cream butter and sugar until light, about 2 to 3 minutes.
- Add eggs one at a time. Mix in vanilla.
- Whisk flour, baking powder, and salt in a bowl.
- Alternate adding flour mix and milk to the butter mix. Fold in sour cream last.
- For chocolate, whisk cocoa with flour first.
-
Fill and bake.
- Spoon batter into the pan gently. Tap the pan on the counter to remove air pockets.
- Fill to about 3/4 full. Do not overfill the Williams Sonoma skull cake pan.
- Bake 45 to 60 minutes. Check with a toothpick. If it comes out clean, cake is done.
-
Cool and unmold.
- Cool the pan on a rack for 15 minutes.
- Run a thin knife around edges if needed.
- Invert onto rack and tap gently to release.
- Cool fully before decorating to protect fine skull details.
I learned to cool 15 minutes before unmolding when using the Williams Sonoma skull cake pan. That short rest stops cracking and preserves the eye sockets.
Baking tips and troubleshooting
These tips save time and fix common problems with the Williams Sonoma skull cake pan.
- Prevent sticking
- Use room temperature ingredients and grease thoroughly. I use a pastry brush to get into grooves.
- Avoid air pockets
- Tap the filled pan on the counter. Use a toothpick to pop any large bubbles in deep features.
- Fix uneven browning
- Tent with foil if top browns too fast. Rotate pan halfway through if your oven is uneven.
- Cake sinks in the center
- Check oven temp with an oven thermometer. Do not open the oven door early.
- Details blur or fill in
- Use a slightly thicker batter. Thin batters flow and hide fine skull lines in the Williams Sonoma skull cake pan.
I once used a very thin batter and lost the jaw detail. Thicker batter kept the face crisp on the final cake.

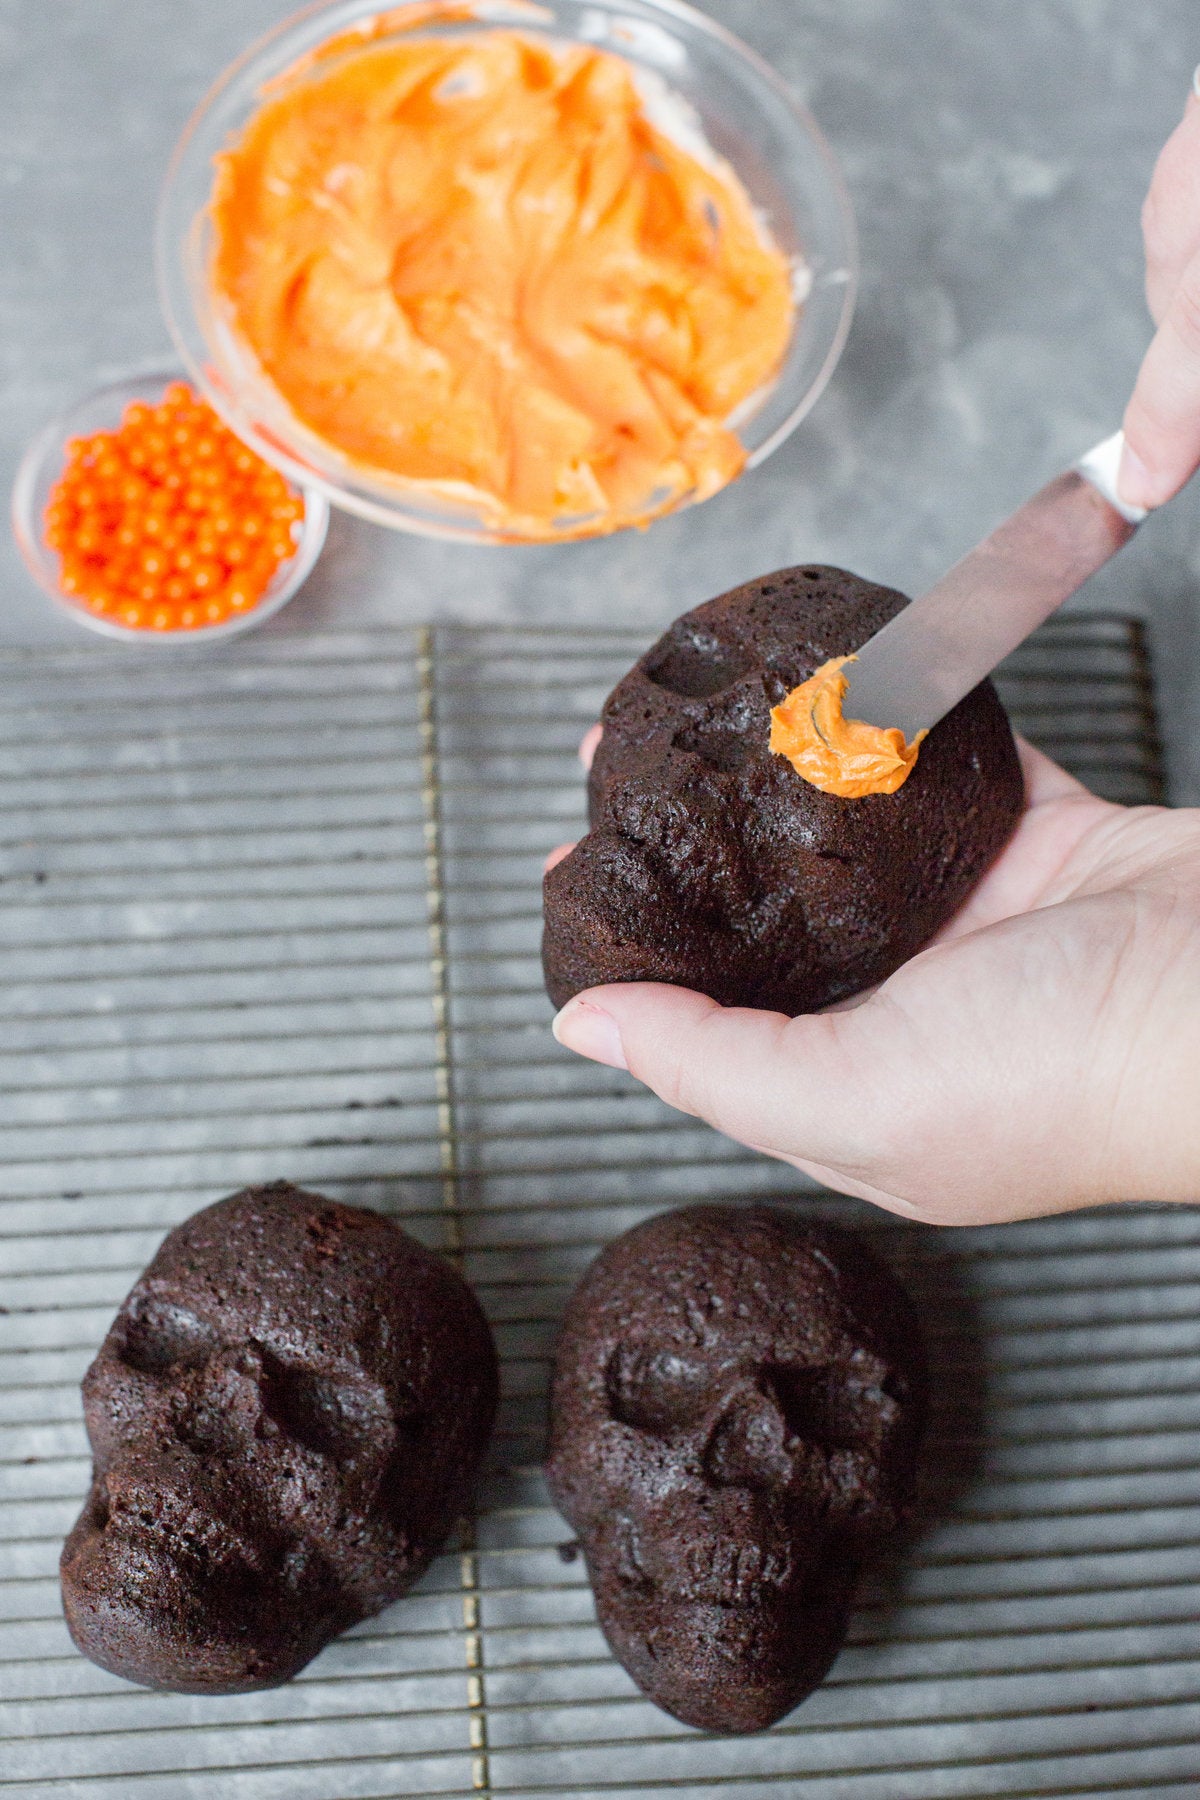
Decorating and finishing ideas
Simple finishes highlight the skull shape. Keep decor balanced so the facial features remain clear.
- Classic white skull
- Thin vanilla glaze poured evenly lets details show.
- Chocolate skull
- Use ganache to coat and then brush edible silver dust on high points.
- Color accents
- Paint eye sockets and nose with tinted buttercream using a small brush.
- Filling detail
- Pipe a darker glaze into crevices to create depth.
- Holiday themes
- Add sugar flowers for a Day of the Dead look or fake cracks for Halloween.
When I decorate the Williams Sonoma skull cake pan cake, I often use a light glaze first. Then I add darker accents in the recesses to bring out the design.
Cleaning and caring for the pan
Good care keeps the Williams Sonoma skull cake pan sharp and nonstick.
- Hand wash only
- Use warm soapy water and a soft brush for grooves.
- Avoid metal tools
- Use silicone or wooden tools to prevent scratches.
- Dry completely
- Air dry or towel dry to stop rust or spots.
- Store safely
- Keep in a flat place to avoid warping.
I once left residue in the jawline. A soft brush solved it, and the pan looked like new afterward.
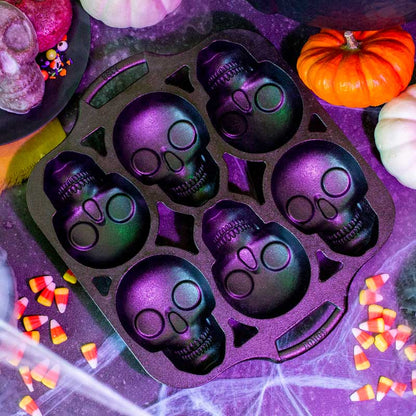
Buying the pan and alternatives
If you want the Williams Sonoma skull cake pan, look for it during seasonal sales. If you cannot find it, choose similar pans designed for bundt or novelty cakes.
- Where to buy
- Check seasonal catalogues or store websites. Quality pans sell out before holidays.
- Alternatives
- Use a bundt pan and carve the skull shape after baking.
- Silicone skull molds can work but may lack sharp detail.
- What to look for
- Heavy weight, good detail lines, and even depth help the cake release well.
I bought mine during a fall sale. A good pan makes the Williams Sonoma skull cake pan recipe much easier.
Nutrition and serving suggestions
A skull cake is rich and meant for sharing. Here are simple serving tips.
- Serving size
- Cut thin slices to serve many guests.
- Storage
- Wrapped in plastic, cake stays moist for 2 to 3 days at room temp. Refrigerate if filled with cream.
- Pairings
- Serve with coffee, whipped cream, or fresh berries to balance sweetness.
The Williams Sonoma skull cake pan recipe makes a cake that travels well. For events, I slice and plate the cake ahead to save time.

Frequently Asked Questions of williams sonoma skull cake pan recipe
What batter works best in the Williams Sonoma skull cake pan?
A slightly dense, buttery batter works best because it holds detail. Pound-cake style or a sturdy butter cake is ideal.
How do I prevent the cake from sticking to the skull pan?
Grease thoroughly, dust with flour, and cool 15 minutes before inverting. Use a thin knife around edges if you need help.
Can I use a boxed mix for the Williams Sonoma skull cake pan recipe?
Yes. Use two standard cake mixes or follow package directions and add one extra egg for moisture and strength.
How long should I bake a skull cake in this pan?
Bake at 325 to 350°F for 45 to 60 minutes, depending on batter density. Use a toothpick to check doneness.
Can I decorate the skull cake the day before an event?
Yes. Apply a basic glaze or crumb coat a day ahead. Add delicate accents and fresh items on the event day.
Conclusion
You can make a show-stopping skull cake with the Williams Sonoma skull cake pan by using the right batter, careful prep, and gentle cooling. Follow the recipe and tips above to keep facial details sharp and the cake moist. Try one simple glaze first, then add accents to match your theme. Share your cake, learn from each bake, and enjoy the process. If you liked this guide, try the recipe this weekend and leave a comment with your results.