

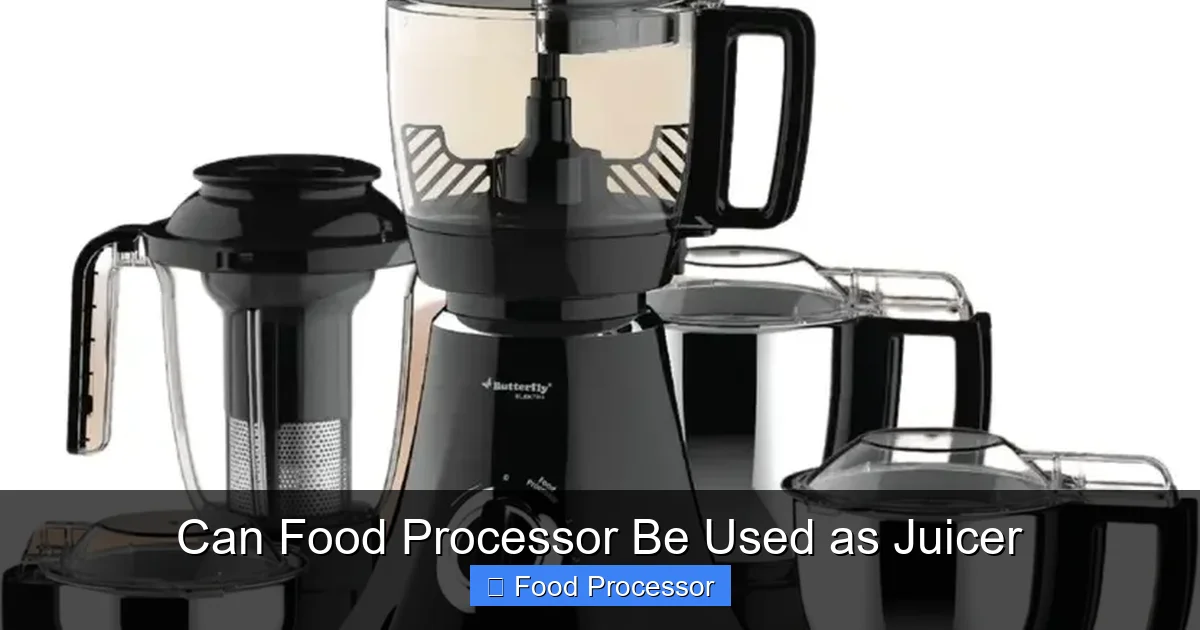
Wondering, “can food processor be used as juicer?” The answer is yes, with some caveats! While not designed for juicing, a food processor can effectively break down fruits and vegetables into a pulp, which can then be strained to separate the liquid. This guide shows you how to transform your kitchen workhorse into a makeshift juicer, offering a great alternative when a dedicated juicer isn’t available.
Can Food Processor Be Used as Juicer
Have you ever found yourself craving fresh, homemade juice but realized you don’t have a juicer? Or perhaps you’re just looking to get more out of your versatile kitchen appliances? If you own a food processor, you’re in luck! While a food processor isn’t a dedicated juicer, it absolutely *can* be used to extract juice from many fruits and vegetables. It’s a clever workaround that lets you enjoy fresh beverages without buying another single-purpose gadget.
This comprehensive guide will walk you through the process, step by step, showing you exactly how to transform your food processor into a makeshift juicer. We’ll cover everything from preparing your produce to straining the pulp, ensuring you get the best possible results. You’ll learn practical tips, common pitfalls to avoid, and even some creative ideas for your delicious homemade concoctions. By the end, you’ll be a pro at making juice with your food processor, ready to whip up healthy drinks whenever the mood strikes.
Key Takeaways
- Food Processors are Not True Juicers: Understand that a food processor won’t extract juice in the same way a dedicated juicer does. Instead, it creates a finely chopped pulp that requires straining.
- Preparation is Key: Properly washing, peeling (if necessary), and chopping your produce into small, uniform pieces will ensure better processing and juice yield.
- Strain for Success: The critical step is straining the processed pulp. Tools like nut milk bags, fine-mesh sieves, or cheesecloth are essential to separate the liquid from the solids.
- Texture and Yield Differences: Expect a thicker juice with more pulp than a traditional juicer. The yield might also be slightly lower, but the result is still fresh and nutritious.
- Best for Soft Produce: Softer fruits and vegetables like berries, citrus, cucumbers, and tomatoes yield better results. Harder produce like carrots and apples can work but require more effort and finer straining.
- Listen to Your Machine: Avoid overloading your food processor and be mindful of how long you leave it running to prevent overheating.
- Creative Juice Blends: Experiment with different fruit and vegetable combinations, adding a splash of water or coconut water if the mixture is too thick.
Understanding the Difference: Food Processor vs. Juicer
Before we dive into the “how-to,” it’s important to understand what a food processor *does* compared to a dedicated juicer. A juicer, whether centrifugal or masticating, is specifically designed to separate the liquid from the fibrous pulp, leaving you with a smooth, clear juice. A food processor, on the other hand, is a versatile kitchen tool built for chopping, slicing, shredding, and pureeing. Its primary goal is to break down ingredients into smaller pieces, not to separate liquid from solids.
When you use a food processor to make juice, you’re essentially creating a very fine puree or pulp. The juicing part comes *after* the processing, where you manually separate the liquid from this pulp. So, while a food processor can’t perform the final separation on its own, it’s an excellent first step. For a deeper dive into how these two appliances differ and what each excels at, you might find our article on the difference between food processor and juicer quite informative.
Step-by-Step Guide: How to Use Your Food Processor as a Juicer
Ready to get started? Here’s your detailed guide to making fresh juice with your food processor.
Step 1: Gather Your Tools and Ingredients
First things first, let’s make sure you have everything you need.
* Your Food Processor: Make sure it’s clean and assembled correctly with the S-blade (also known as the chopping blade).
* Produce: Choose fresh fruits and vegetables. Softer, water-rich produce like berries, citrus fruits, cucumbers, leafy greens, tomatoes, and grapes work exceptionally well. Apples and carrots can also be juiced, but will require more effort in straining.
* Straining Device: This is crucial! You’ll need one of the following:
* A fine-mesh sieve (also called a chinois).
* Cheesecloth (multi-layered for best results).
* A nut milk bag.
* A clean, thin kitchen towel.
* Large Bowl or Pitcher: To collect your juice.
* Spatula or Spoon: For pressing and stirring.
* Cutting Board and Knife: For preparing your produce.
Step 2: Prepare Your Produce
Proper preparation is key to a good yield and a smooth process.
H3: Wash Thoroughly
Wash all your fruits and vegetables under cold running water. Even if you plan to peel them, washing first helps remove surface dirt and contaminants.
H3: Peel and Core (If Necessary)
* Fruits with thick peels: Oranges, lemons, grapefruit, pineapple should be peeled.
* Fruits with pits or large seeds: Pits from peaches, nectarines, or large seeds from apples should be removed.
* Vegetables: Root vegetables like carrots can be scrubbed clean; peeling is optional based on preference and whether they are organic.
* Important: For leafy greens, simply wash them well.
H3: Chop into Small, Uniform Pieces
This is where your food processor truly shines in its initial role. Cut your fruits and vegetables into small, consistent pieces (about 1-2 inches). This helps the food processor break them down more efficiently and evenly, leading to a better pulp and easier straining later. Remove any tough stems or woody parts.
Step 3: Process the Produce in Your Food Processor
Now it’s time to get the food processor working its magic.
H3: Add Produce to the Work Bowl
Place a batch of your chopped produce into the food processor’s work bowl. Don’t overfill it; process in batches if you have a large quantity. Overfilling can strain the motor and lead to uneven processing.
H3: Pulse Until Finely Pureed
Secure the lid and pulse the food processor. Start with short pulses to break down the larger chunks, then switch to a continuous run. Process until the produce is reduced to a very fine, smooth puree or pulp. The consistency should be almost like a thick applesauce or baby food.
* Tip: For some tougher produce (like carrots or apples), you might add a tiny splash of water (1-2 tablespoons) to help the blades move and achieve a smoother consistency. Be careful not to add too much, as it can dilute your juice.
* Listen to your machine: Don’t let your food processor run continuously for too long without breaks, especially if you’re processing hard ingredients or large quantities. This can cause the motor to overheat. Check our guide on how long you can leave a food processor running for tips on preventing this.
Step 4: Strain the Pulp to Extract the Juice
This is the most critical step to turn your pulp into juice.
H3: Set Up Your Straining Station
Place your chosen straining device over a large bowl or pitcher.
* For a fine-mesh sieve: Simply place it over the bowl.
* For cheesecloth or a clean kitchen towel: Line the sieve or a colander with several layers of cheesecloth or the towel, ensuring it hangs over the edges of your collection bowl.
* For a nut milk bag: Open the bag and place it into the bowl.
H3: Add the Pureed Pulp
Carefully spoon the finely processed pulp from your food processor into the straining device. Don’t add too much at once, especially if using a bag or cloth, as it can be difficult to manage.
H3: Press and Squeeze
This is where the manual juicing happens.
* Using a sieve: Use the back of a spoon or a spatula to press down firmly on the pulp, pushing the liquid through the mesh. Scrape the underside of the sieve periodically to collect any clinging juice.
* Using cheesecloth, a nut milk bag, or a towel: Gather the edges of the cloth or bag to form a bundle. Twist the top tightly and squeeze the bundle firmly over the bowl. Apply steady, strong pressure to extract as much liquid as possible. You’ll be surprised how much juice comes out! Continue squeezing and pressing until no more liquid drips out.
H3: Repeat for Remaining Pulp
Discard the dry pulp (or save it for other uses like compost, baking, or adding to soups – more on this later!). Repeat the straining process with any remaining batches of pureed produce until all your pulp has been processed.
Step 5: Serve and Enjoy Your Fresh Juice
Once all the pulp is strained, you’ll have a bowl or pitcher of fresh, homemade juice.
* Taste and Adjust: Taste your juice. If it’s too thick, you can dilute it with a little water, sparkling water, or coconut water. If it’s too tart, a touch of natural sweetener like honey or maple syrup can be added, though try to avoid it for maximum health benefits.
* Serve Chilled: Pour your juice into glasses, add ice if desired, and enjoy immediately! Freshly made juice is best consumed within 24-48 hours. Store it in an airtight container in the refrigerator.
Practical Tips for Best Results
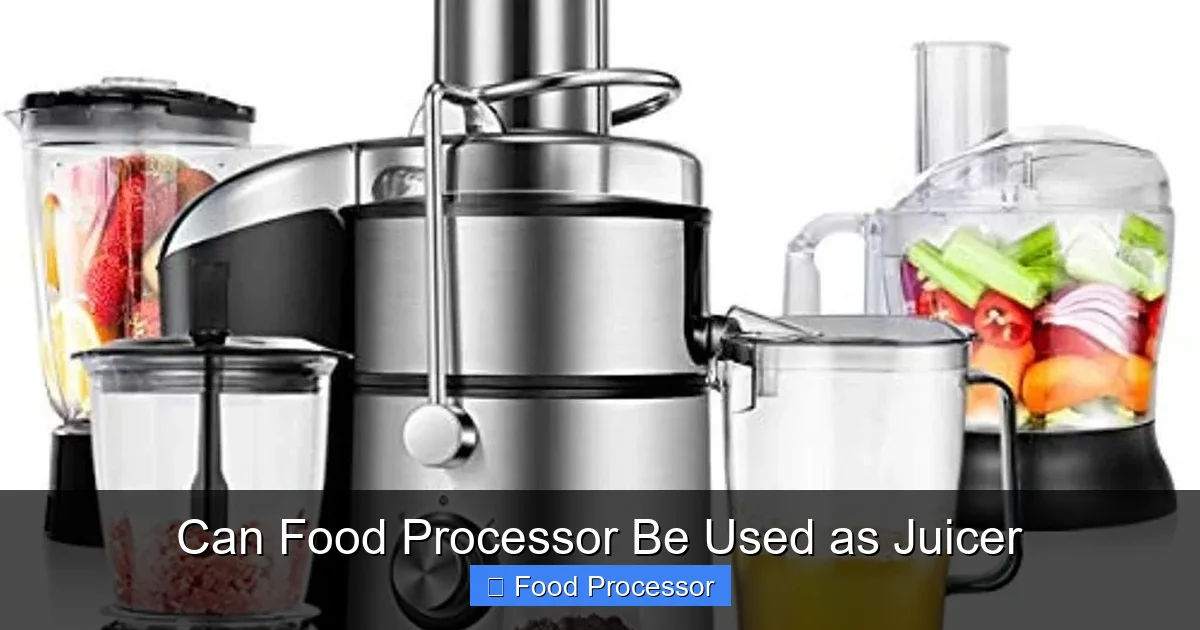
Visual guide about Can Food Processor Be Used as Juicer
Image source: i.pinimg.com
* Choose Water-Rich Produce: The higher the water content, the easier it will be to extract juice. Think cucumbers, watermelon, oranges, spinach, and celery.
* Experiment with Combinations: Don’t be afraid to mix and match. Apple and carrot, orange and ginger, or spinach and cucumber are popular choices.
* Consider Initial Blending for Smoother Results: While a food processor can create a fine pulp, if you want an even smoother base before straining, you could consider blending the pre-processed pulp briefly in a high-speed blender. This might be a good option if you sometimes use a food processor to make smoothies.
* Add a Little Liquid if Too Dry: If you’re processing very fibrous or dry ingredients, a small amount of water or another fruit’s juice can help the blades move more smoothly and prevent the motor from straining.
* Don’t Waste the Pulp: The leftover pulp is packed with fiber and nutrients! You can use fruit pulp in muffins, bread, or compost it. Vegetable pulp can be added to soups, stews, or even veggie burgers.
* Clean Up Immediately: Food processor parts can get sticky with fruit and vegetable residues. Clean them soon after use. Many food processor parts are safe to put in the dishwasher, which makes cleanup a breeze.
Troubleshooting Common Issues
* My Juice is Too Pulpy/Thick: This is a common issue when using a food processor. The solution is to strain it more thoroughly. If using a sieve, try pressing harder or even re-straining through a second, finer sieve or cheesecloth. If using cheesecloth or a nut milk bag, squeeze with more force and duration.
* Not Enough Juice Yield: This could be due to several factors:
* Insufficient processing: Ensure your produce is processed to a very fine puree before straining.
* Ineffective straining: Make sure you’re pressing or squeezing out every last drop.
* Type of produce: Some produce naturally yields less juice (e.g., bananas have very low water content and are not ideal for juicing).
* My Food Processor is Struggling/Overheating: You might be overloading it or processing very hard ingredients without enough liquid. Process in smaller batches and add a tablespoon or two of water if the mixture is too dry. Give your machine a break if you notice it getting warm.
* Juice Tastes Bitter: This can happen if you leave peels on certain fruits, especially citrus. Ensure you’ve removed all bitter rinds. Some greens can also add a slightly bitter note; balance this with sweeter fruits like apples or carrots.
Conclusion: The Versatile Food Processor
While your food processor may not be a dedicated juicer, it is an incredibly versatile appliance that can absolutely help you create delicious, fresh juice at home. It requires a bit more effort and a manual straining step, but the results are worth it – vibrant, nutrient-rich beverages without needing to invest in another kitchen gadget.
By following these steps, preparing your ingredients properly, and using an effective straining method, you can enjoy fresh fruit and vegetable juices whenever you like. So, the next time you ask yourself, “can food processor be used as juicer?” remember this guide and get ready to enjoy a refreshing, homemade drink! Happy juicing!
