

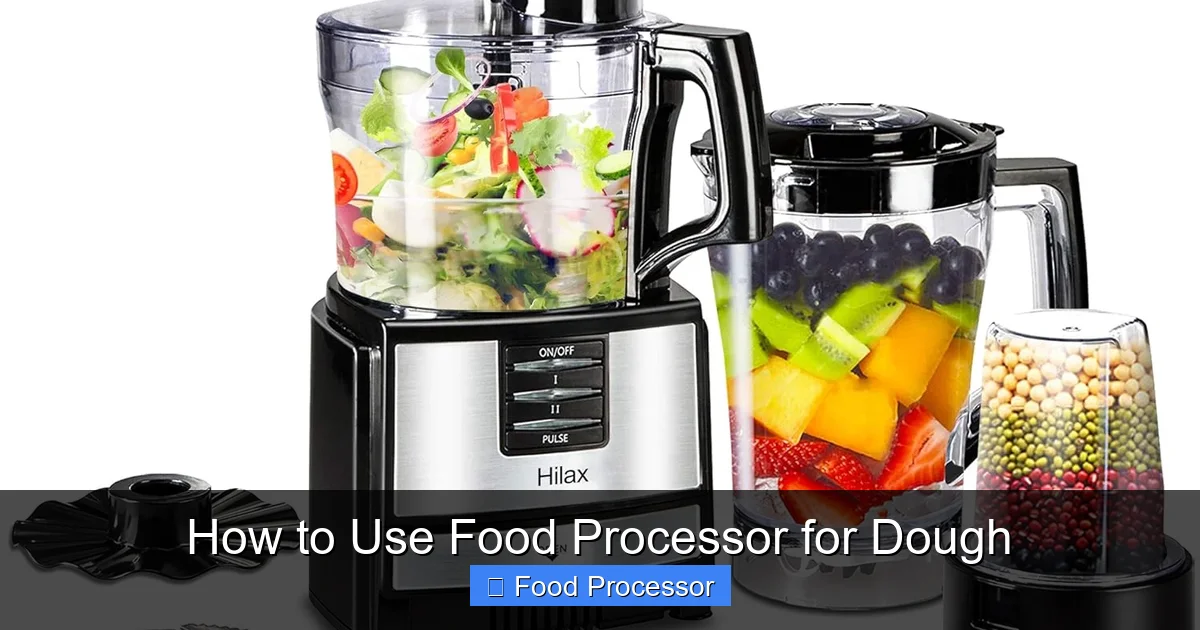
Learning how to use a food processor for dough can revolutionize your baking, saving time and effort compared to traditional methods. This comprehensive guide walks you through every step, from selecting the right blade to achieving the perfect consistency for various dough types like pie crusts, bread, and cookies. You’ll discover how to efficiently mix ingredients, prevent common issues, and master your food processor for dough with ease, making baking more enjoyable and less messy.
Welcome, fellow home bakers! Are you tired of sticky hands, messy countertops, and the sheer effort of kneading dough by hand? What if I told you there’s a powerful kitchen appliance sitting on your counter that can take most of the hard work out of dough making? Yes, we’re talking about your trusty food processor! Learning how to use a food processor for dough can be a game-changer, making everything from flaky pie crusts to bouncy bread dough a breeze.
In this guide, we’ll dive deep into the world of using a food processor for dough. We’ll cover everything you need to know, from setting up your machine to tackling different types of dough. By the end of this article, you’ll be whipping up delicious baked goods with confidence and a lot less fuss. Let’s get started!
Key Takeaways
- Choose the Right Blade: Always use the plastic dough blade or S-blade (metal chopping blade) for making dough in your food processor, as it mixes ingredients without overworking them.
- Measure Precisely: Accuracy in ingredient measurement, especially flour and liquids, is crucial for successful dough, as food processors are very efficient.
- Add Liquids Gradually: Incorporate wet ingredients slowly through the feed tube while the machine is running to achieve the perfect dough consistency without over-processing.
- Use Cold Fat for Pastry: For flaky pastry dough, ensure your butter or shortening is very cold and cut into small pieces before adding it to the food processor.
- Process in Short Bursts: Use quick pulses initially, especially for combining dry ingredients and cutting in fat, then process continuously for only 30-60 seconds for most doughs.
- Don’t Over-Process: Over-processing can lead to tough, gummy dough. Stop as soon as the dough forms a ball or comes together.
- Finish by Hand: A brief, gentle hand knead after processing helps to bring the dough together, check consistency, and develop gluten (for yeast dough) without overworking it.
Why Use a Food Processor for Dough?
Before we get into the nitty-gritty, let’s briefly touch upon *why* a food processor is such a fantastic tool for dough.
First, it’s incredibly fast. A food processor can cut fat into flour or mix bread dough in seconds, something that would take minutes by hand or even with a stand mixer. This speed is especially beneficial for pastries, where keeping ingredients cold is key to flakiness.
Second, it minimizes mess. All the mixing happens within the enclosed bowl, keeping your kitchen cleaner. Plus, it saves your hands from getting sticky or tired from kneading.
Finally, a food processor helps ensure consistent results. Its powerful motor and sharp blades create a uniform mix every time, leading to perfectly textured doughs.
Getting Started: Essential Preparations
Before you even think about adding ingredients, a little preparation goes a long way.
Choose the Right Food Processor
While most food processors can handle dough, some are better suited than others. For larger batches or thicker doughs like bread, a food processor with a powerful motor (600 watts or more) and a larger capacity (10-12 cups or more) is ideal. A smaller, compact food processor might struggle with dense doughs or large quantities. If you’re wondering how to choose the right size food processor for your needs, consider the types of recipes you make most often.
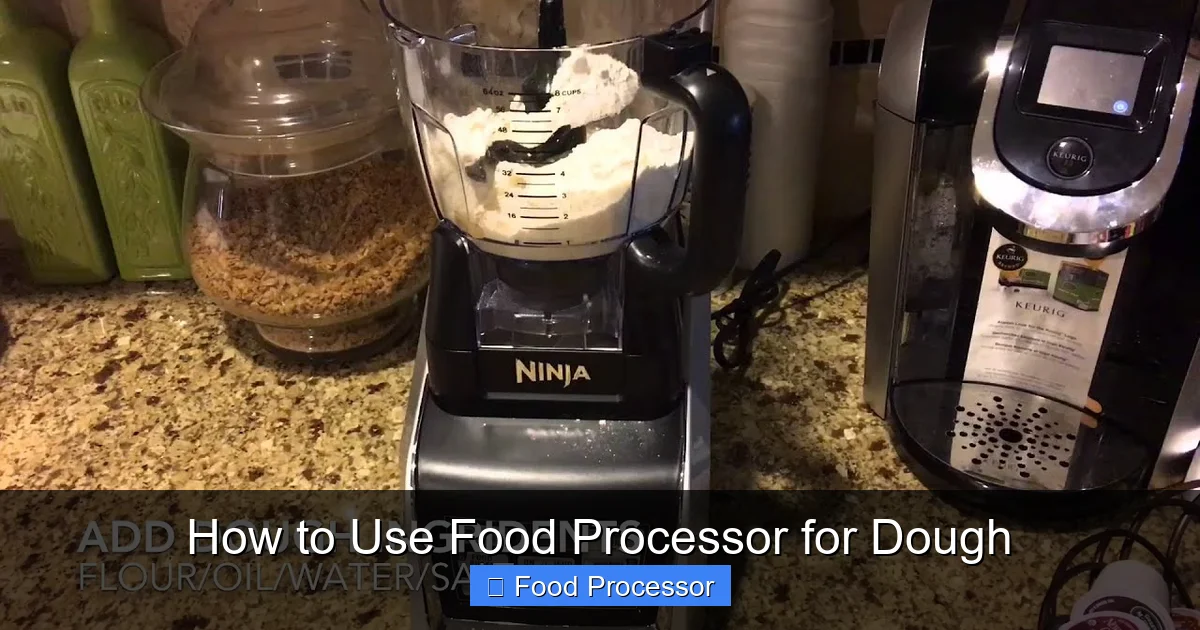
Visual guide about How to Use Food Processor for Dough
Image source: i.ytimg.com
Gather Your Tools and Ingredients
You’ll need your food processor, a cutting board, measuring cups and spoons, and a spatula. Make sure all your ingredients are measured out and ready to go. Precision is especially important when using a food processor, as it works so quickly.
Select the Correct Blade
This is crucial! Most food processors come with multiple blades. For dough, you’ll typically use one of two options:
- The Plastic Dough Blade: Many newer food processors include a specialized plastic dough blade. This blade is designed specifically for kneading and mixing dough without overworking it. It mimics the gentle action of hand kneading.
- The S-Blade (Metal Chopping Blade): If your food processor doesn’t have a plastic dough blade, don’t worry! The standard metal S-blade (also known as the chopping blade) works perfectly fine, especially for pie crusts and quick breads. Just be mindful not to over-process.
Step 1: Prepare Your Ingredients (The Right Way)
The secret to great dough starts with proper ingredient preparation.
Measure Dry Ingredients Accurately
Always measure your flour, salt, sugar, and leavening agents (like baking powder or yeast) precisely. Level your flour properly – spoon it into your measuring cup and then level it off with a straight edge, rather than scooping directly from the bag. This prevents adding too much flour, which can lead to dry, tough dough.
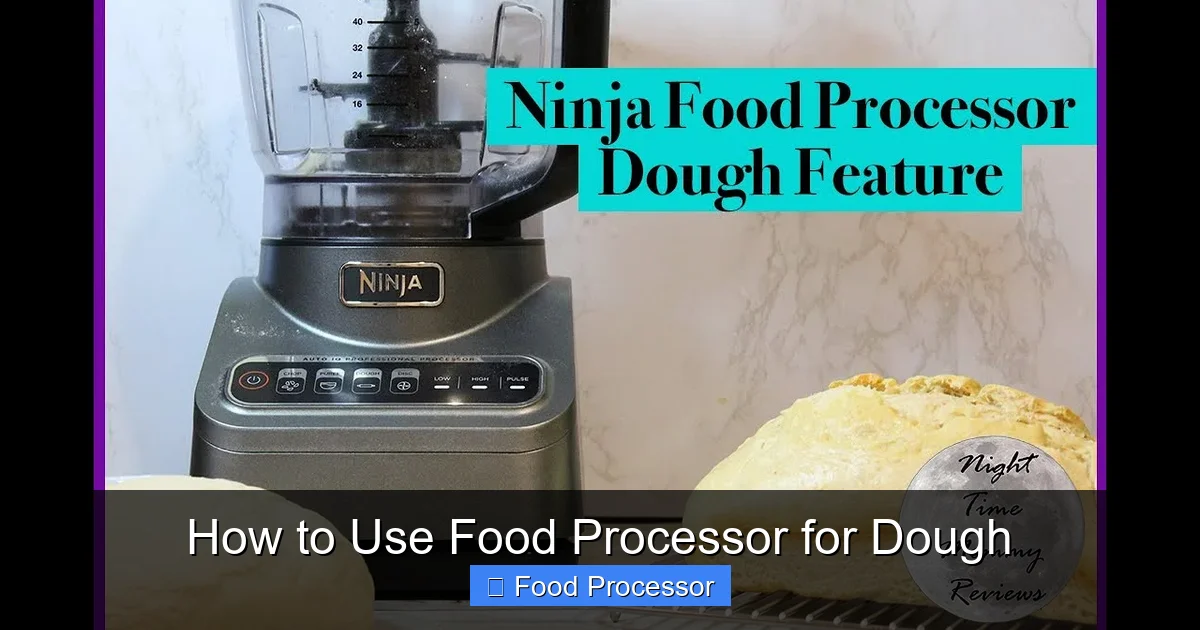
Visual guide about How to Use Food Processor for Dough
Image source: i.ytimg.com
Chill Your Fat (for Pastries)
If you’re making pie crust, scones, or biscuits, ensure your butter or shortening is *very cold*. Cut it into small, 1/2-inch cubes. Cold fat is essential for creating those flaky layers we all love.
Prepare Wet Ingredients
Measure your liquids (water, milk, eggs) accurately. For yeast doughs, ensure your liquid is at the correct temperature (typically lukewarm, around 105-115°F or 40-46°C, to activate the yeast). Some recipes might call for cold water for pastry dough.
Step 2: Assemble Your Food Processor
Safety and proper assembly are key before you start processing. If you need a refresher on how to assemble your food processor step-by-step, it’s always good to consult your appliance’s manual or an online guide.
Secure the Bowl and Blade
Place the food processor bowl onto the base and twist it until it locks securely in place. Then, carefully place your chosen blade (plastic dough blade or S-blade) onto the spindle in the center of the bowl.
Ensure the Lid is Locked
Add your lid and twist it until it locks securely. The food processor will not operate unless the lid is properly engaged for safety reasons.
Step 3: Add Dry Ingredients to the Bowl
This is where the magic begins.
Combine Dry Ingredients
Pour all your dry ingredients (flour, sugar, salt, yeast, etc.) into the food processor bowl with the blade in place. Pulse the food processor a few times (3-5 short pulses) to thoroughly combine them. This ensures even distribution of salt and leavening agents.
Step 4: Incorporate Cold Fat (for Pastries and Biscuits)
If your recipe calls for cold fat, this is the next step.
Add Cold Fat
Scatter the cold, cubed butter or shortening evenly over the dry ingredients in the food processor bowl. Place the lid back on.
Pulse to Cut In the Fat
Use the pulse function. Press and release the pulse button in quick bursts. For pie crusts, you want the mixture to resemble coarse meal with some pea-sized pieces of butter remaining. This usually takes about 10-20 pulses, depending on your machine. Be careful not to overmix; you don’t want to melt the butter or create a smooth paste.
Step 5: Add Wet Ingredients Gradually
This is the most critical step for achieving the right dough consistency.
Pour Through the Feed Tube
With the food processor running on continuous mode (or using long pulses), slowly pour your liquid ingredients through the feed tube at the top of the lid. Don’t dump it all in at once!
Watch for Dough Formation
As you add the liquid, watch the dough closely. For most doughs, it will start to come together. For yeast dough, it might form a shaggy ball and then eventually a smooth ball that rides around the blade. For pastry dough, it should just clump together. Stop adding liquid as soon as the dough forms a ball or comes together sufficiently. You might not need all the liquid specified in the recipe, or you might need a tiny bit more – this depends on factors like flour type and humidity.
Step 6: Process Until Dough Forms (and Stops)
The processing time is usually very short for dough in a food processor.
Brief Processing for Yeast Dough
Once all the liquid is added and the dough starts to come together, let the food processor run continuously for another 30 to 60 seconds for yeast doughs. This is usually enough to develop the necessary gluten. The dough should form a smooth ball and continue to knead against the sides of the bowl. Over-processing can lead to tough dough. You can easily compare the efficiency of this method to a traditional mixer, which might lead you to ask, “can you use food processor instead of mixer?” The answer, especially for dough, is often a resounding yes!
Minimal Processing for Pastry Dough
For pastry dough, once the dough just comes together into a rough ball, stop immediately. You want to handle it as little as possible to keep the butter cold and prevent gluten development.
Step 7: Remove and Finish the Dough
Once processed, your dough is almost ready for its next stage.
Remove Dough from Bowl
Carefully remove the blade. If the dough is wrapped around the blade, use a spatula to gently scrape it off. Transfer the dough to a lightly floured surface or a clean bowl.
Brief Hand Kneading (if needed)
For yeast dough, a very brief, gentle hand knead (about 30 seconds to 1 minute) can help smooth out the dough and ensure all ingredients are fully incorporated. For pastry dough, simply bring it together into a disk without kneading.
Resting or Chilling
Most doughs benefit from resting. Yeast doughs need to rise in a warm place. Pastry doughs should be wrapped in plastic wrap and chilled in the refrigerator for at least 30 minutes (or longer) before rolling out. This allows the gluten to relax and the fat to firm up.
Tips for Specific Dough Types
Different doughs have slightly different needs.
Pie Crusts and Pastry Dough
Goal: Flaky and tender.
Key: Use very cold fat, minimal liquid, and stop processing as soon as the dough just comes together. Do not overmix. A great food processor for dough can make quick work of a perfect pie crust every time.
Yeast Dough (Bread, Pizza Dough, Roti Dough)
Goal: Elastic and smooth.
Key: Ensure liquids are warm enough to activate yeast. Process for 30-60 seconds after liquids are added. The dough should look smooth and elastic. For specific doughs like Roti, finding the best food processor for roti dough can make a big difference in texture.
Cookie Dough
Goal: Well-combined, often soft.
Key: Cream butter and sugar first if your recipe calls for it (some food processor recipes combine all wet and dry at once). Then add dry ingredients. Pulse until just combined; overmixing can make cookies tough. For drop cookies, the food processor is fantastic.
Troubleshooting Common Dough Issues
Even with the best instructions, things can sometimes go awry.
Dough Too Sticky
Problem: You added too much liquid, or your flour absorption rate is low.
Solution: Sprinkle in a tablespoon of flour at a time and pulse briefly until the desired consistency is reached. Be careful not to add too much.
Dough Too Dry/Crumbly
Problem: Not enough liquid, or too much flour.
Solution: Add liquid (water, milk) a teaspoon at a time through the feed tube while pulsing, until the dough comes together. This is especially true for thick dough recipes; finding the best food processor for thick dough recipes can prevent your machine from struggling.
Dough Over-Processed
Problem: Dough feels tough, elastic, or hot, especially for pastry.
Solution: For pastry, there’s little to do once it’s over-processed; the texture will be compromised. For yeast dough, you can try letting it rest longer to relax the gluten, but it might still be tougher than desired. Prevention is key: watch your dough closely and stop processing as soon as it looks right.
Food Processor Struggling or Stopping
Problem: The motor is straining, or the machine automatically shuts off.
Solution: Your food processor might be overloaded, or the dough is too stiff for its motor. Remove some of the dough and process in smaller batches, or add a tiny bit more liquid if the dough is very dry. If your food processor starts to struggle often, you might need to troubleshoot why your food processor stopped working.
Cleaning Your Food Processor After Dough Making
Cleaning up is the final step!
Immediately after use, disassemble the bowl, lid, and blade. Wash them with warm, soapy water. Dough can dry and harden quickly, making it more difficult to clean later. For stubborn sticky bits, a pastry brush can be helpful. Ensure all parts are thoroughly dry before storing.
Conclusion
Congratulations! You’ve just learned how to master your food processor for dough. From flaky pie crusts to chewy bread and perfect cookies, your food processor is a powerful ally in the kitchen. By following these steps and tips, you’ll save time, reduce mess, and consistently produce delicious results. So go ahead, dust off your appliance, and get ready to bake some incredible homemade goodies. Happy baking! If for some reason you don’t have this amazing tool, or you’re considering alternatives, you might find it helpful to learn what to do if you don’t have a food processor for dough.
