

Grinding your own meat at home using a food processor is surprisingly simple and offers superior freshness and control over ingredients. This comprehensive guide walks you through the entire process, from properly chilling and prepping your meat to using the pulse function effectively and cleaning up afterward. You’ll learn how to achieve the perfect grind for all your favorite dishes, ensuring better flavor and texture while saving money.
How to Use Food Processor to Grind Meat
Have you ever wondered if you could achieve that perfect, fresh grind for your homemade burgers or meatballs right in your own kitchen? The answer is a resounding yes! While dedicated meat grinders exist, your trusty food processor is a surprisingly effective and versatile tool for grinding meat. It’s not just for chopping vegetables or making hummus anymore; you can absolutely use a food processor to grind meat. This guide will walk you through every step, ensuring you get fantastic results every time.
Grinding your own meat at home means you have complete control over the quality, fat content, and freshness of what you’re eating. No more guessing about what’s really in that store-bought ground meat. Plus, it’s often more economical! So, get ready to elevate your cooking game. Let’s learn how to use a food processor to grind meat.
Key Takeaways
- Chill Your Meat Thoroughly: Always ensure your meat is very cold, ideally partially frozen, before grinding. This prevents it from turning into a paste and helps achieve a consistent, distinct grind.
- Cut Meat into Small, Uniform Cubes: For best results, cut your meat into 1-inch (2.5 cm) cubes. Uniform size ensures even processing and prevents larger chunks from being missed by the blade.
- Use the Pulse Function Wisely: The food processor’s pulse setting is your best friend for grinding meat. Use short, controlled bursts to achieve the desired texture without over-processing or heating the meat.
- Grind in Small Batches: Avoid overloading your food processor. Process meat in small batches (about 1/2 to 3/4 full) to allow the blade to work efficiently and prevent the motor from straining.
- Clean Immediately After Use: Raw meat residues can be tricky to clean once dry. Disassemble and wash your food processor components promptly with hot, soapy water to ensure hygiene and ease of cleaning.
- Experiment for Different Grinds: Adjust the number of pulses to achieve various textures, from coarse for chili to fine for pâtés. This flexibility is a major advantage of home grinding.
Why Grind Your Own Meat?
Before we dive into the “how-to,” let’s quickly discuss why grinding your own meat is such a great idea.
First, freshness. Meat ground moments before cooking has a superior flavor and texture compared to pre-packaged options that have been sitting on a shelf. You’ll notice the difference immediately in your dishes.
Second, control. You choose the exact cut of meat and decide the fat-to-lean ratio. Want leaner ground beef for a healthier meal? Go for it. Craving a richer, juicier burger? Add a little extra fat. This level of customization is invaluable for specific recipes.
Third, variety. You’re not limited to just beef. You can grind chicken, pork, lamb, turkey, or even blend different meats for unique flavor profiles. Imagine homemade sausage or custom burger blends!
Finally, cost-effectiveness. Often, whole cuts of meat can be more affordable than their pre-ground counterparts, especially when on sale. Grinding at home can save you money in the long run.
Many people ask, can a food processor be used as a meat grinder? And the answer is a confident yes! It’s a fantastic alternative that delivers excellent results with proper technique.
Choosing the Right Food Processor for Grinding Meat
Not all food processors are created equal, especially when it comes to tougher tasks like grinding meat. For best results, consider these points:
Bowl Size Matters
A larger bowl (10-14 cups) is ideal for grinding meat. It allows you to process more meat at once without overloading the machine, which leads to a more even grind and less strain on the motor. If you have a smaller food processor, don’t worry, you can still use it; you’ll just need to work in smaller batches. To learn more about selecting the right size for your needs, check out our guide on how to choose the right size food processor.
Visual guide about How to Use Food Processor to Grind Meat
Image source: cdn.shopify.com
Motor Power
A powerful motor (at least 600 watts) will handle meat grinding with ease. We actually have an article on the best food processor for raw meat, which dives deeper into models that excel at this task. Stronger motors prevent overheating and ensure consistent pulsing power.
Sharp S-Blade
Ensure your food processor’s standard S-blade is sharp. A dull blade will mash the meat rather than cut it cleanly, resulting in a less desirable texture. If your blade isn’t performing well, it might be time for a replacement.
Choosing Your Meat
Almost any boneless meat can be ground in a food processor. Here are some popular choices:
- Beef: Chuck roast is excellent for burgers, meatloaf, and chili due to its good fat content. Sirloin or round can be used for leaner options.
- Pork: Pork shoulder (Boston butt) is fantastic for sausages and ground pork dishes, offering a good balance of fat and flavor.
- Chicken/Turkey: Boneless, skinless thighs work best as they have a bit more fat and moisture than breasts, preventing a dry grind.
- Lamb: Lamb shoulder or leg is great for Mediterranean-inspired dishes.
Aim for meat with a decent fat content (around 15-20%) for most applications, as fat adds flavor and moisture. If your chosen cut is very lean, you might consider adding a bit of pork fat or bacon to the mix for juiciness.
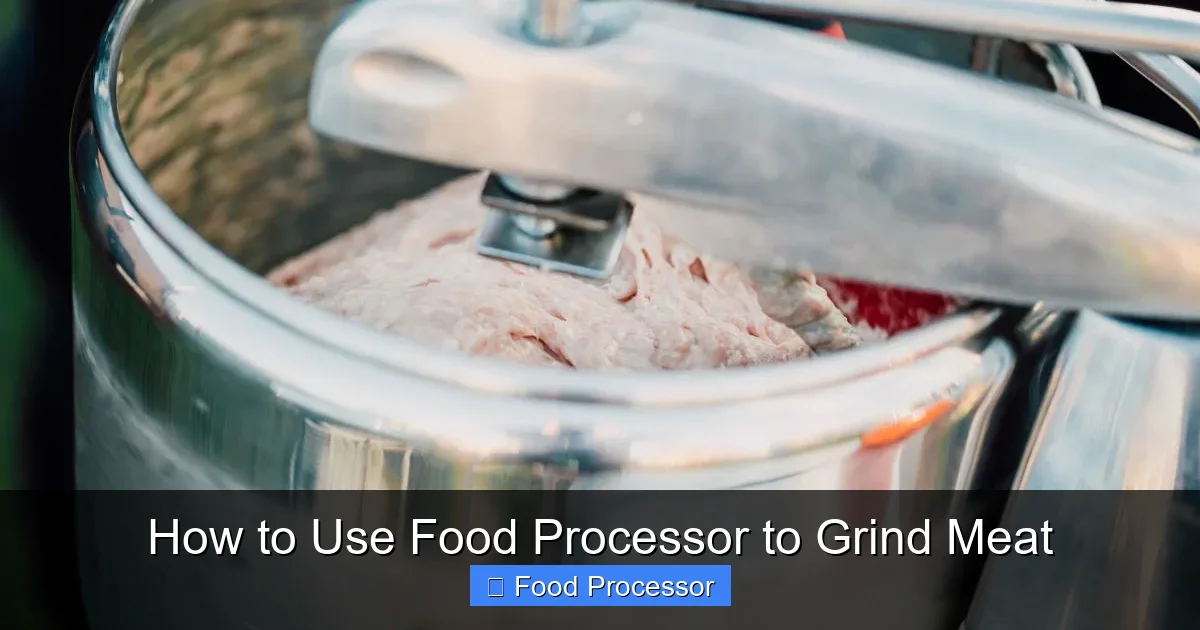
Visual guide about How to Use Food Processor to Grind Meat
Image source: cityfoodequipment.com
Essential Equipment
Before you start, gather these items:
- Your food processor with the S-blade installed.
- A sharp chef’s knife.
- A sturdy cutting board.
- A baking sheet or large plate that fits in your freezer.
- Parchment paper or wax paper.
- A bowl for the ground meat.
Step-by-Step Guide: How to Use Food Processor to Grind Meat
Now, let’s get to the nitty-gritty of how to use a food processor to grind meat. Follow these steps carefully for the best results.
Step 1: Prep Your Meat for Grinding
Proper preparation is the most crucial part of successful meat grinding. Don’t skip these steps!
Chill it Thoroughly
This is non-negotiable. Cold meat grinds cleanly; warm meat smears and turns into a paste. Place your meat in the freezer for about 30-60 minutes before you plan to cut it. It should be firm to the touch but not completely frozen solid.
Cut into Small, Even Cubes
Remove any large pieces of gristle or bone, but keep a good amount of fat if you want a juicy result. Cut the meat into 1-inch (2.5 cm) cubes. Uniform size is important for an even grind. Smaller pieces will process more efficiently and prevent the food processor from struggling.
Freeze Briefly for Best Results
Once cubed, spread the meat in a single layer on a baking sheet lined with parchment or wax paper. Place the entire tray back into the freezer for another 15-20 minutes. The goal is for the meat to be very firm, almost partially frozen around the edges, but still pliable in the center. This chill factor is the secret to a perfect, non-pasty grind.
Step 2: Assemble Your Food Processor
Safety and proper setup ensure smooth operation.
Choose the Right Blade
For grinding meat, you’ll always use the standard S-blade (also known as the chopping blade or multi-purpose blade). Make sure it’s securely placed on the central post of your food processor bowl.
Secure the Bowl and Lid
Place the bowl onto the motor base, twisting it until it locks into place. Then, fit the lid onto the bowl and twist it until it also locks securely. Most food processors have safety features that prevent them from operating if the bowl and lid aren’t properly assembled. If you need a refresher on how to set up your appliance, our guide on how to assemble food processor step by step can help.
Step 3: Grind the Meat in Batches
This is where the magic happens! Patience and proper technique are key.
Don’t Overload the Bowl
Remember that a food processor is not a meat grinder. It’s crucial to work in small batches. Fill the bowl no more than half to two-thirds full with your chilled meat cubes. Overloading will result in uneven grinding and can strain your motor.
Use the Pulse Function
Close the lid and use the “Pulse” button. This is your best friend for grinding meat. Instead of running the motor continuously, you’ll use short, quick bursts. Press the pulse button for 1-2 seconds, then release. Repeat this action.
Scrape Down the Sides
After about 5-10 pulses, open the lid and use a spatula to scrape down any larger pieces of meat that have climbed the sides of the bowl or are stuck to the lid. This ensures everything gets processed evenly.
Check for Desired Consistency
Continue pulsing and scraping until the meat reaches your desired consistency. This typically takes anywhere from 15 to 30 pulses, depending on your machine and how fine you want the grind. Look for distinct, small pieces of meat, not a smooth paste.
Repeat for Remaining Meat
Remove the ground meat from the bowl and transfer it to a separate bowl. Repeat the process with the remaining chilled meat, working in batches until all of it is ground.
Step 4: Achieving Different Grinds
The beauty of using a food processor to grind meat is the control you have over the texture.
Coarse Grind
For chili or hearty stews, a coarse grind is perfect. Use fewer pulses (around 10-15 total), checking frequently until you see larger, irregular chunks of meat.
Medium Grind
This is ideal for most recipes like meatballs, meatloaf, or tacos. Aim for about 15-25 pulses, resulting in distinct but small pieces.
Fine Grind
If you’re making pâté, very fine burgers, or delicate fillings, you might want a finer grind. Use more pulses (25-30+), but be extremely careful not to over-process. Too many pulses will heat the meat and turn it into a paste, especially if it’s not super cold. It’s better to slightly under-grind than over-grind.
Step 5: Post-Grinding & Storage
Once your meat is ground, handle it promptly and properly.
Use Immediately or Store Properly
For the best quality, use your freshly ground meat right away. If you’re not using it immediately, transfer it to an airtight container or zip-top bags.
Packaging for Freezer
To freeze, flatten the ground meat into thin patties or blocks in freezer-safe bags. This allows for quicker freezing and thawing. Label with the date. Ground meat can typically be frozen for 3-4 months.
Troubleshooting Common Issues When You Grind Meat in a Food Processor
Even with the best intentions, you might encounter a few hiccups. Here’s how to tackle them:
Meat Turning into Paste
If your meat looks more like a smear than distinct grains, it’s usually because the meat wasn’t cold enough, you overloaded the bowl, or you over-processed it with continuous blending instead of pulsing. Ensure your meat is partially frozen before starting, work in smaller batches, and strictly use the pulse function.
Uneven Grind
This often happens if your initial meat cubes weren’t uniform in size, or if you didn’t scrape down the sides of the bowl frequently enough. Make sure all pieces are roughly the same size before grinding, and pause often to redistribute the meat with a spatula.
Food Processor Overheating
If your food processor feels hot or emits a burning smell, you’re likely overworking the motor. This can happen if you’re trying to grind too much meat at once or running the machine for too long continuously. Give your food processor a break between batches, and ensure you’re sticking to the recommended batch sizes. If your food processor stops working or its blade isn’t spinning, check for overheating or ensure all parts are correctly assembled and locked.
Tips for Success with Your Food Processor to Grind Meat
To ensure you always get fantastic results when you grind meat in a food processor, keep these tips in mind:
- Keep Everything Cold! This cannot be stressed enough. A cold food processor bowl, a cold blade (you can even put it in the freezer for 10-15 minutes), and ice-cold meat are your best friends.
- Don’t Rush It: Patience is a virtue, especially with pulsing. Short, controlled bursts are far better than continuous blending.
- Clean Immediately: Raw meat residue can be stubborn. Disassemble and clean your food processor parts right after use to prevent bacteria growth and make cleanup easier.
- Experiment with Blends: Don’t be afraid to mix different types of meat or add herbs and spices during the last few pulses for custom sausage mixes or seasoned ground meat.
Cleaning Your Food Processor After Grinding Meat
Cleanliness is paramount when dealing with raw meat.
Safety First
Always unplug your food processor before disassembling it for cleaning.
Disassembly
Carefully remove the blade, bowl, and lid. Be cautious with the sharp S-blade.
Washing
Wash all removable parts immediately with hot, soapy water. Use a brush to get into any crevices. Most food processor bowls and blades are dishwasher-safe (check your manual), but handwashing often ensures a thorough clean, especially after raw meat.
Drying
Allow all parts to air dry completely or dry them thoroughly with a clean towel before reassembling or storing. This prevents water spots and potential mold growth.
Conclusion
Congratulations! You’ve learned how to use a food processor to grind meat like a pro. With a little preparation and the right technique, your food processor transforms into a powerful tool for crafting fresh, delicious, and customized ground meat right in your own kitchen. Say goodbye to guesswork and hello to superior flavor and quality in all your favorite dishes. So, go ahead, grab that cut of meat, and start pulsing your way to culinary success!
