

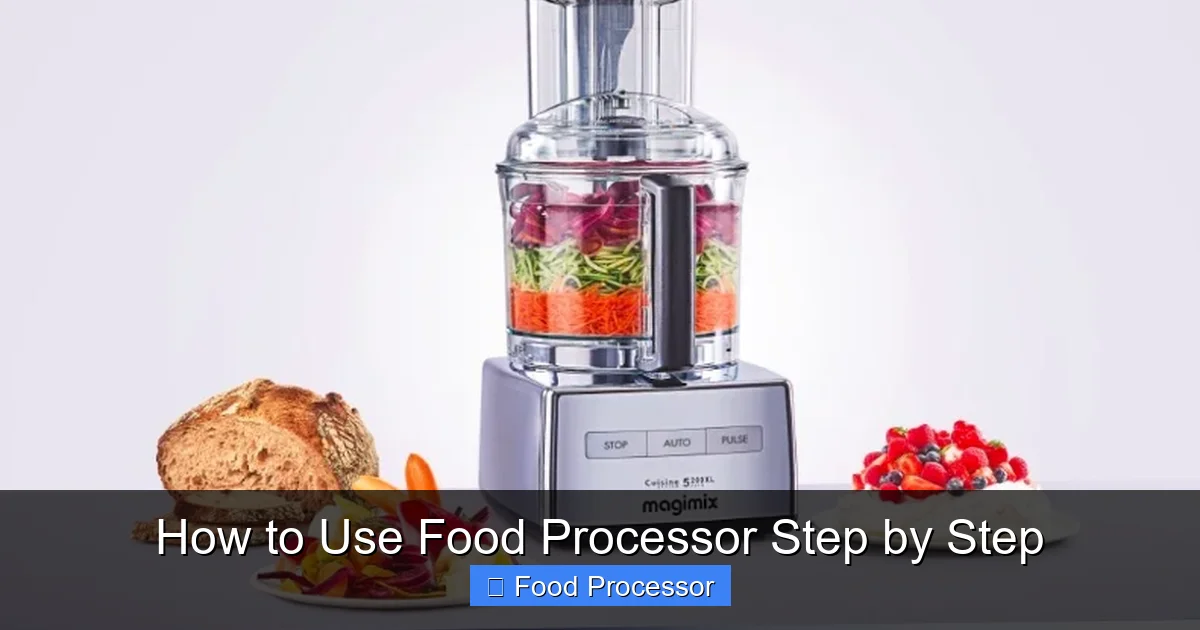
Learning how to use a food processor step by step can transform your cooking experience, making meal prep faster and easier than ever before. This comprehensive guide covers everything from safely assembling your unit and choosing the right blade to mastering various processing techniques like chopping, shredding, and pureeing. You’ll gain the confidence to efficiently tackle any recipe, saving precious time in the kitchen.
How to Use Food Processor Step by Step
Welcome to the wonderful world of food processors! This kitchen powerhouse is a true game-changer, capable of transforming laborious tasks like chopping, slicing, shredding, and pureeing into quick and effortless feats. If you’ve ever felt intimidated by its various blades and buttons, you’re in the right place. This comprehensive, step-by-step guide is designed to empower you with the knowledge and confidence to master your food processor, making your time in the kitchen more enjoyable and efficient.
In this guide, we’ll walk you through everything you need to know, starting from understanding the different parts of your machine, moving through safe assembly, choosing the right attachments, and mastering essential processing techniques. We’ll also cover practical tips, basic troubleshooting, and how to keep your appliance sparkling clean. By the end, you’ll be a pro at using your food processor for a vast array of culinary creations, from perfectly chopped veggies to smooth sauces and even homemade dough. Let’s get started and unlock the full potential of this versatile kitchen tool!
Key Takeaways
- Safety First: Always ensure your food processor is unplugged during assembly and disassembly, and never touch the blades directly.
- Proper Assembly is Crucial: Correctly assembling the work bowl, blade, and lid is essential for safe and effective operation; most units have safety interlocks.
- Choose the Right Blade: The S-blade is for chopping, mincing, pureeing, and mixing, while various discs are used for slicing and shredding.
- Master the Pulse Function: Use short bursts of the pulse button for greater control over texture, especially for chopping or mincing, to avoid over-processing.
- Prepare Ingredients Properly: Cut food into similar-sized, manageable pieces before adding them to the bowl for even processing results.
- Don’t Overfill: Process in batches to prevent the motor from straining and to ensure ingredients are processed uniformly.
- Thorough Cleaning is Key: Disassemble all removable parts immediately after use and wash them properly to maintain hygiene and longevity of your appliance.
Step 1: Understand Your Food Processor
Before you dive into chopping and shredding, take a moment to get acquainted with your food processor. While models vary, most share common components that you’ll interact with regularly. Understanding these parts is the first step to safe and effective use.
Components Overview
Most food processors consist of several key parts:
- Motor Base: This is the heavy bottom part that houses the motor and control buttons (like “On,” “Off,” and “Pulse”).
- Work Bowl: A transparent bowl that locks onto the motor base, where all the processing happens.
- Lid: This covers the work bowl and typically features a feed tube. It usually has a safety lock mechanism that prevents the machine from operating unless it’s properly secured.
- Feed Tube and Pusher: The feed tube is an opening in the lid through which you can add ingredients while the machine is running. The pusher fits into the feed tube, used to push food down towards the blades.
- Blades and Discs: These are the interchangeable tools that do the actual work. The most common are:
- S-Blade (or Chopping Blade): A two-pronged blade used for chopping, mincing, pureeing, mixing, and kneading.
- Slicing Disc: A flat disc with a sharp blade for uniformly slicing vegetables.
- Shredding Disc: A disc with small holes for shredding cheese, cabbage, carrots, and more.
- Dough Blade (optional): A blunt plastic blade specifically designed for kneading dough.
Safety First
Your food processor is a powerful appliance with very sharp blades. Always prioritize safety:
- Unplug Before Handling Blades: Always ensure the unit is unplugged from the wall socket before assembling, disassembling, or cleaning any blades or discs.
- Handle Blades with Care: The blades are extremely sharp. Always hold them by their plastic hub or dull edge, never by the sharp cutting surface.
- Never Reach Inside: Do not put your hands or utensils into the work bowl while the food processor is running or plugged in. Use the pusher for safety.
- Secure All Parts: The food processor will not operate unless the work bowl and lid are securely locked into place. This is a crucial safety feature.
Step 2: Assemble Your Food Processor Correctly
Visual guide about How to Use Food Processor Step by Step
Image source: cdn.mos.cms.futurecdn.net
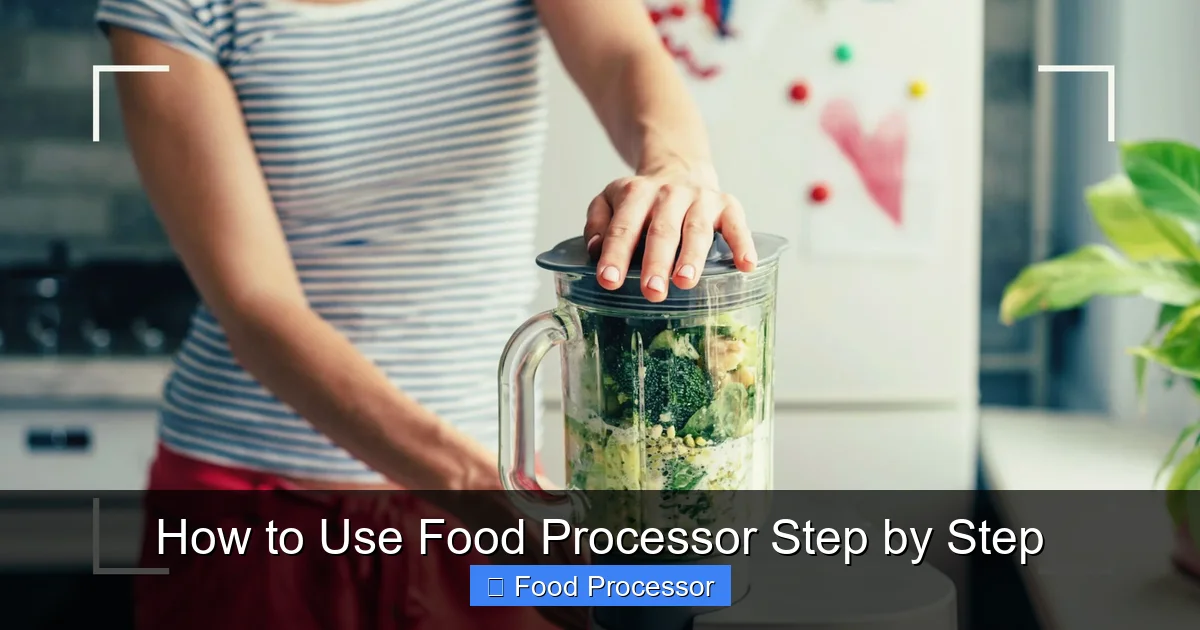
Proper assembly is vital for both safety and performance. Most food processors have a safety interlock system that prevents the motor from running if all parts aren’t correctly aligned and locked.
Place the Motor Base
Start by placing the heavy motor base on a clean, stable, and dry surface. Ensure it’s plugged in *after* assembly, not before.
Attach the Work Bowl
Carefully place the work bowl onto the motor base. You’ll typically need to align it with a notch or slot and then twist it clockwise until it locks securely into place. You should hear a click or feel it firmly seated.
Insert the Blade or Disc
This is where you choose your weapon!
- For Chopping, Mincing, Pureeing, or Mixing: Carefully place the S-blade onto the spindle in the center of the work bowl. Gently push it down until it sits firmly.
- For Slicing or Shredding: Place the S-blade (or a specific disc holder if your model has one) onto the spindle first, then carefully set the desired slicing or shredding disc on top of it. Ensure it sits flat and level.
Once you understand the parts, the next crucial step is to assemble your food processor correctly, making sure every component is securely in place before you begin processing.
Secure the Lid
Place the lid onto the work bowl, aligning the tab on the lid with the handle of the bowl. Twist the lid clockwise until it locks securely. Again, you should feel or hear it click into position. The machine will not start if the lid isn’t properly locked.
Step 3: Prepare Your Ingredients
Visual guide about How to Use Food Processor Step by Step
Image source: cdn.mos.cms.futurecdn.net
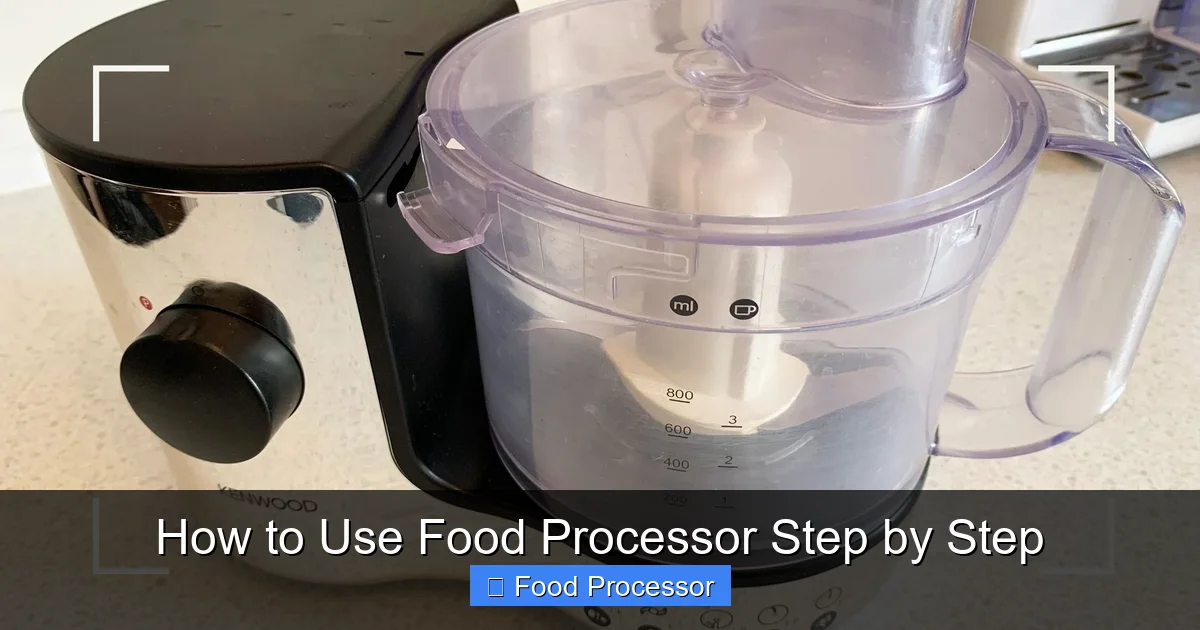
Proper ingredient preparation ensures even results and prevents your food processor from straining or getting jammed.
Wash and Peel
Always wash fruits and vegetables thoroughly. Peel them if the recipe requires it, or if you prefer to remove the skin.
Cut into Manageable Pieces
This is a key step! Don’t just toss in whole onions or large chunks of meat.
- For S-blade tasks (chopping, pureeing): Cut ingredients into roughly 1-inch (2.5 cm) uniform pieces. This helps the blade process everything evenly.
- For slicing or shredding discs: Cut foods to fit comfortably into the feed tube. For example, cut carrots into segments, or cheese blocks into sizes that can pass through the tube without force.
Don’t Overfill
Resist the urge to pack the work bowl full. Overfilling can strain the motor, lead to uneven processing, and even damage your appliance. Most food processors have a maximum fill line on the bowl; never exceed it. When using the S-blade, the general rule of thumb is to fill the bowl no more than halfway for most tasks, especially for chopping or mincing.
Step 4: Choose the Right Blade or Disc
The versatility of your food processor comes from its interchangeable blades and discs. Selecting the correct one for your task is crucial.
S-Blade (Chopping, Mincing, Pureeing, Mixing Dough)
This is your go-to blade for most tasks.
- Chopping: Perfect for onions, carrots, celery, nuts, herbs, and even cooked meats. Use short, quick pulses to achieve your desired consistency, from coarse to fine.
- Mincing: For garlic, ginger, or very finely chopped herbs, use slightly longer pulses or run continuously for a few seconds.
- Pureeing: Ideal for making smooth soups, sauces, hummus, baby food, or fruit purees. Run continuously until smooth, adding liquids through the feed tube if needed.
- Mixing Dough: Many food processors come with a dedicated dough blade, but the S-blade can also be used for quick bread doughs, pie crusts, or cookie doughs. Pulse until just combined to avoid overworking.
Shredding Disc (Cheese, Cabbage, Carrots)
This disc is designed for creating shredded textures.
- Shredding Cheese: Cut blocks of hard or semi-hard cheese (like cheddar or mozzarella) to fit the feed tube. Process quickly for best results. Did you know you can easily shred cheese in your food processor for tacos or casseroles?
- Shredding Vegetables: Excellent for shredding cabbage for coleslaw, carrots for salads, or potatoes for hash browns.
Slicing Disc (Potatoes, Cucumbers, Onions)
For perfectly uniform slices, this disc is unmatched.
- Slicing Vegetables: Achieve even slices of cucumbers, potatoes, onions, mushrooms, or even apples for tarts.
- Tip: For best results, ensure vegetables are firm and fit snugly in the feed tube. Apply gentle, even pressure with the pusher.
Step 5: Master Basic Processing Techniques
Now that you’ve got your ingredients ready and the right blade installed, let’s learn how to process food effectively.
Chopping and Mincing
For chopping, especially with the S-blade, the “pulse” button is your best friend.
- How To: Add your evenly cut ingredients to the work bowl. Place the lid and lock it. Plug in the food processor. Press the “Pulse” button in short bursts (1-2 seconds each).
- Monitor Progress: Check the consistency after every few pulses. Stop when you reach your desired texture. This prevents over-processing, which can turn ingredients into a mushy paste. For instance, learning how to use your food processor to chop vegetables like onions or carrots into perfectly uniform pieces becomes a breeze with this technique.
- Example: For finely chopped onions, you might use 5-8 pulses. For a coarser chop, 3-4 pulses might suffice.
Shredding
When using a shredding disc, consistency is key.
- How To: With the shredding disc installed, drop the prepared ingredients (e.g., block of cheese, whole carrot) into the feed tube. Turn the food processor “On” or press “Pulse” continuously. Use the pusher to guide the food down the tube with even, gentle pressure.
- Don’t Force It: Never force food down the feed tube. If it resists, remove it, cut it smaller, or try a different angle.
Slicing
Similar to shredding, slicing requires a steady hand with the pusher.
- How To: With the slicing disc installed, place the prepared food into the feed tube. Turn the food processor “On” or press “Pulse” continuously. Use the pusher to apply gentle, even pressure to guide the food through the slicing disc.
- Consistency: The key to even slices is consistent pressure and uniform-sized ingredients fitting the feed tube.
Pureeing and Emulsifying
For silky smooth textures or blended sauces, continuous processing is often needed.
- How To: Add your ingredients to the work bowl with the S-blade. Turn the food processor “On” and let it run continuously.
- Adding Liquids: If your recipe calls for liquids (like oil for mayonnaise, or broth for soup), pour them slowly and steadily through the feed tube while the machine is running.
- Scrape Down Sides: Periodically stop the machine, unplug it, remove the lid, and scrape down any ingredients clinging to the sides of the bowl with a spatula. Re-secure the lid and continue processing.
Kneading Dough
While not its primary function, a food processor can handle quick doughs.
- How To: Use the S-blade (or dough blade if available). Add dry ingredients, pulse to combine, then slowly add liquid through the feed tube while pulsing until a ball of dough forms.
- Avoid Overworking: Food processors develop gluten quickly, so stop as soon as the dough comes together.
Step 6: Operating Your Food Processor
Operating the food processor itself is quite straightforward once everything is assembled.
Plug It In
Only plug in your food processor once it is fully assembled with the work bowl, blade, and lid securely locked in place.
Use the Pulse Button
For most chopping and mincing tasks, the “Pulse” button is your control center. It gives you short bursts of power, allowing you to gradually achieve the desired texture without over-processing. Press it, release it, check, and repeat.
Continuous On
For pureeing, emulsifying, or when using slicing/shredding discs, you’ll typically use the “On” button for continuous operation. Remember to use the pusher for feed tube tasks during continuous operation.
Use the Feed Tube
The feed tube is invaluable when using discs (shredding/slicing) or when adding liquids or additional ingredients while the machine is running. Always use the pusher that comes with your food processor; never your fingers or other utensils.
Step 7: Disassemble and Clean Up
Cleaning your food processor immediately after use is the best way to maintain its hygiene and longevity.
Unplug First!
This cannot be stressed enough. Always unplug the unit from the power outlet before disassembling or cleaning.
Remove the Lid and Bowl
Unlock the lid by twisting it counter-clockwise, then lift it off. Unlock the work bowl by twisting it counter-clockwise and lift it from the motor base.
Carefully Remove Blades/Discs
Exercise extreme caution. Grasp the S-blade by its plastic hub and lift it straight up and out. For discs, lift them from their center hole. Place them immediately into a sink or designated washing area away from your hands.
Wash Components
Most food processor bowls, lids, blades, and pushers are top-rack dishwasher safe. However, checking your owner’s manual for specific instructions is always a good idea. For hand washing:
- Use warm, soapy water and a brush, especially for blades, to avoid direct contact with sharp edges.
- Clean the motor base with a damp cloth; never immerse it in water.
- Ensure all parts are thoroughly dry before reassembling or storing to prevent mildew or odors.
Troubleshooting Common Issues
Even seasoned cooks encounter hiccups. Here are solutions to common food processor problems:
Food Not Processing Evenly
- Overfilling: You might have too much food in the bowl. Process in smaller batches.
- Uneven Cuts: Ingredients were not cut into similar sizes. Go back to Step 3 and prepare them better.
- Not Pulsing Enough: For chopping, consistent short pulses are key. Don’t just hold the button down.
- Wrong Blade: Ensure you’re using the S-blade for chopping/pureeing, not a disc.
Motor Not Turning On
- Not Plugged In: This sounds obvious, but double-check the power cord.
- Safety Interlock: The most common reason. The work bowl and/or lid are not correctly locked into place. Twist them firmly until they click. If your food processor is not turning on, the first thing to check is usually the assembly.
- Overheat Protection: Some models have a thermal cut-off if the motor overheats. Unplug, let it cool for 15-30 minutes, then try again.
Loud Noises/Vibration
- Overfilled: Reduce the amount of food.
- Improperly Assembled: Check that the blade/disc is correctly seated and the bowl/lid are locked.
- Something Stuck: Unplug the unit and carefully check for anything lodged under the blade.
Conclusion
Congratulations! You’ve just completed a comprehensive journey on how to use your food processor step by step. By understanding its components, practicing safe assembly, choosing the right attachments, and mastering basic techniques, you’re now equipped to tackle a wide array of kitchen tasks with confidence and ease.
The food processor is a truly invaluable appliance that can significantly cut down your prep time, inspire culinary creativity, and help you enjoy cooking even more. Don’t be afraid to experiment with different ingredients and recipes. With a little practice, you’ll find yourself reaching for this versatile machine constantly, transforming everyday meals into delightful culinary experiences. Happy processing!
