


Keeping your food processor clean is essential for both hygiene and extending its lifespan. This comprehensive guide breaks down the process into simple, actionable steps, ensuring you can thoroughly clean every part – from the bowl to the blades and motor base. You’ll learn how to tackle stubborn food residues, eliminate odors, and properly dry and store your appliance. Following these instructions will help you maintain your food processor in pristine condition, ready for your next culinary adventure.
Welcome to the world of effortless meal prep and culinary creativity! Your food processor is an invaluable kitchen companion, a true workhorse that chops, slices, shreds, and purees ingredients in a flash. From making delicious homemade hummus to finely dicing vegetables for a stir-fry, it saves you time and effort. However, like any kitchen appliance that deals with food, your food processor needs regular and thorough cleaning to ensure it remains hygienic, efficient, and lasts for years to come.
Neglecting to clean your food processor properly can lead to several issues. Lingering food particles can become breeding grounds for bacteria, posing health risks. Stains can build up, discoloring your bowl and lid, and unpleasant odors can transfer to your next batch of food. Moreover, dried-on food can gunk up moving parts, reducing the efficiency of your appliance and potentially leading to damage. A clean food processor isn’t just about aesthetics; it’s about food safety and preserving your investment.
This comprehensive guide will walk you through every step of how to clean food processor components with ease and confidence. We’ll cover everything from safe disassembly to tackling stubborn stains and odors, ensuring your food processor is sparkling clean and ready for its next task.
Key Takeaways
- Safety First: Always unplug your food processor before beginning any cleaning to prevent accidental activation and injury.
- Disassemble Completely: For a truly thorough clean, take apart all removable parts of your food processor, including the bowl, lid, pusher, and blades.
- Immediate Cleaning is Best: Rinse parts immediately after use to prevent food from drying and sticking, making the cleaning process much easier.
- Handle Blades with Care: Food processor blades are extremely sharp. Always use caution, hold them by the plastic hub, and consider using cut-resistant gloves.
- Combat Stains and Odors: Use natural solutions like baking soda, vinegar, or lemon juice for stubborn stains and lingering food odors.
- Avoid Submerging the Motor Base: The motor base of your food processor should never be submerged in water. Clean it with a damp cloth and mild soap only.
- Ensure Complete Drying: Allow all components to air dry completely or hand-dry them before reassembly to prevent mold, mildew, and unpleasant odors.
The Importance of Regular Food Processor Cleaning
Before we dive into the “how-to,” let’s quickly reiterate why a clean food processor is so vital.
First and foremost, hygiene. Food particles left behind can harbor bacteria, yeast, and mold. This is especially true after processing raw meats, sticky doughs, or strong-smelling ingredients. Regular cleaning prevents cross-contamination and ensures the food you prepare is safe to eat.
Secondly, performance and longevity. Dried-on food residue can affect the fit of the lid, the rotation of the blades, and the overall efficiency of your food processor. Consistent cleaning helps maintain its optimal performance and extends the lifespan of your appliance, allowing you to get the most out of your food processor for many years.
Finally, aesthetics and freshness. No one wants a stained, smelly food processor. Proper cleaning keeps it looking new and prevents unwanted odors from transferring to your food.
What You’ll Need
Gather these simple supplies before you start:
- Dish soap (mild)
- Warm water
- Soft sponge or brush (a bottle brush or old toothbrush can be handy for crevices)
- Microfiber cloth or dish towel
- Optional: White vinegar, baking soda, lemon juice for stubborn stains/odors
- Optional: Cut-resistant gloves (highly recommended for handling blades)
Step-by-Step Guide: How to Clean Food Processor
Step 1: Unplug and Disassemble Your Food Processor
Safety is paramount when cleaning any kitchen appliance, especially one with sharp blades. Always begin by making sure your food processor is completely disconnected from the power source.

Visual guide about How to Clean Food Processor Step by Step
Image source: kitchenwaresets.com
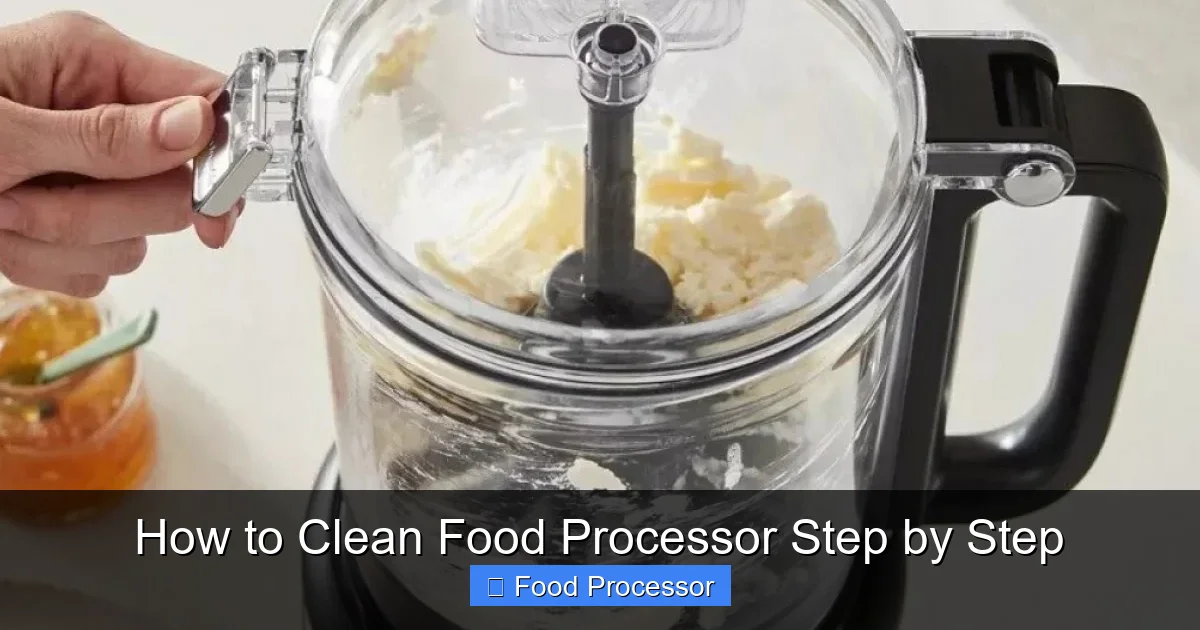
Visual guide about How to Clean Food Processor Step by Step
Image source: kitchenwaresets.com
After unplugging, carefully disassemble all removable parts. This typically includes the lid, the food pusher, the processing bowl, and the blade assembly. If your model has other attachments like shredding or slicing discs, remove those too. Understanding how to assemble food processor step by step in reverse can help with safe disassembly.
- Unplug the Appliance: Reach for the power cord and pull it from the outlet. Never attempt to clean while it’s still plugged in.
- Remove the Lid and Pusher: Take off the lid and then remove the food pusher, if separate.
- Carefully Remove the Blade Assembly: This is the most critical step. Blades are extremely sharp. Always grasp the blade assembly by the central plastic hub, *never* directly by the metal blades. Lift it straight up and out of the processing bowl.
- Remove the Processing Bowl: Twist or unlatch the bowl from the motor base, then lift it off.
- Remove Other Attachments: If you used any slicing or shredding discs, remove those with the same care as the main blade.
Step 2: Scrape Off Excess Food Residue
Before washing, it’s a good idea to remove any large pieces of food that are clinging to the parts. This prevents them from clogging your sink drain and makes washing much easier.
- Use a Spatula or Rubber Scraper: Gently scrape out any remaining food from the processing bowl. You can discard this into your compost bin or trash.
- Wipe Down Surfaces: For sticky or oily residues, a paper towel can help remove the bulk before washing.
Step 3: Hand Wash Removable Parts (Recommended Method)
While many food processor parts are advertised as dishwasher-safe, hand washing is often the best way to ensure thorough cleaning, especially for blades, and to prolong the life of your components. The high heat of dishwashers can sometimes warp plastic parts or dull blades over time.
- Fill Sink with Warm, Soapy Water: Use warm water and a few drops of mild dish soap.
- Wash Each Part Individually:
- Blades: Again, extreme caution here. Hold the blade assembly by its plastic hub. Use a sponge or a bottle brush to carefully clean the blades, making sure to get into all crevices. Cut-resistant gloves offer an extra layer of protection.
- Bowl and Lid: Scrub the inside and outside of the bowl and lid with a soft sponge. Pay attention to any grooves or seals where food might hide. For tight spots in the lid, an old toothbrush can be very effective.
- Pusher and Other Attachments: Wash these as you would the bowl and lid.
- Rinse Thoroughly: Rinse all parts under clean, running water until all soap residue is gone. Soap residue can leave a film or affect the taste of your next recipe.
Tip: For quick cleans, especially after processing non-sticky ingredients like breadcrumbs, you can often do a “self-clean.” Fill the bowl halfway with warm water and a drop of dish soap, secure the lid, and pulse the food processor a few times. Then, rinse and dry. However, this method isn’t sufficient for thorough cleaning or after processing raw meats or sticky foods.
Step 4: Clean the Motor Base
The motor base is the electrical component of your food processor and should *never* be submerged in water. This is crucial for your safety and the appliance’s functionality.
- Wipe with a Damp Cloth: Dampen a soft cloth with warm water and a tiny bit of dish soap. Wring it out thoroughly so it’s only damp, not dripping wet.
- Clean External Surfaces: Wipe down the entire exterior of the motor base, paying attention to any buttons, seams, or crevices where food might have splattered.
- Remove Stubborn Spots: For stubborn dried-on spots, a slightly more saturated cloth can be used, followed immediately by a dry one.
- Dry Immediately: Use a clean, dry cloth to thoroughly wipe down the motor base. Ensure no moisture remains, especially around electrical components.
Step 5: Tackle Stubborn Stains and Odors
Sometimes, even after a good wash, your food processor bowl or lid might retain stains (especially from tomato-based sauces or carrots) or persistent odors (like garlic or onion). Don’t worry, there are simple solutions!
How to Remove Stains:
- Baking Soda Paste: Mix a few tablespoons of baking soda with a small amount of water to form a thick paste. Apply the paste to the stained areas and let it sit for 15-30 minutes, or even a few hours for tough stains. Scrub with a soft brush or sponge, then rinse thoroughly.
- Lemon Juice or White Vinegar: For light stains and general brightening, wipe the affected plastic parts with a cloth soaked in lemon juice or white vinegar. Let it sit for a few minutes before rinsing. The acidity helps break down stains.
- Sunlight (Natural Bleach): For very stubborn stains on clear plastic bowls, try placing the clean, stained part outside in direct sunlight for a few hours. The UV rays can naturally bleach out stains. Make sure it’s a sunny day and not too hot, to avoid warping.
How to Eliminate Odors:
- Baking Soda Soak: Fill the food processor bowl with warm water and add a few tablespoons of baking soda. Let it soak overnight. The baking soda will absorb the odors. Rinse well in the morning.
- Lemon or Vinegar Rinse: After washing, wipe the interior of the bowl and lid with a cloth dampened with white vinegar or lemon juice. Allow it to air dry for a bit before rinsing.
- Activated Charcoal: Place a small piece of activated charcoal (the kind used for water filters or air purifiers, *not* grilling charcoal) inside the dry food processor bowl, cover with the lid, and leave overnight. It’s excellent for absorbing lingering smells.
- Newspaper: Crumple up some newspaper and place it inside the dry food processor bowl, cover, and leave overnight. Newspaper is surprisingly effective at absorbing odors.
Step 6: Dry All Parts Thoroughly
This step is just as important as washing. Lingering moisture can lead to water spots, mineral buildup, and, worst of all, the growth of mold and mildew, which can cause unpleasant smells and be unhygienic.
- Air Dry: Place all washed parts on a drying rack or a clean dish towel. Allow them to air dry completely. This might take a few hours, so plan accordingly.
- Hand Dry: For quicker drying, use a clean microfiber cloth or dish towel to thoroughly dry each component. Ensure no water droplets are left, especially in crevices or around seals.
Tip: Pay extra attention to the seal around the lid and the base of the blade assembly, as water can often pool in these areas.
Step 7: Reassemble and Store
Once all parts are completely dry, you can reassemble your food processor. This is a good opportunity to ensure all parts fit together smoothly, which is essential for the food processor to operate correctly when you use your food processor step by step in the future.
- Reassemble Carefully: Place the dry blade assembly back into the bowl, then attach the bowl to the motor base. Secure the lid, and insert the food pusher.
- Store Properly: Store your clean, dry food processor in a cool, dry place. If you’re concerned about trapped odors or moisture, you can store the bowl with the lid slightly ajar to allow for air circulation.
Troubleshooting Common Cleaning Challenges
Even with the best intentions, you might run into a few issues. Here’s how to handle them:
Challenge: Sticky Residue That Won’t Budge
Solution: For very sticky or caramelized food, try soaking the part in hot (not boiling) soapy water for 30 minutes to an hour. This can help loosen the residue significantly, making it easier to scrub away. A nylon brush can also be more effective than a soft sponge for these situations.
Challenge: Water Spots on Clear Plastic
Solution: Water spots are often caused by hard water. To remove them, wipe the parts with a cloth dampened with white vinegar. The acid in the vinegar will dissolve the mineral deposits. Rinse and dry thoroughly.
Challenge: Discoloration on White Plastic Parts
Solution: Over time, white plastic can yellow. While tough to reverse completely, a baking soda paste left on for a longer period (several hours or overnight) can help brighten it. Sunlight exposure also works wonders for whitening yellowed plastics.
Challenge: Motor Base Got Wet
Solution: If you accidentally splashed water on the motor base or, worse, submerged it, *do not plug it in or attempt to use it*. Unplug it immediately if it was connected, then thoroughly dry the exterior with a towel. Place it in a well-ventilated area for several days to allow any internal moisture to evaporate. You can also place it near a fan or in a bowl of uncooked rice (similar to drying a wet phone) to draw out moisture. If it doesn’t work after drying, it may be damaged and need professional repair or replacement. Safety first!
Tips for Maintaining a Spotless Food Processor
- Clean Immediately After Use: The golden rule! The sooner you clean, the less time food has to dry and harden, making the job infinitely easier.
- Pre-rinse: If you can’t do a full wash right away, at least rinse the bowl, lid, and blades under running water immediately after use. This can prevent most food from sticking.
- Avoid Abrasive Cleaners: Harsh chemical cleaners, abrasive scrubbers, or steel wool can scratch the plastic parts of your food processor, leading to a dull finish and making it easier for food to stick in the future. Stick to mild soap and soft sponges.
- Check Seals and Gaskets: Periodically inspect the rubber seals and gaskets on your lid and bowl. Food can get trapped under them. If removable, take them off for a thorough cleaning and ensure they are dry before replacing.
- Store Properly: Ensure your food processor is fully dry before reassembling and storing. This prevents the growth of mildew and keeps it fresh for next time.
Conclusion
Cleaning your food processor doesn’t have to be a dreaded chore. By following these step-by-step instructions and incorporating a few simple habits, you can ensure your invaluable kitchen helper remains clean, hygienic, and ready to tackle any recipe you throw its way. A well-maintained food processor not only performs better but also significantly extends its lifespan, giving you more delicious meals and less kitchen stress. Happy processing, and even happier cleaning!
