

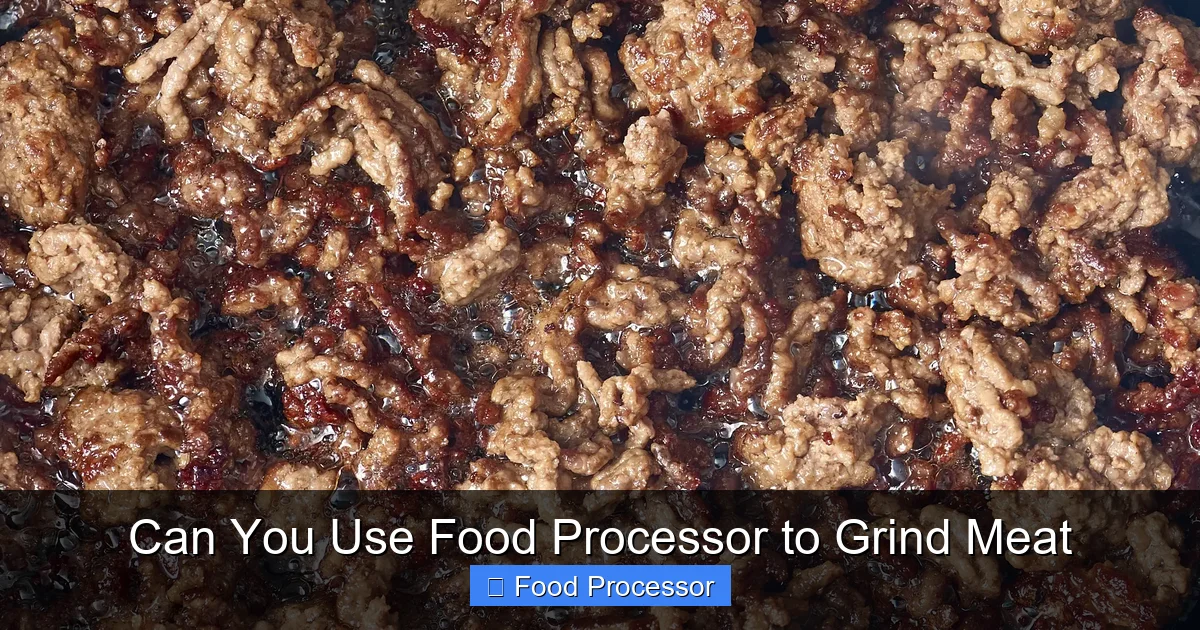
Yes, you absolutely can use a food processor to grind meat, and it’s a fantastic way to achieve fresh, customized ground meat right in your kitchen. This guide will walk you through the entire process, from preparing your meat and chilling your equipment to pulsing it to perfection. You’ll learn essential tips for the best texture and how to safely handle and store your homemade ground meat.
Can You Use Food Processor to Grind Meat?
Have you ever wondered if that versatile kitchen gadget, your food processor, can tackle the job of grinding meat? The answer is a resounding *yes*! While dedicated meat grinders exist, your trusty food processor is more than capable of transforming cuts of meat into delicious ground meat for burgers, meatballs, tacos, and more. It’s a fantastic way to control the quality, fat content, and freshness of your ground meat right in your own kitchen.
This comprehensive guide will show you exactly how to use a food processor to grind meat. We’ll cover everything from preparing your ingredients and setting up your machine to the step-by-step grinding process, along with crucial tips for achieving the best results and ensuring food safety. Get ready to elevate your home cooking with fresh, homemade ground meat!
Key Takeaways
- Yes, you can grind meat in a food processor: A food processor, especially one with a powerful motor and a sharp S-blade, is a perfectly capable tool for grinding various types of raw meat at home.
- Chilling is crucial for success: Always ensure your meat is partially frozen (firm, but not rock-hard) and your food processor bowl and blade are chilled before you start. This prevents smearing and results in a better texture.
- Cut meat into uniform cubes: For even grinding and to avoid straining your appliance, cut your meat into 1-inch (2.5 cm) uniform cubes and trim any tough gristle or excess fat.
- Use the pulse function and work in small batches: Overloading or continuous processing can lead to a pasty texture and an overworked motor. Pulse in short bursts and process only small amounts of meat at a time.
- Clean immediately for hygiene: Raw meat requires careful handling. Disassemble and thoroughly clean all food processor parts that came into contact with meat right after use to prevent bacterial growth.
Why Grind Your Own Meat?
Grinding your own meat at home offers several fantastic advantages:
* Superior Freshness: You know exactly when your meat was ground, ensuring maximum freshness and flavor.
* Control Over Ingredients: You choose the cut of meat, its fat content, and can even create custom blends (e.g., beef and pork for meatballs). No mystery fillers or additives!
* Cost-Effective: Often, buying whole cuts of meat and grinding them yourself can be more economical than purchasing pre-ground packages.
* Specific Textures: You can achieve a coarser or finer grind depending on your recipe, something you can’t always get with store-bought ground meat.
* Dietary Needs: Easily prepare lean ground meat or specific blends if you have dietary restrictions or preferences.
Is Your Food Processor Up to the Task?
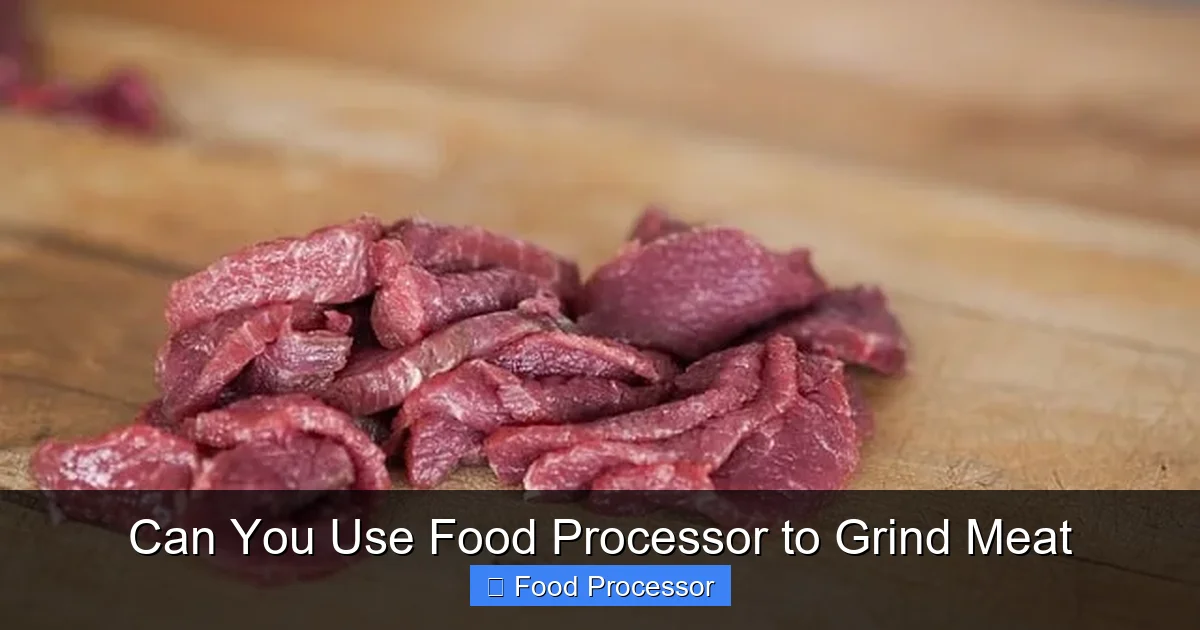
Visual guide about Can You Use Food Processor to Grind Meat
Image source: smartkitchenimprovement.com
Before you dive in, it’s good to assess your food processor. Most standard food processors with a powerful motor (ideally 500 watts or more) and a sharp S-blade (also known as a chopping blade) can handle grinding meat.
* Motor Power: A more powerful motor will make the process quicker and prevent the machine from struggling.
* Blade Sharpness: A very sharp S-blade is essential for cutting the meat cleanly, rather than just smearing it.
* Bowl Size: A larger bowl is helpful, as you’ll be working in batches. If you’re often wondering how to choose the right size food processor, consider your typical batch sizes. For grinding meat, a 7-cup capacity or larger is generally recommended.
The Best Meat Cuts for Grinding
Visual guide about Can You Use Food Processor to Grind Meat
Image source: kitchenncooking.com
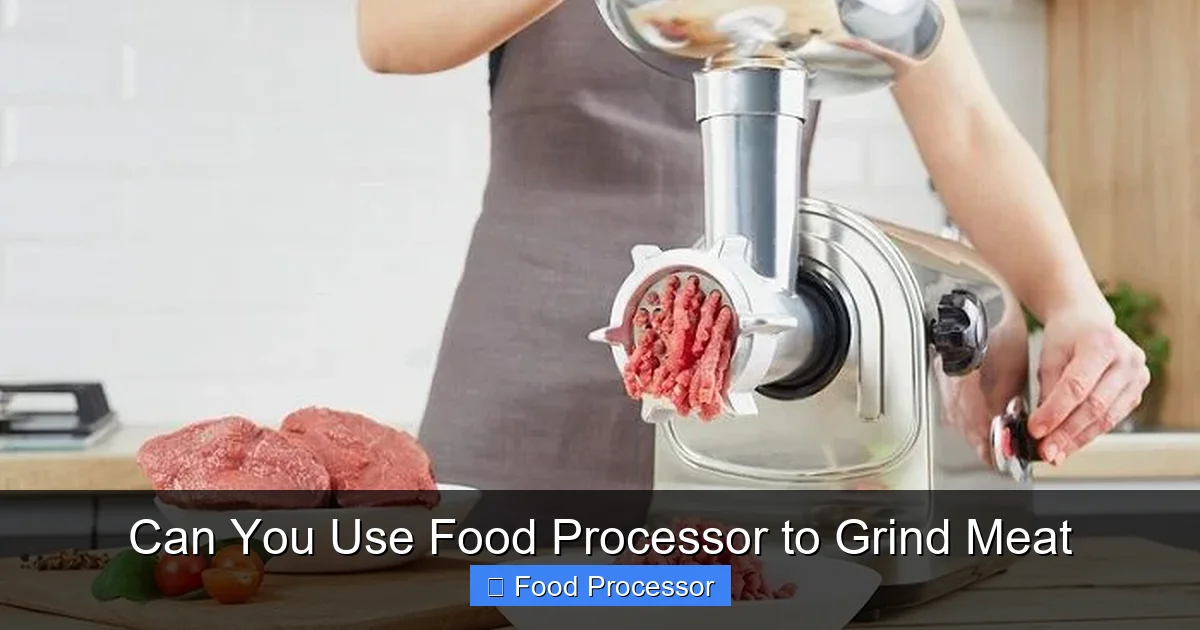
Almost any boneless, raw meat can be ground in a food processor, but some cuts yield better results:
* Beef: Chuck roast is a classic for burgers and general ground beef due to its good fat-to-lean ratio. Sirloin, brisket, or short ribs are also great options for specific flavors.
* Pork: Pork shoulder (Boston butt) is excellent for sausages, meatballs, and savory dishes because of its rich fat content.
* Chicken/Turkey: Thigh meat works best as it has more fat and moisture, preventing it from becoming too dry or pasty. Breast meat can be ground but is very lean, so be careful not to over-process.
* Lamb: Lamb shoulder or leg is perfect for ground lamb, often used in Mediterranean or Middle Eastern cuisine.
* Fish: Salmon, cod, or other firm fish can be ground for fish cakes or burgers, though this requires extra care to prevent it from becoming a paste.
Crucial Pre-Grinding Preparation
This is arguably the most important step! Proper preparation ensures your food processor can grind meat effectively and gives you the best texture.
Chill Your Meat Thoroughly
The secret to perfectly ground meat that’s not pasty or smeared is keeping everything *very* cold.
* Cut your chosen meat into uniform 1-inch (2.5 cm) cubes.
* Spread the cubes in a single layer on a baking sheet lined with parchment paper.
* Place the baking sheet in the freezer for 30-60 minutes, or until the meat is firm but not frozen solid. It should be slightly frosty around the edges but still pliable enough to cut with a knife. This helps the blades cut cleanly through the meat and keeps the fat from rendering too quickly.
Trim Excess Fat and Connective Tissue
While some fat is good for flavor and moisture, too much gristle or silver skin can wrap around the blade and cause your food processor to struggle or result in an uneven grind. Trim away any large pieces of fat, gristle, or tough connective tissue. A little bit of fat (around 15-20%) is ideal for flavor and moisture.
Chill Your Food Processor Parts
Just like the meat, your food processor bowl and S-blade should be cold. Place the clean, dry bowl and blade in the freezer for 15-30 minutes before you begin. This extra step helps maintain the meat’s cold temperature during processing, further preventing smearing and ensuring a clean cut.
Step-by-Step: Grinding Meat in Your Food Processor
Now that everything is perfectly prepped and chilled, let’s get grinding!
Step 1: Assemble Your Chilled Food Processor
Take your chilled food processor bowl and S-blade from the freezer. Carefully assemble them onto the motor base according to your appliance’s instructions. Ensure the lid is ready to go on.
Step 2: Load the Meat in Batches
Don’t Overload the Bowl
Overloading is one of the biggest mistakes people make when they try to use a food processor to grind meat. It will strain your motor and lead to uneven results. For most standard food processors (7-12 cup capacity), process no more than 1 to 1.5 pounds (450-680 grams) of meat at a time. If you have a smaller food processor, reduce the batch size accordingly.
Add the Meat
Place the chilled, cubed meat into the food processor bowl. Distribute it as evenly as possible around the blade.
Step 3: Pulse to Grind
Use the Pulse Function
This is the most critical step. *Do not* turn the food processor on continuously. Instead, use the “Pulse” button. Pulse in short bursts, typically 1-2 seconds at a time. This allows the blades to chop through the meat without generating too much heat or turning it into a paste.
Observe the Grind
After a few pulses, check the consistency. You’ll see the larger chunks breaking down. You might need to remove the lid and redistribute the meat with a spatula a couple of times to ensure even grinding. Be quick to keep the meat cold.
Achieve Desired Consistency
Continue pulsing until the meat reaches your desired texture.
* Coarse Grind: This might take 8-15 pulses, creating distinct small pieces of meat. Perfect for chili or stew.
* Medium Grind: Around 15-25 pulses, resulting in a texture similar to store-bought ground beef. Great for burgers, tacos, or meatballs.
* Fine Grind: This will take more pulses (25-35+), but be very careful not to over-process. Stop *just* before it turns pasty. Ideal for pâtés or very tender meatballs.
Step 4: Repeat for Remaining Meat
Once your first batch is perfectly ground, transfer it to a separate, chilled bowl. Put it back in the refrigerator while you grind the rest of your meat. Continue processing the remaining meat in small batches until all of it is ground.
Step 5: Combine and Mix (Optional)
If you’re making a blend of meats or just want to ensure everything is evenly mixed, gently combine all the ground meat in a large bowl with your hands or a spoon. Be careful not to overmix, as this can make the meat tough.
Tips for Achieving the Perfect Grind
* Stay Cold, Stay Cold, Stay Cold: I can’t emphasize this enough! Keeping the meat and equipment cold is the single most important factor in preventing a pasty texture and achieving a clean, crumbly grind when you use a food processor to grind meat.
* Don’t Overload: Stick to small batches. It’s better to do more smaller batches than one large, struggling one.
* Pulse, Don’t Blend: The pulse function gives you control. Continuous blending will generate heat and turn your meat into an unappetizing paste.
* Know When to Stop: It’s easy to over-process. Err on the side of slightly coarser if you’re unsure, as you can always pulse a little more.
* Consider a Double Grind (for finer texture): For a very fine grind, you can process the meat once coarsely, then chill it again briefly, and process it a second time with shorter pulses. This also helps if you’re wondering can a food processor be used as a meat grinder for super fine results – it can, with a little extra effort.
* Add Flavorings After: If you’re adding onions, garlic, or herbs, mix them into the ground meat *after* it’s been processed, not during.
Troubleshooting Common Issues
Even with the best preparation, you might encounter a snag or two when you try to use a food processor to grind meat. Here’s how to fix them:
*
Meat is Pasty, Not Ground
This is usually caused by the meat getting too warm, over-processing (blending continuously instead of pulsing), or overloading the bowl.
* Solution: Ensure your meat is semi-frozen and equipment is chilled. Work in smaller batches and stick to short, controlled pulses. If it’s already pasty, you might try chilling it further and then quickly pulsing a few more times, but a pasty texture is hard to reverse completely.
*
Uneven Grind
Some pieces are finely ground while others remain chunky.
* Solution: Make sure your initial meat cubes are uniform in size. Also, during pulsing, occasionally stop, remove the lid, and use a spatula to redistribute the meat from the bottom and sides to the center.
*
Food Processor is Struggling or Overheating
The motor sounds strained, or the unit feels hot.
* Solution: You’re likely overloading the bowl or the meat isn’t cold enough. Reduce batch sizes significantly. If the motor is struggling, turn it off immediately, unplug it, and let it cool down before continuing. This can also happen if the blade isn’t sharp enough.
Cleaning Your Food Processor After Grinding Meat
Food safety is paramount when dealing with raw meat. Clean your food processor immediately after use.
* Disassemble: Take apart all components that came into contact with the meat (blade, bowl, lid).
* Rinse: Rinse off any visible meat residue with cold water. Hot water can cook proteins onto surfaces, making them harder to clean.
* Wash Thoroughly: Wash all parts with hot, soapy water. Use a brush to get into crevices and around the blade.
* Sanitize (Optional): For extra peace of mind, you can use a mild bleach solution (1 teaspoon bleach per gallon of water) for a quick soak and then rinse thoroughly.
* Dishwasher Safe? Many food processor parts are dishwasher safe. Check your appliance’s manual to confirm if you can put food processor parts in the dishwasher.
When to Opt for a Dedicated Meat Grinder
While a food processor is excellent for most home grinding needs, there are times when a dedicated meat grinder might be a better choice:
* Large Quantities: If you frequently grind very large quantities of meat (e.g., for batch cooking or hunting), a dedicated grinder will be much more efficient.
* Specific Grind Sizes: Meat grinders often come with different plates for very coarse or very fine grinds, offering more precision.
* Sausage Making: Many meat grinders come with sausage stuffer attachments, which are invaluable for making homemade sausages.
For the average home cook, however, needing to grind meat occasionally or for smaller batches, the food processor is a perfectly capable and convenient tool.
Conclusion
So, can you use food processor to grind meat? Absolutely! With a bit of preparation and the right technique, your food processor can become a powerful ally in the kitchen, allowing you to create fresh, custom-ground meat with ease. You’ll enjoy better flavor, control over ingredients, and the satisfaction of making it yourself. Remember the key principles: keep everything cold, work in small batches, and use the pulse function. Master these, and you’ll be grinding meat like a pro in no time, ready to whip up your favorite meat dishes with superior quality and taste. Happy grinding!
