

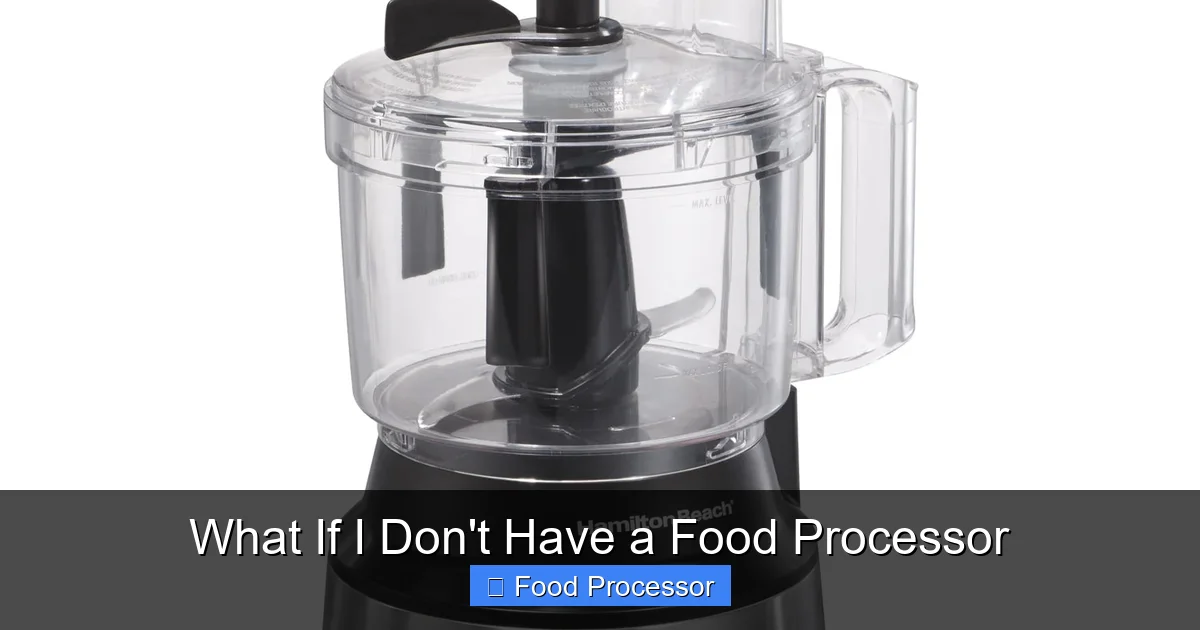
Don’t worry if you find yourself without a food processor. This comprehensive guide shows you many alternative methods and tools to achieve similar results in your kitchen. From basic knife skills to using blenders or graters, you can still chop, puree, shred, and mix with ease, proving that a dedicated food processor isn’t always essential for delicious meals. You’ll learn how to adapt recipes and leverage everyday items to become a more versatile cook.
What If I Don’t Have A Food Processor
Ever found yourself staring at a recipe that calls for a “food processor” and thought, “Oh no, now what?” You’re not alone! Many home cooks, whether due to budget, limited kitchen space, or simply not owning one, face this exact dilemma. A food processor is a fantastic kitchen gadget, certainly. It can chop, shred, slice, purée, and mix with impressive speed and efficiency. But what if you don’t have one? Does it mean you can’t make that delicious hummus, shred that cabbage for slaw, or whip up a batch of pesto?
Absolutely not! The good news is that for almost every task a food processor performs, there’s a reliable, often traditional, alternative. This guide is here to empower you. We’ll show you exactly how to tackle common food prep tasks without a food processor, using tools you likely already have in your kitchen. Get ready to discover the versatility of your hands, your knives, and a few other everyday heroes!
Key Takeaways
- Embrace Manual Skills: A sharp chef’s knife, a sturdy cutting board, and good technique can replace many food processor functions, especially for chopping, mincing, and dicing.
- Utilize Existing Appliances: Your blender or immersion blender is excellent for pureeing soups, sauces, and making nut butters, offering a solid alternative to a food processor for liquid-based tasks.
- Don’t Underestimate Basic Tools: Graters, potato mashers, and even a fork can handle shredding, mashing, and breaking down ingredients effectively, proving that you don’t always need a high-tech food processor.
- Adapt Recipes Smartly: Understand the desired outcome of a recipe step that calls for a food processor (e.g., finely chopped, pureed, crumbled) and choose the appropriate manual or alternative tool to achieve it.
- Patience and Practice Pay Off: Manual methods often take more time and effort, but they build valuable kitchen skills and give you greater control over the texture of your ingredients.
- Work in Batches: To avoid fatigue and ensure even results, process smaller quantities of ingredients at a time when working without a food processor.
Why You Might Be Without A Food Processor
There are many reasons why a food processor might not be a staple in your kitchen. Perhaps you’re just starting out in your culinary journey and haven’t invested in one yet. Maybe your kitchen is tiny, and you prioritize space for other appliances. Or maybe your trusty old food processor decided to retire. Whatever the reason, it’s perfectly fine!
Understanding the “why” isn’t as important as knowing the “how.” Our goal is to make sure you can confidently approach any recipe, even if it explicitly asks for a food processor, and still achieve fantastic results using simpler, more accessible methods. Let’s dive into the practical solutions.
Essential Manual Techniques: Your Hands-On Approach
Before advanced gadgets existed, cooks relied on their skills and simple tools. These manual techniques are not only effective but also incredibly satisfying to master. They put you in direct control of your ingredients.
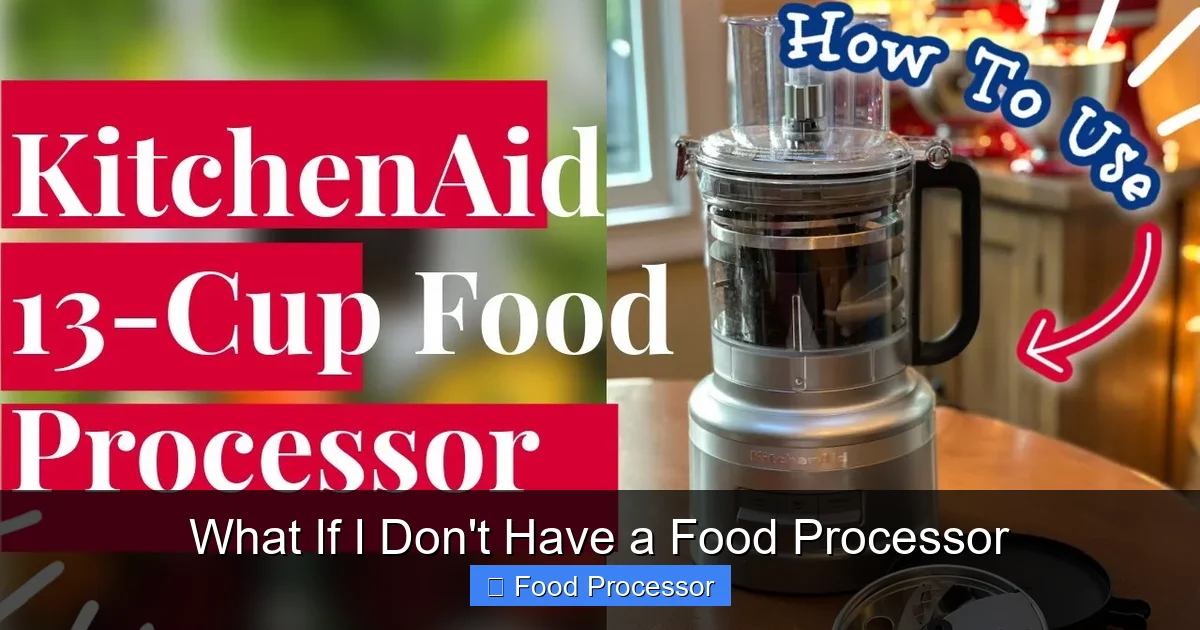
Visual guide about What If I Don’t Have a Food Processor
Image source: i.ytimg.com
Mastering the Chef’s Knife: Chopping, Mincing, Dicing
Your chef’s knife is arguably the most important tool in your kitchen, and it can replicate most of a food processor’s chopping functions. Precision and patience are key here. A sharp knife makes all the difference, so make sure yours is in top condition.
- For Chopping Vegetables: Need finely chopped onions, carrots, or celery for a mirepoix? Slice the vegetable thinly, then turn the slices and chop crosswise into small pieces. For even smaller pieces, gather the chopped ingredients and rock your knife back and forth over them repeatedly.
- For Mincing Garlic and Herbs: Crush garlic cloves first to loosen the skin. Peel and finely chop. For herbs like parsley or cilantro, gather a bunch, roll them tightly, and slice thinly. Then, rock your knife over them to mince further.
- For Dicing: For uniform cubes, trim the vegetable, slice it into planks, then cut the planks into sticks (julienne), and finally cut the sticks into cubes. This requires a bit more practice but yields professional-looking results.
The Power of the Grater: Shredding and Zesting
A simple box grater or even a flat grater can stand in for a food processor’s shredding disc. They come with different hole sizes for various textures.
- For Shredding Cheese: Hold the block of cheese firmly and rub it against the large holes of your grater. Use consistent pressure for even shreds. This works great for cheddar, mozzarella, or parmesan.
- For Shredding Vegetables: Cabbage for coleslaw, carrots for salads, or zucchini for fritters can all be shredded using the large or medium holes of a box grater. Be mindful of your fingertips as you get to the end of the vegetable.
- For Zesting Citrus: Use the smallest holes (or a microplane) for fine zest from lemons, limes, or oranges. This infuses incredible flavor into dishes.
Mortar and Pestle: Grinding and Pastes
This ancient tool is perfect for when you need to crush, grind, or create pastes with exceptional flavor. While a food processor might do it faster, the mortar and pestle extracts oils and flavors in a unique way.
- For Grinding Spices: Whole spices like cumin seeds, coriander seeds, or peppercorns can be crushed into a fine powder, releasing their aromatic oils for a more intense flavor than pre-ground spices.
- For Making Pastes: Think pesto, curry pastes, or garlic-ginger paste. Start with dry ingredients, then add liquids or oils gradually, grinding and mashing until you reach the desired consistency.
Potato Masher or Fork: Pureeing and Mashing
For cooked, soft ingredients, a potato masher or even a sturdy fork can easily create smooth (or chunky, if preferred) purees and mashes.
- For Mashing Potatoes or Root Vegetables: Cook your potatoes, sweet potatoes, or parsnips until very tender. Drain them well, then use a potato masher to break them down, adding butter, milk, or cream until smooth.
- For Pureeing Cooked Beans or Fruits: Cooked beans (for refried beans or bean dips) or soft fruits (like berries for a coulis) can be mashed with a fork or masher. For a smoother texture, you can push them through a sieve afterwards.
Pastry Blender or Your Hands: Mixing Dough and Crumb Toppings
A food processor is often used to cut cold butter into flour for pastries and pie crusts. Without one, you have classic, effective alternatives.
- Using a Pastry Blender: This tool is designed to cut butter into flour quickly and efficiently. Work cold, cubed butter into the flour mixture until it resembles coarse crumbs.
- Using Your Hands: The oldest method in the book! Work quickly to avoid melting the butter. Use your fingertips to pinch and rub the cold butter into the flour. This method gives you excellent control over the texture. If you’re looking for guidance on what to do if you don’t have a food processor for dough, this manual approach is incredibly reliable and yields perfect results.
Leveraging Other Kitchen Appliances
Beyond manual tools, you probably have other electric gadgets that can step up when a food processor isn’t available. These can offer similar speed for certain tasks.
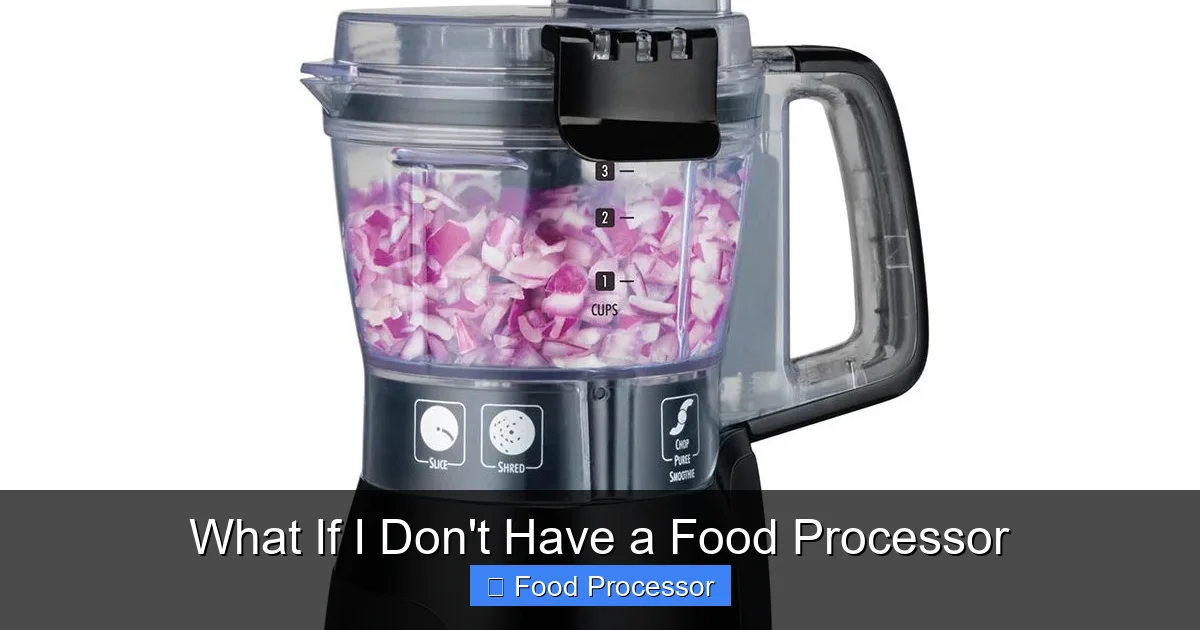
Visual guide about What If I Don’t Have a Food Processor
Image source: hamiltonbeach.com
The Versatile Blender: For Smooth Purees and Sauces
While a blender is primarily designed for liquids, it can handle many tasks typically assigned to a food processor, especially those requiring a smooth consistency.
- For Soups and Sauces: A blender is excellent for pureeing cooked vegetables into smooth soups or sauces. Just be sure to blend in batches if your blender isn’t large, and be careful with hot liquids (vent the lid slightly to allow steam to escape). If you’re wondering, for example, should I use a blender or food processor for soup, a blender is often the preferred tool for a silky smooth finish.
- For Nut Butters: While it might take longer than a powerful food processor, a strong blender can eventually break down roasted nuts into creamy butter. You’ll need to stop frequently to scrape down the sides and prevent overheating.
- For Pestos and Dressings: Blenders are perfect for emulsifying dressings or creating smooth pestos. Add liquids gradually to help the blades catch the ingredients.
Immersion Blender: Direct and Convenient Pureeing
Also known as a stick blender, this handheld tool is fantastic for pureeing directly in the pot. It’s a lifesaver for soups and sauces without transferring hot liquids.
- For Creamy Soups: Simply submerge the immersion blender into your pot of cooked soup and blend until smooth. This is much less messy than transferring to a regular blender.
- For Smooth Sauces and Dips: It works wonderfully for pureeing tomato sauces, bean dips, or even making small batches of mayonnaise directly in a jar.
Coffee Grinder: Small-Batch Spice Grinding
If you don’t have a mortar and pestle, a dedicated coffee grinder (or one you’ve thoroughly cleaned) can be used for grinding small quantities of dry ingredients.
- For Whole Spices: Grind whole spices like cumin, coriander, or cloves into a fine powder.
- For Nuts and Seeds: Small amounts of nuts or seeds can be ground into a coarse meal, perfect for baking or toppings.
Stand Mixer: For Doughs and Batters
While not a direct food processor replacement for chopping, a stand mixer excels at tasks involving dough and batters, often done in a food processor’s mixing bowl.
- For Doughs: A stand mixer with a dough hook attachment can knead bread dough, pizza dough, or even mix cookie doughs much faster and with less effort than by hand.
- For Batters: Use the paddle attachment for cakes, muffins, or quick bread batters.
Tackling Specific Food Processor Tasks Without One
Let’s get practical with some common recipes that typically call for a food processor and how you can make them without it.
Chopping Onions, Garlic, and Herbs
This is where your knife skills shine. A food processor makes quick work of this, but careful hand chopping yields superior, more consistent results without over-processing.
- Onions: Halve and peel the onion. Make parallel vertical cuts (not all the way through the root end), then a horizontal cut (or two), and finally slice downwards to dice.
- Garlic: Smash the clove with the side of your knife, peel, and then mince finely by rocking your knife over it.
- Herbs: Stack large leaves, roll them tightly, and slice thinly (chiffonade). Then, rock your knife over them until finely minced.
Making Nut Butters and Pestos
These can be tricky without a food processor, but not impossible.
- Nut Butters: Roast nuts first to release oils. For small batches, a very powerful blender (as mentioned above) is your best bet, stopping and scraping frequently. For a truly rustic butter, a mortar and pestle works, but it’s labor-intensive.
- Pestos: A blender or immersion blender can create a smooth pesto. For a more traditional, slightly chunkier pesto, use a mortar and pestle. Hand-chopping ingredients very finely before grinding in the mortar and pestle also works.
Shredding Cheese and Vegetables
As discussed, the trusty box grater is your go-to here.
- Cheese: For hard cheeses, you can also use a fine grater or even thinly slice with a sharp knife and then finely chop.
- Vegetables: Cabbage, carrots, potatoes for hash browns, or zucchini can all be shredded manually. For firm vegetables like potatoes, working quickly is key to prevent browning.
Preparing Doughs and Pie Crusts
Achieving that perfect crumbly texture for pie crusts or well-mixed doughs without a food processor is very achievable with a pastry blender or your hands.
- Pie Crust: Cut very cold butter into small cubes. In a large bowl, combine flour and salt. Add the cold butter cubes. Use a pastry blender or your fingertips to cut the butter into the flour until the mixture resembles coarse crumbs with some pea-sized pieces of butter remaining. Add ice water a tablespoon at a time, mixing lightly with a fork until the dough just comes together. Be careful not to overwork it. For more detailed instructions on what to do if you don’t have a food processor for dough, remember that a gentle touch is your best friend.
- Cookie Doughs: For softer cookie doughs, a stand mixer or even a sturdy wooden spoon and some elbow grease will work perfectly for creaming butter and sugar, then mixing in other ingredients.
Creating Breadcrumbs
Homemade breadcrumbs are far superior to store-bought, and you don’t need a food processor to make them.
- Stale Bread: Tear stale bread into small pieces.
- Methods:
- Rolling Pin: Place bread pieces in a sturdy zip-top bag and crush them with a rolling pin until you reach the desired consistency.
- Grater: For fresh breadcrumbs, grate slightly stale bread on the coarse side of a box grater.
- Blender: For fine crumbs, a blender can work in small batches, pulsing briefly to avoid turning them into a paste.
Tips for Success When Working Manually
Making great food without a food processor often comes down to good habits and smart techniques.
Work in Batches
Whether you’re chopping onions or pureeing soup in a blender, don’t overload your tools. Smaller batches lead to more even results and less strain on you or your equipment.
Sharpen Your Knives
A dull knife is dangerous and inefficient. Invest in a good knife sharpener and learn how to use it. Sharp knives make chopping a breeze and reduce the risk of accidents.
Practice Patience
Manual methods generally take more time than using a food processor. Don’t rush the process. Enjoy the meditative rhythm of cooking by hand.
Embrace Texture
Sometimes, the slightly less uniform texture you get from manual chopping or mashing can actually enhance a dish, adding a rustic charm that a food processor can’t replicate.
Clean As You Go
Especially when working with sticky or messy ingredients, wipe down your surfaces and tools frequently. This keeps your workspace organized and makes cleanup at the end much easier.
Troubleshooting Common Challenges
Even with the best techniques, you might run into a few snags. Here’s how to handle them.
Uneven Chopping or Shredding
- Solution: This usually means you’re trying to do too much at once or your technique needs refinement. For chopping, make sure your cuts are consistent. For shredding, apply even pressure and work with smaller pieces of food. Remember, a little variation is often fine and adds character.
Fatigue and Hand Cramps
- Solution: Take breaks! If you’re doing a lot of chopping or mashing, stretch your hands and wrists. Ensure your cutting board is stable and at a comfortable height. Using a comfortable, sharp knife also reduces strain.
Messy Work Area
- Solution: Manual methods can sometimes create more mess. Use a large cutting board, and consider placing a damp cloth underneath it to prevent slipping. Keep a “trash bowl” next to your cutting area for scraps, and wipe down surfaces regularly.
When a Recipe Calls for a Food Processor: Adapting Your Approach
When you encounter a recipe that explicitly calls for a food processor, don’t despair! The key is to understand the *function* the food processor is performing. Is it chopping finely? Shredding quickly? Pureeing smoothly? Or blending ingredients for a dough? Once you identify the desired outcome, you can choose the best alternative method. For comprehensive advice, check out our guide on what to do if a recipe calls for a food processor.
A Quick Look at What Else You Can Use
We’ve covered a lot, but sometimes it helps to have a quick reference. Here’s a summary of the most useful alternatives for when you find yourself asking, what to use if I don’t have a food processor?
- For Chopping/Mincing/Dicing: Chef’s knife, sturdy cutting board.
- For Shredding/Grating: Box grater, microplane.
- For Pureeing/Mashing: Blender, immersion blender, potato masher, fork, sieve.
- For Grinding Dry Ingredients: Mortar and pestle, coffee grinder (clean).
- For Mixing Dough/Cutting Butter: Pastry blender, your hands, stand mixer.
- For Crushing: Rolling pin (in a bag).
Conclusion
Not having a food processor doesn’t mean you’re limited in the kitchen. In fact, it’s an opportunity to hone your fundamental cooking skills and gain a deeper understanding of your ingredients. From the precision of a sharp knife to the power of a simple grater, your kitchen is likely already equipped with all the tools you need to create delicious meals. Embrace these alternative methods, practice patience, and you’ll find that you can cook almost anything, food processor or not!
