

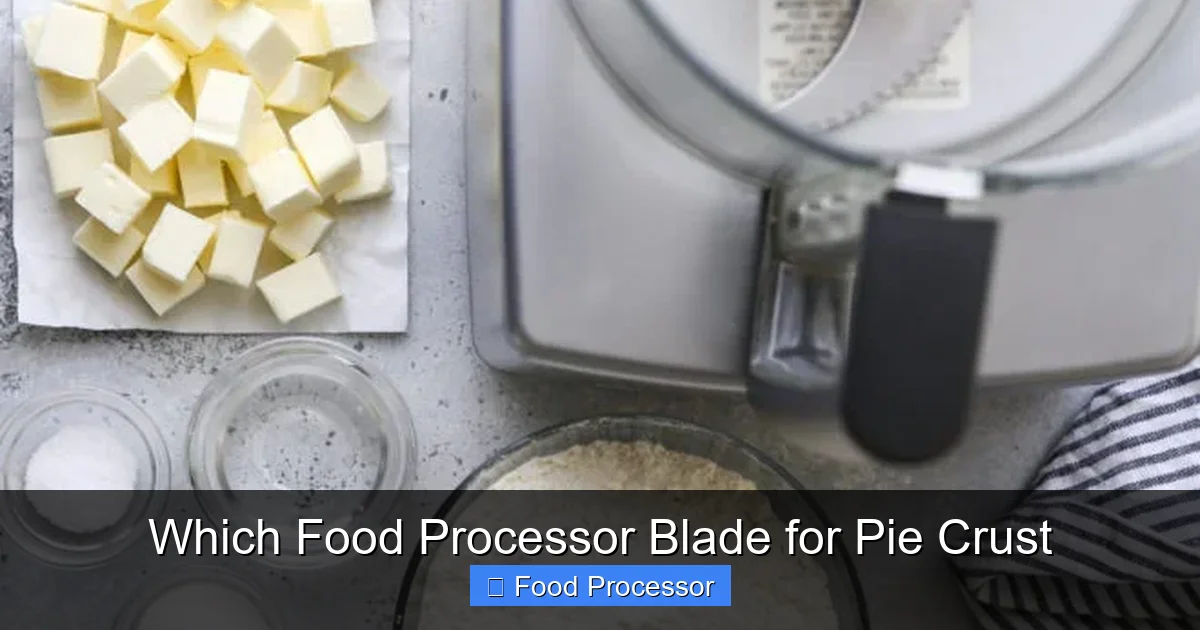
Making perfect pie crust just got easier with your food processor. This guide will walk you through choosing the correct food processor blade for pie crust, specifically highlighting the standard S-blade as your best friend. You’ll learn how to use it effectively to achieve a tender, flaky crust every time, saving you time and effort in the kitchen and turning you into a pie-making pro.
Which Food Processor Blade for Pie Crust? Your Ultimate Guide
Making a delicious, flaky pie crust from scratch can feel like a daunting task. Traditionally, it involves chilling butter, cutting it into flour by hand, and carefully mixing in ice water – all while trying not to overwork the dough. It’s a labor of love, but it can also be a lot of labor! That’s where your trusty food processor comes in. It’s a fantastic tool for simplifying this process, making pie crust quick and almost effortless. But here’s the million-dollar question: which food processor blade for pie crust should you actually use?
Many people get confused by the array of blades that come with their food processor. There’s the standard S-blade, sometimes a plastic dough blade, and various slicing and shredding discs. Choosing the wrong blade can turn your beautiful pie crust dreams into a tough, crumbly, or overly sticky nightmare. Don’t worry, we’re here to clear up the confusion! In this comprehensive guide, we’ll dive deep into your food processor’s arsenal, explain which food processor blade for pie crust is your champion, and give you step-by-step instructions for achieving a perfectly tender, flaky crust every single time. Get ready to bake some amazing pies!
Key Takeaways
- The S-Blade is Key: The standard metal S-blade (also known as the multi-purpose blade) is the ideal food processor blade for pie crust because its sharp, curved design efficiently cuts butter into flour without overworking the dough.
- Avoid the Dough Blade: Despite its name, the plastic dough blade is generally not recommended for pie crust as it tends to smush the butter rather than cut it, leading to a less flaky texture.
- Keep Ingredients Cold: Always use very cold butter and ice water. This is crucial for creating steam pockets during baking, which results in a flaky crust, and the food processor helps keep temperatures low with its quick work.
- Pulse, Don’t Process Continuously: Short, quick pulses are essential. Overprocessing develops gluten too much, leading to a tough, chewy crust instead of a tender one.
- Achieve Pea-Sized Butter: The goal is to cut the butter into pieces roughly the size of small peas. This ensures a good fat distribution and creates the perfect texture.
- Don’t Over-Hydrate: Add ice water gradually, pulsing until the dough just starts to come together. Too much water makes the dough sticky and tough.
Understanding Your Food Processor Blades
Before we talk about pie crust specifically, let’s quickly review the common blades you’ll find with most food processors. Knowing what each blade does generally will help you understand why certain blades are better for specific tasks.
The Standard S-Blade (Multi-Purpose Blade)
This is the blade you likely use the most. It’s a metal blade with two curved, sharp prongs that resemble an “S” shape. It sits at the bottom of your food processor bowl.
- What it does: It’s designed for chopping, mincing, pureeing, mixing, and even kneading light doughs. Its sharp edges effectively cut through ingredients.
- Why it’s important for pie crust: This is your star player for pie crust, and we’ll explain why in detail very soon!
The Dough Blade (Plastic Blade)
Some food processors come with a plastic blade, often shaped similarly to the S-blade but made of plastic. It’s specifically marketed for kneading dough.
- What it does: It’s designed to gently mix and knead heavier, yeast-based doughs, aiming to develop gluten without overworking it.
- Why it’s generally NOT for pie crust: While it says “dough,” it’s usually not the best choice for pie crust. Its plastic design tends to smush rather than cut the cold butter into the flour, which is critical for flakiness. We’ll explore this more.
Slicing and Shredding Discs
These are flat discs with various openings (slots or grates) that sit on top of the food processor bowl, used with a feed tube and pusher.
- What they do: As their names suggest, they slice vegetables, shred cheese, or grate other ingredients.
- Why they are NOT for pie crust: These blades are for processing solid ingredients into uniform pieces, not for mixing dough.
Why the S-Blade is Your Best Friend for Pie Crust
When asking “which food processor blade for pie crust is best?”, the answer is unequivocally the standard S-blade. Here’s why this multi-purpose blade is perfectly suited for creating tender, flaky pie dough:
Achieving the “Pea-Sized” Butter
The secret to a flaky pie crust lies in how the butter is incorporated into the flour. You want small, distinct pieces of cold butter distributed throughout the flour. As the pie bakes, these butter pieces melt and release steam, creating air pockets that result in those delightful, flaky layers. The sharp metal S-blade excels at cutting cold butter quickly and efficiently into small, pea-sized pieces, ensuring perfect distribution without melting the butter.
Quick Mixing to Prevent Gluten Development
Gluten develops when flour and water are mixed. The more you mix, the more gluten develops, leading to a tough, chewy crust. The beauty of the S-blade in a food processor is its speed. It can cut the butter into the flour and then quickly bring the dough together with the addition of ice water in a matter of seconds. This minimal mixing time is crucial for preventing excessive gluten development, resulting in a tender crust.
Consistent Texture
The S-blade ensures that the butter is evenly distributed throughout the flour mixture. This consistency is hard to achieve by hand and is vital for a uniformly flaky and tender pie crust.
Step-by-Step: Using the S-Blade for Perfect Pie Crust
Now that you know which food processor blade for pie crust to use, let’s walk through the process.
1. Gather Your Ingredients and Tools
Always start with cold ingredients! This is non-negotiable for flaky pie crust.
- Cold Butter: Cut into small cubes (about ½-inch to 1-inch) and keep it in the fridge until you’re ready to use it. Some even suggest freezing the butter for 10-15 minutes before using.
- All-Purpose Flour: Measure accurately.
- Salt: Essential for flavor.
- Ice Water: Have a cup of ice water ready. You’ll only use a small amount, but having it very cold is important.
- Food Processor: Ensure it’s clean and assembled correctly with the S-blade. If your food processor blade is not spinning, you might need to check its assembly or motor. For troubleshooting, you might find solutions in guides like how to fix food processor blade not spinning.
2. Assemble Your Food Processor with the S-Blade
Place the S-blade securely onto the spindle in the food processor bowl. Ensure the bowl is locked into place on the base.
3. Add Dry Ingredients
Pour your measured flour and salt into the food processor bowl. Give it a quick pulse or two to combine them evenly. This prepares the mixture for the butter.
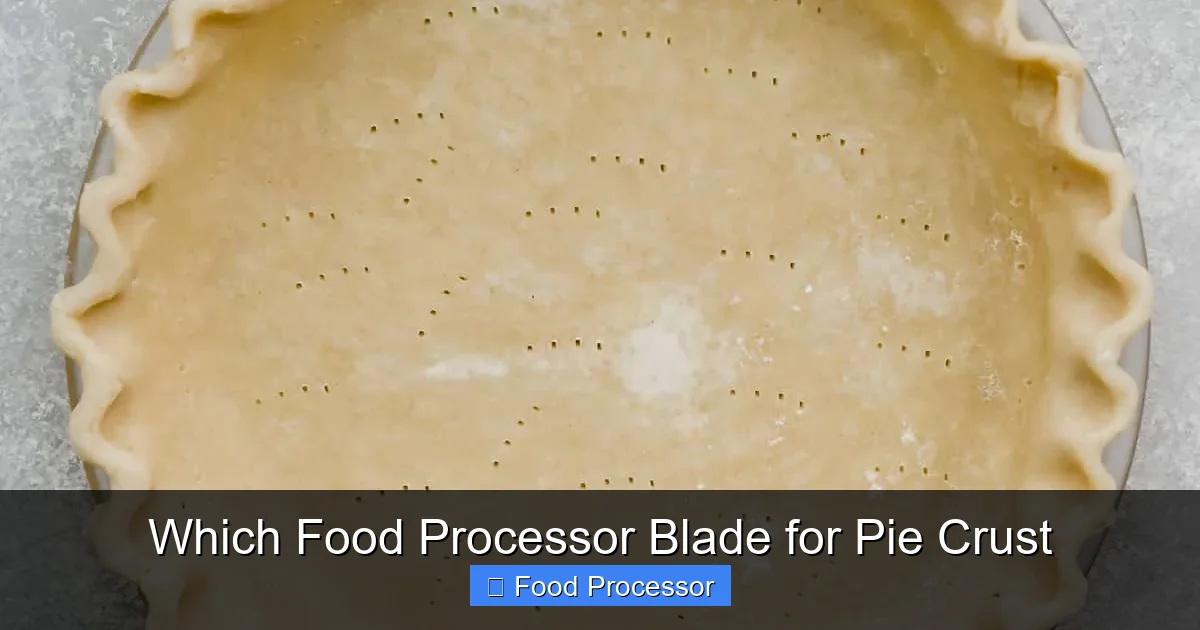
Visual guide about Which Food Processor Blade for Pie Crust
Image source: saltandbaker.com
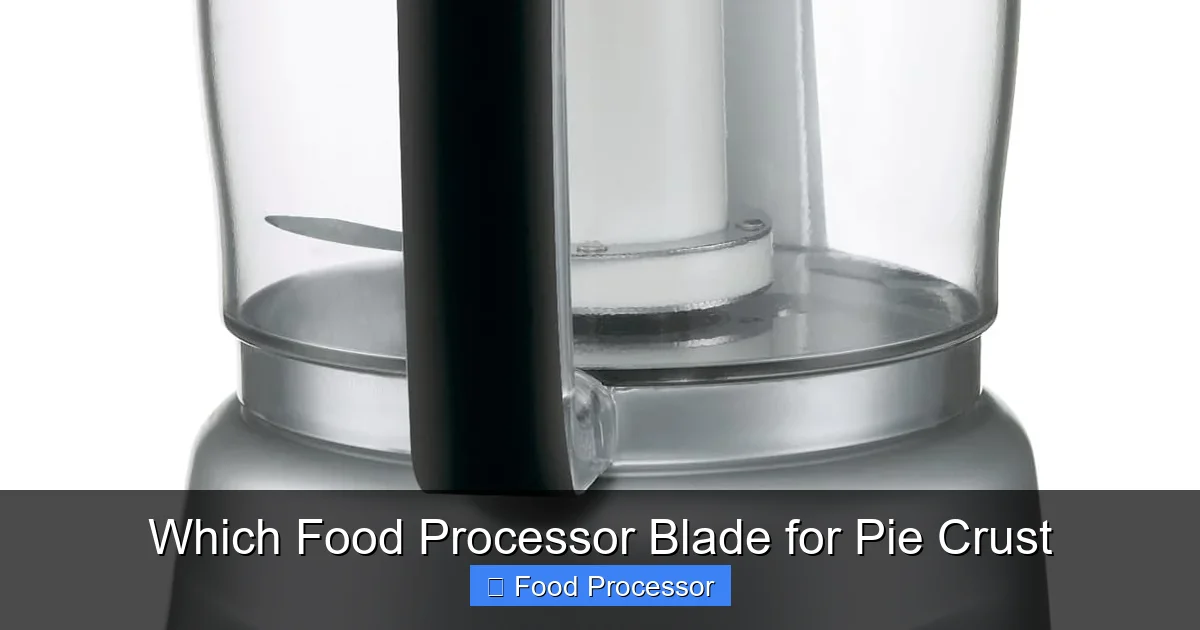
Visual guide about Which Food Processor Blade for Pie Crust
Image source: m.media-amazon.com
4. Add Cold Butter and Pulse
Scatter the cold butter cubes over the flour mixture. Secure the lid. Now, here’s where the magic happens:
- Use Short Pulses: Press the “pulse” button in short bursts (1-2 seconds each). You want to cut the butter into the flour, not cream it.
- Monitor the Texture: Pulse until the butter is broken down into pea-sized pieces, with some larger, bean-sized pieces also present. This usually takes about 10-15 pulses, depending on your food processor’s power. It’s better to have some slightly larger pieces than to overmix.
5. Add Ice Water Gradually
Once your butter is incorporated, it’s time for the ice water. This is a critical step where you can easily overdo it.
- Add a Tablespoon at a Time: With the food processor running (or pulsing, if you prefer more control), drizzle in 1 tablespoon of ice water through the feed tube. Pulse a few times.
- Check Consistency: The dough won’t form a ball yet. It should look crumbly, but if you pinch a small amount between your fingers, it should just barely hold together.
- Continue Adding and Pulsing: Add another tablespoon of water, pulse, and check again. Repeat this process, adding water sparingly, until the dough just starts to come together into a shaggy mass. Stop as soon as it begins to clump. You might not use all the water specified in your recipe.
6. Check Consistency and Form
The dough should look somewhat dry and shaggy, not like a smooth ball. When you pinch a piece, it should stick together without being sticky or wet.
- Don’t Overprocess: As soon as the dough *just* starts to come together, stop. Resist the urge to let the food processor run continuously. Overmixing will lead to a tough crust.
7. Remove, Form, and Chill the Dough
Carefully remove the dough from the food processor bowl onto a lightly floured surface. Gather it into a ball, then flatten it into a disc or two (depending on your recipe). Wrap the disc(s) tightly in plastic wrap and chill in the refrigerator for at least 30 minutes, or up to 2 days. Chilling allows the gluten to relax and the butter to firm up, making the dough easier to roll out.
Tips for Success with Your Food Processor Pie Crust
Keep Everything Cold
Seriously, we can’t stress this enough. Cold butter and cold water are paramount for a flaky crust. Even your hands should be cool when handling the dough after it leaves the food processor.
Don’t Overprocess
This is the number one mistake people make. The goal is to incorporate ingredients and cut butter, not to knead the dough extensively. Stop as soon as the dough comes together.
Use Short Pulses
Instead of holding down the “on” button, use quick, short pulses. This gives you more control and prevents overmixing or overheating the butter.
Mind the Recipe Ratios
While the food processor speeds things up, it doesn’t change the basic science of pie crust. Stick to a good, tested recipe’s flour-to-fat-to-water ratios. For those considering a new appliance to handle various kitchen tasks, understanding what to look for when buying a food processor can be incredibly helpful.
Clean Up Promptly
Once you’re done, clean your food processor blade and bowl right away. Dough can dry and harden, making cleanup more difficult.
Troubleshooting Common Pie Crust Issues
Crust is Too Tough or Chewy
This is almost always a sign of overmixing. Too much processing develops gluten, which makes the crust elastic and tough. Next time, use fewer pulses and stop as soon as the dough barely comes together.
Crust is Crumbly or Dry
This means you likely didn’t add enough ice water. The dough needs just enough moisture to hold together. Slowly add a little more water, a teaspoon at a time, pulsing between additions, until the dough holds together when pinched.
Butter Chunks are Too Large or Too Small
If your butter chunks are too large, your crust might be too greasy or not flaky enough. If they’re too small, it might lack flakiness. Adjust your pulsing technique next time – more pulses for smaller chunks, fewer for larger. Aim for pea-sized.
Blade Not Spinning
If you’ve loaded your ingredients and your food processor blade isn’t spinning, first check if the bowl and lid are properly locked into place. Most food processors have safety mechanisms that prevent operation if not assembled correctly. If it’s still not working, consult your appliance manual or a troubleshooting guide for your specific model.
What If You Don’t Have a Food Processor (or the Right Blade)?
If you find yourself without a food processor or perhaps only have specialized blades that aren’t suitable for pie crust (which, as we’ve established, is typically the S-blade), don’t despair! You can absolutely still make a fantastic pie crust by hand. It takes a little more elbow grease but is just as effective. For those moments when you need a pie crust but your food processor isn’t an option, our guide on what to do without a food processor for pie crust offers excellent alternative methods.
Conclusion
Knowing which food processor blade for pie crust to use is truly the key to unlocking a world of easier, faster, and more consistent pie baking. The humble S-blade, often underestimated, is your best friend in this culinary endeavor. By understanding its function and following our simple tips and step-by-step guide, you can confidently create tender, flaky pie crusts that will impress everyone at your table. Say goodbye to tough, overworked dough and hello to homemade pie perfection! So, go ahead, grab your food processor, select that S-blade, and start baking your next masterpiece. Happy pie making!
