

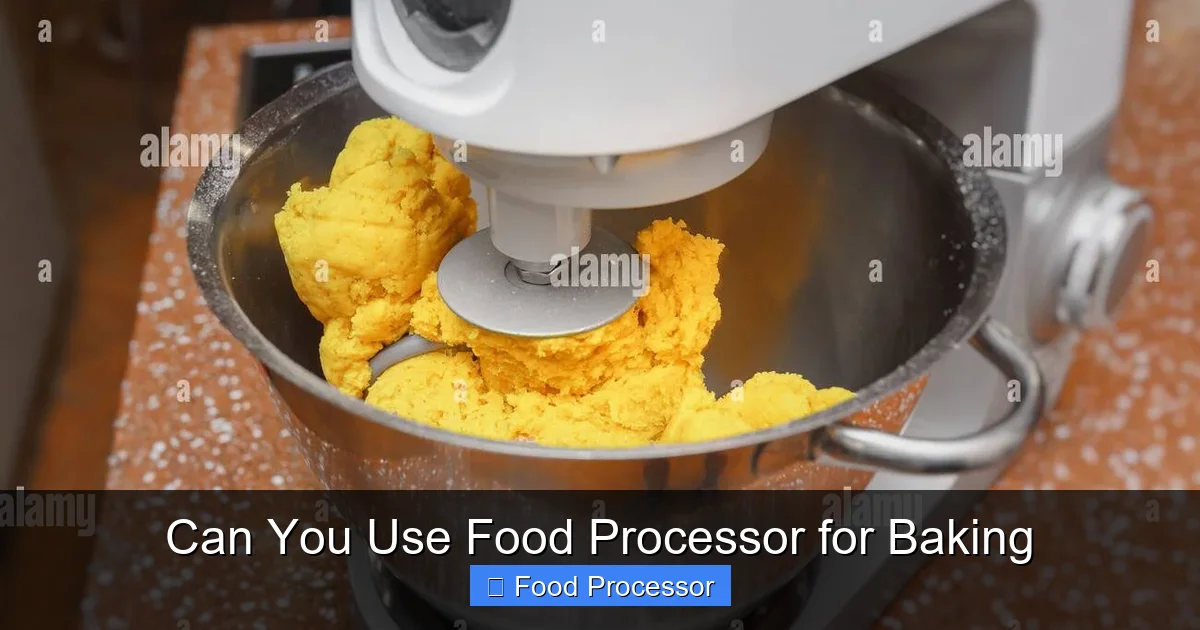
Absolutely, you can use a food processor for baking, and it can be a real game-changer! This versatile kitchen tool excels at tasks like cutting cold butter into flour for pastries, making crumble toppings, blending dry ingredients, and even some cookie doughs. However, understanding its strengths and limitations is key to avoiding overmixing and achieving perfect results. Learn to harness your food processor’s power for more efficient and delicious homemade treats.
Can You Use Food Processor for Baking
Baking can be a joy, but sometimes the sheer effort of mixing, cutting, and combining ingredients can feel like a chore. That’s where your trusty food processor comes in! Often seen as a workhorse for savory dishes, many bakers wonder: can you use a food processor for baking? The answer is a resounding yes! This incredible kitchen appliance can drastically cut down on prep time and effort for a wide variety of baked goods, from flaky pie crusts to crumbly cookies and even some cake batters.
In this comprehensive guide, we’ll dive deep into how to effectively use your food processor for baking. You’ll learn which baking tasks it excels at, step-by-step techniques for perfect results, and crucial tips to avoid common pitfalls like overmixing. We’ll also explore when it’s best to stick to traditional methods and how to troubleshoot any issues you might encounter. Get ready to transform your baking experience!
Key Takeaways
- Versatility is Key: A food processor is incredibly useful for various baking tasks, including making pastry dough, crumble toppings, cookie doughs, and blending dry ingredients quickly and efficiently.
- Master the Pulse Button: The pulse function is your best friend in baking with a food processor. It allows precise control, preventing overmixing and ensuring ingredients are just combined, leading to tender baked goods.
- Cold Ingredients are Crucial: For flaky crusts and tender pastries, ensure your butter or other fats are very cold before adding them to the food processor. This helps create pockets of steam for a lighter texture.
- Know Its Limitations: While powerful, a food processor isn’t ideal for light, airy batters (like sponge cake) or kneading delicate yeasted doughs for extended periods, as it can easily overdevelop gluten and lead to tough results.
- Prevent Overmixing: Overmixing is the most common pitfall when using a food processor for baking. Stop processing as soon as ingredients are combined, as excessive blending can develop gluten too much or create dense textures.
- Utilize Different Blades: The standard S-blade is excellent for most mixing and chopping tasks, while grating/shredding discs can be handy for preparing ingredients like cheese or vegetables for savory baked goods.
- Cleanliness Matters: Always clean your food processor parts promptly after use to prevent food residue from hardening, making cleanup easier and ensuring hygiene for your next baking adventure.
The Basics: Understanding Your Food Processor for Baking
Before we get into specific recipes, let’s briefly go over what makes a food processor so useful for baking and how to best use it.
Blades and Attachments
Most food processors come with a standard S-blade (also known as a processing blade or chopper blade). This is the blade you’ll use for 90% of your baking needs, as it’s designed for chopping, mixing, and incorporating ingredients. Some models also include grating or slicing discs, which can be useful for preparing ingredients like shredding cheese for savory scones or carrots for carrot cake.
Pulsing vs. Continuous Processing
This is perhaps the most critical distinction in food processor baking.
- Pulse Function: This is your best friend. Pulsing means turning the motor on and off in short bursts. It gives you precise control over the texture of your ingredients, preventing overmixing and ensuring everything is just combined. For most baking, you’ll rely heavily on pulsing.
- Continuous Processing: This involves letting the motor run without interruption. While useful for pureeing or making smooth sauces, it’s rarely used for long periods in baking because it can quickly overwork doughs and batters, leading to tough results.
Remember: when in doubt, pulse!
Don’t Overmix!
This cannot be stressed enough. Overmixing is the number one enemy of tender baked goods, especially when using a powerful appliance like a food processor. Excessive mixing develops gluten in flour, leading to tough, chewy textures instead of light and tender ones. Stop processing as soon as the ingredients come together.
Recipes Where a Food Processor Shines
Visual guide about Can You Use Food Processor for Baking
Image source: kitchenpearls.com
Let’s explore the various baking tasks where a food processor truly makes a difference.
Pies and Tarts (Pastry Dough)
This is arguably where a food processor is most celebrated in the baking world. Making pie crust by hand, cutting in cold butter, can be time-consuming and messy. A food processor makes it incredibly fast and efficient.
H3: Cold Butter Incorporation
The key to a flaky pie crust is keeping the butter very cold and cutting it into pea-sized pieces within the flour. The food processor does this in seconds. The quick action keeps the butter from melting, which is essential for steam pockets that create flakiness.
Cookies (Shortbread, Crumbly Cookies)
While not all cookie doughs are suitable, a food processor is fantastic for crumbly, shortbread-style cookies or those that don’t require extensive creaming.
H3: Creaming Butter and Sugar (with care)
You can cream softened butter and sugar in a food processor, but you need to be cautious not to overmix. It works best for recipes where the butter doesn’t need to be whipped to a very light, fluffy consistency. For such recipes, you might find it easier to use a food processor instead of a mixer, but remember to be quick.
H3: Mixing Dry Ingredients
For recipes that call for dry ingredients to be combined before adding wet ones, the food processor can quickly whisk them together evenly.
Cakes and Muffins (Dry Ingredients, Streusel Toppings)
While delicate cake batters that require significant air incorporation (like sponge cakes) are not ideal for the food processor, it’s excellent for more robust cakes, quick breads, and muffin batters.
H3: Blending Dry Ingredients
Similar to cookies, your food processor can rapidly combine flour, leavening agents, sugar, and spices, ensuring an even distribution.
H3: Making Streusel
For those delightful crumbly toppings on muffins, coffee cakes, or fruit crumbles, a food processor is perfect. It quickly blends cold butter with flour, sugar, and spices to create that signature crumbly texture.
Quick Breads (Scones, Biscuits)
These recipes often require cutting cold butter into flour, much like pie crusts. The food processor is an absolute dream for scones and biscuits, creating tender, flaky results with minimal effort.
H3: Cutting in Butter
Just like pastry dough, the food processor excels at cutting cold butter into the dry ingredients for scones and biscuits, maintaining a cool temperature and preventing overworking.
Crumble Toppings & Crusts (Cheesecake Crusts, Fruit Crumbles)
From graham cracker crusts for cheesecakes to oat-based crumble toppings for fruit pies, the food processor handles these with ease.
H3: Graham Cracker Crumbs
Need fine graham cracker crumbs for a cheesecake base? The food processor turns whole crackers into perfect crumbs in seconds.
Frostings and Fillings (Nut Butters, Some Cream Cheese Frostings)
While not directly baking, the food processor can assist with components that go into baked goods.
H3: Making Nut Flours/Butters
If a recipe calls for almond flour or a specific nut butter, you can make your own fresh in the food processor.
Step-by-Step Guide: Using Your Food Processor for Baking Doughs
Visual guide about Can You Use Food Processor for Baking
Image source: kitchenpearls.com
Let’s walk through the general process of making a dough (like pie crust or biscuit dough) using your food processor.
Gathering Your Ingredients and Equipment
Ensure all your ingredients, especially butter, are well-chilled. Have your flour, salt, sugar, and any other dry components measured out. Also, have your ice water ready.
Assembling Your Food Processor
Place the S-blade securely in the food processor bowl. Ensure the lid is clean and ready to go. If you need a refresher on how to use a food processor step-by-step, refer to our comprehensive guide.
Adding Dry Ingredients
Pour all your measured dry ingredients (flour, salt, sugar, leavening agents) into the food processor bowl. Pulse a few times to combine them thoroughly. This ensures even distribution before adding fats.
Incorporating Cold Fats (Butter, Shortening)
H4: Cut into Small Pieces
Cut your very cold butter or shortening into small cubes (about 1/2-inch). The smaller the pieces, the faster they’ll be incorporated.
H4: Add to Processor and Pulse
Add the cold fat cubes to the dry ingredients in the food processor. Pulse in short bursts, about 1-second pulses, until the mixture resembles coarse crumbs with some pea-sized pieces of butter remaining. This usually takes 10-15 pulses. Do not overdo it; you still want visible pieces of fat.
Adding Liquid Ingredients
H4: Drizzle in Slowly
With the food processor running, or pulsing if you prefer more control, slowly drizzle in the ice water (or other liquid) through the feed tube. Add it a tablespoon at a time.
H4: Pulse Until Just Combined
Continue to pulse until the dough just starts to come together. It might look shaggy but should hold together when squeezed. Stop immediately once this consistency is reached. You don’t want a smooth ball of dough forming in the processor.
Checking Dough Consistency
Pinch a small amount of dough between your fingers. If it holds together without crumbling, it’s ready. If it’s too dry, add another teaspoon of ice water and pulse once or twice more.
Finishing Up
Carefully remove the dough from the food processor bowl. It will likely still be somewhat crumbly. Turn it out onto a lightly floured surface and gently bring it together into a disc or log. Avoid kneading it excessively. Wrap it in plastic wrap and refrigerate for at least 30 minutes before rolling or baking. This allows the gluten to relax and the fat to firm up, resulting in a more tender and flaky baked good.
Tips for Success When Baking with a Food Processor
To get the best results when you use a food processor for baking, keep these tips in mind:
- Keep Ingredients Cold: Especially for pastry, pie crusts, and biscuits, cold butter and ice water are non-negotiable. This prevents the fat from melting too quickly, ensuring a flaky texture.
- Use the Pulse Function: As mentioned, it’s your best friend for control. Use short bursts rather than continuous blending to avoid overmixing.
- Don’t Overmix: This is worth repeating! Stop processing as soon as ingredients are just combined. A slightly shaggy dough is better than an overworked, tough one.
- Scrape Down the Sides: Periodically stop and scrape down the sides of the bowl with a spatula to ensure all ingredients are evenly incorporated.
- Clean Promptly: Dough and batter can stick and harden. Clean your food processor bowl and blades right away. Most parts are dishwasher safe, making cleanup a breeze. If you’re wondering can you put food processor parts in the dishwasher, check your model’s manual, but generally, yes.
- Consider Food Processor Size: A larger food processor (10-14 cups) is more versatile for baking larger batches of dough or batter. Smaller models are great for quick jobs but can be limiting for bigger recipes.
When to Think Twice: Limitations of a Food Processor in Baking
While powerful, the food processor isn’t a universal baking solution. Here are instances where you might want to stick to a stand mixer or hand mixing:
- Light, Airy Batters: Recipes that rely on extensive creaming of butter and sugar until light and fluffy (like classic butter cakes or sponge cakes) or whisking egg whites to incorporate air are not ideal. The food processor’s blades can quickly deflate air and overmix.
- Large Quantities of Dough: While great for a single pie crust, trying to make a very large batch of dough or a stiff bread dough can strain your food processor’s motor and lead to uneven mixing. For serious dough production, consider a stand mixer. If you’re looking for specialized dough machines, some food processors like the best food processor for roti dough can handle specific doughs very well.
- Delicate Yeasted Doughs: While some food processors claim to knead yeasted dough, it’s generally not recommended for extended kneading. The rapid blade action can quickly overdevelop gluten, resulting in tough bread. For complex bread recipes, hand kneading or a stand mixer with a dough hook is usually superior. If you find yourself in a situation where you need to make dough but don’t have a food processor, there are certainly alternatives, as discussed in “What To Do If You Don’t Have A Food Processor For Dough.”
Troubleshooting Common Food Processor Baking Issues
Even with the best intentions, things can sometimes go awry. Here’s how to fix some common baking issues when using a food processor:
- Dough Too Sticky/Dry: If your dough is too sticky, try adding a tablespoon of flour and pulsing once or twice. If it’s too dry and crumbly, add liquid (ice water, milk) a teaspoon at a time, pulsing after each addition, until it just comes together.
- Overworked Dough: You’ll recognize this by a tough, elastic texture. Unfortunately, once dough is overworked, it’s hard to fully reverse. For pie crusts, you might still be able to roll it out, but it will be less flaky. For cookies or quick breads, they’ll likely be dense. The best solution is prevention: use the pulse function and stop immediately when ready.
- Ingredients Not Combining: This can happen if pieces are too large or stuck to the sides. Stop the processor, scrape down the sides of the bowl with a spatula, and try pulsing again. Ensure your cold fats are in small enough pieces to be incorporated quickly.
Conclusion
So, can you use a food processor for baking? Absolutely! It’s an indispensable tool for countless baking tasks, from creating perfect pie crusts and crumble toppings to blending dry ingredients and making various cookie and quick bread doughs. By understanding its capabilities, mastering the pulse function, and being mindful of its limitations, you can harness the power of your food processor to make your baking quicker, easier, and more enjoyable. Experiment with different recipes, pay attention to consistency, and you’ll be baking delicious treats with your food processor in no time! Happy baking!
