

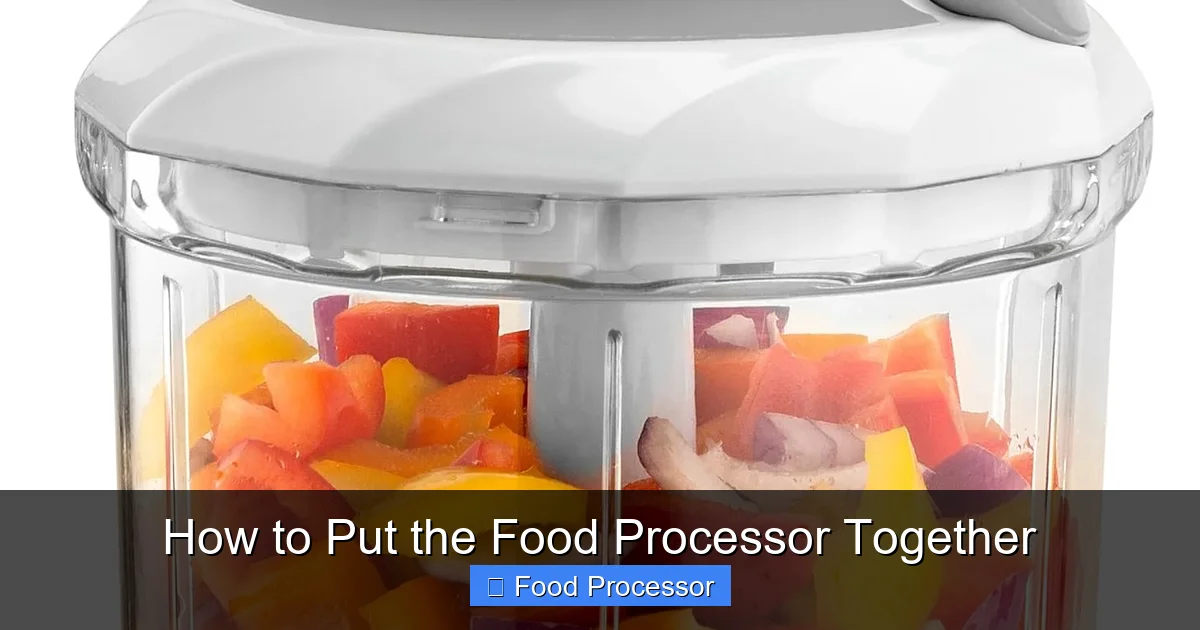
Assembling your food processor correctly is crucial for both performance and safety. This comprehensive guide walks you through each step, from identifying the motor base and work bowl to securely attaching blades, discs, and the lid. By following these instructions, you’ll learn to put your food processor together safely and efficiently, ensuring it’s ready for all your culinary tasks. We cover everything you need to know to prevent common issues and maximize your appliance’s potential.
How to Put the Food Processor Together
Welcome to the world of effortless meal prep! A food processor is a game-changer in any kitchen, transforming tedious chopping, slicing, and shredding into quick and easy tasks. But before you can whip up that perfect pesto or shred a mountain of cheese, you need to know how to put the food processor together properly. Don’t worry, it’s simpler than you might think, and this guide is here to walk you through every step.
Understanding how to correctly assemble your food processor isn’t just about getting it to work; it’s also about ensuring your safety and getting the best performance from your appliance. An incorrectly assembled food processor might not even turn on, thanks to built-in safety mechanisms. Plus, knowing your way around the parts makes cleaning and storage a breeze.
Whether you’re unboxing a brand-new appliance or just pulling your trusted machine out of storage, this guide will provide clear, friendly instructions to help you put the food processor together with confidence. We’ll cover everything from the basic components to securing the lid and even offer some practical tips along the way. Let’s get started and get you processing food like a pro!
Key Takeaways
- Safety First: Always ensure the food processor is unplugged before assembly and handle sharp blades with extreme care to prevent injury.
- Understand Your Parts: Familiarize yourself with the motor base, work bowl, lid, food pusher, and various blades or discs specific to your food processor model.
- Proper Sequencing: The correct order of assembly is motor base, then work bowl, followed by the blade/disc, and finally the lid, ensuring each component locks securely.
- Locking Mechanisms are Key: Most food processors have safety interlocks that prevent operation if the bowl and lid are not properly twisted and locked into place.
- Blade Selection Matters: Choose the appropriate blade or disc for your specific task (e.g., S-blade for chopping, shredding disc for grating) and insert it carefully onto the central spindle.
- Troubleshooting Common Issues: If your food processor isn’t turning on, double-check that all parts are correctly aligned and locked, as safety features often prevent operation otherwise.
- Consult Your Manual: While this guide offers general steps, always refer to your specific food processor’s instruction manual for model-specific details and nuances.
Understanding Your Food Processor’s Basic Anatomy
Before we dive into the step-by-step assembly, let’s quickly familiarize ourselves with the main parts of a typical food processor. While models vary, most share these core components:
- Motor Base: This is the heaviest part. It houses the motor and the control buttons. It’s the foundation of your food processor.
- Work Bowl: This clear plastic bowl sits on top of the motor base. It’s where all your ingredients get processed.
- Lid: This covers the work bowl and usually has a feed tube for adding ingredients. It’s crucial for safety and contains splashes.
- Food Pusher: A plunger-like accessory that fits into the feed tube, used to push food down towards the blades or discs safely.
- Blades and Discs: These are the cutting tools. The most common is the “S-blade” (or chopping blade), but many food processors also come with various shredding and slicing discs.
Knowing these parts will make the assembly process much clearer. Remember, the design of these components is often very specific to your food processor model, so always refer to your owner’s manual for precise details. If you’re still in the market for one, you might want to consider what to consider when buying a food processor to ensure you get a model that fits your needs.
Step 1: Prioritize Safety – Always Unplug and Prepare
Safety is paramount when dealing with any kitchen appliance, especially one with sharp blades. Before you even think about how to put the food processor together, take these essential safety precautions:
Unplug the Food Processor
Always ensure the motor base is unplugged from the electrical outlet. This prevents any accidental activation while you’re handling the blades or assembling the unit.
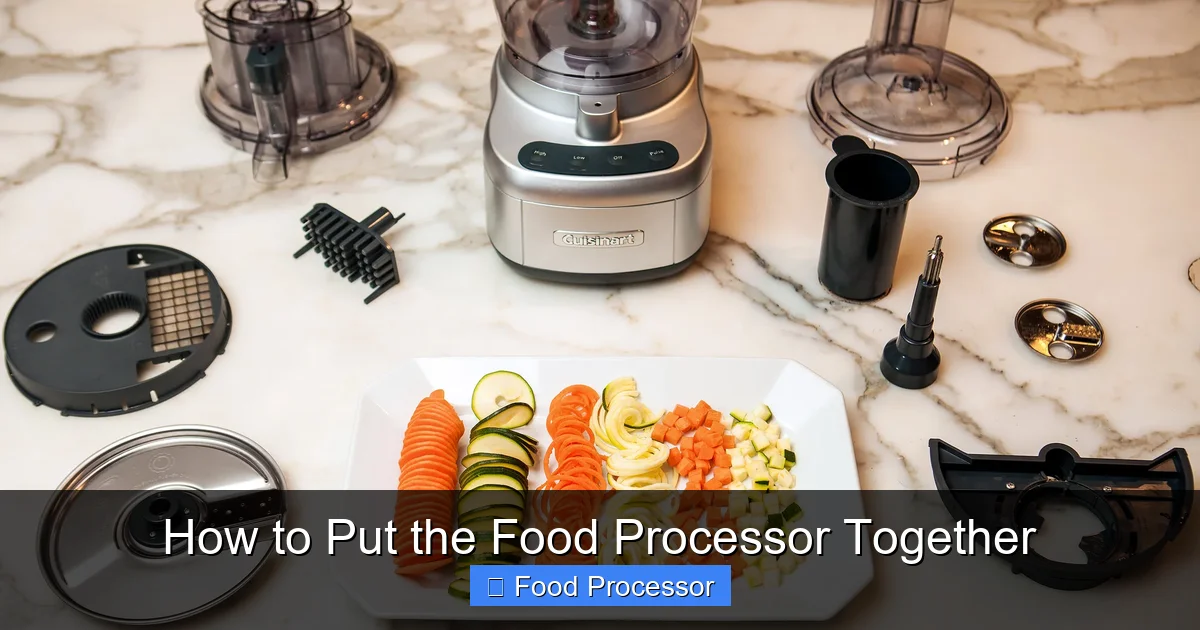
Visual guide about How to Put the Food Processor Together
Image source: storables.com
Clear and Stable Workspace
Choose a clean, dry, and stable countertop for assembly. Make sure there’s plenty of space around you so you can move freely and place all the parts without them falling or getting lost.
Handle Blades with Extreme Care
Food processor blades are incredibly sharp. Treat them with respect. Hold them by the plastic hub or handle, never by the cutting edges. It’s a good habit to keep blades in their protective storage cases until you’re ready to insert them.
Step 2: Position the Motor Base
The motor base is the heaviest and most stable part of your food processor. It’s the first piece you’ll place on your counter.
Find a Flat, Sturdy Surface
Place the motor base on a flat, sturdy surface. Ensure it’s not near the edge of the counter where it could be knocked off. This base will provide the power for your food processor, so a stable foundation is key.
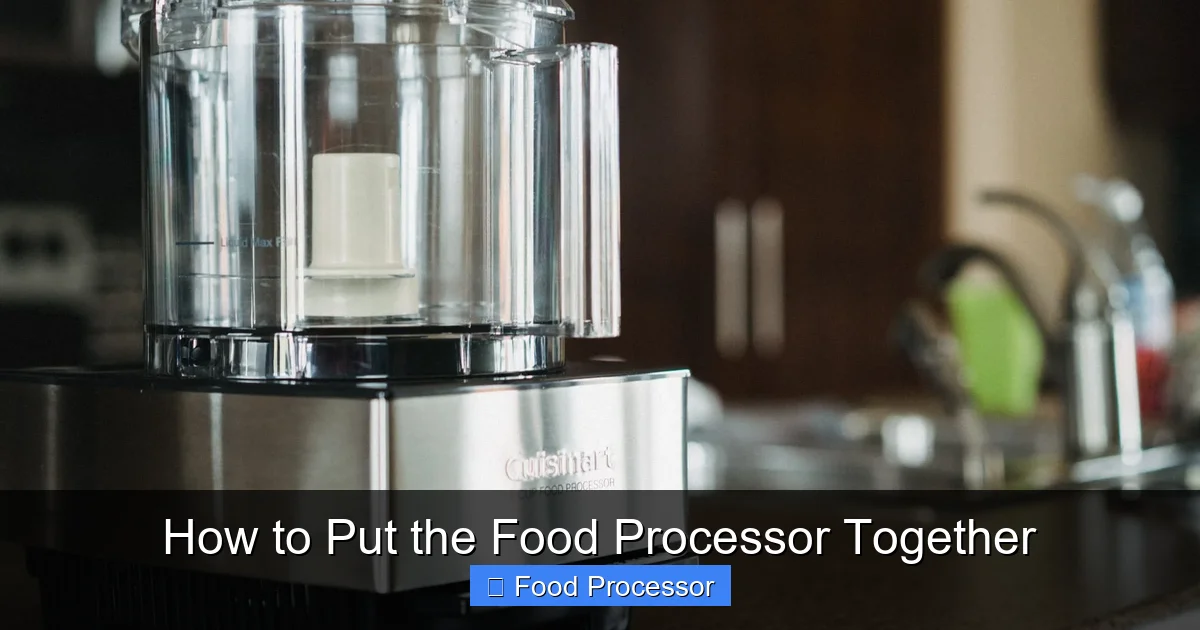
Visual guide about How to Put the Food Processor Together
Image source: storables.com
Check for Ventilation
Most food processor bases have vents to prevent overheating. Make sure these vents are not blocked by cloths or other objects, allowing for proper airflow.
Step 3: Attach the Work Bowl
The work bowl is designed to fit onto the motor base in a specific way. It usually has a locking mechanism.
Align the Work Bowl with the Motor Base
Look for alignment arrows or indicators on both the bottom of the work bowl and the top of the motor base. These will guide you on how to correctly place the bowl. Gently lower the work bowl onto the motor base, aligning any tabs or grooves.
Twist to Lock the Work Bowl
Once the bowl is seated, you’ll typically need to twist it clockwise until it locks into place. You might hear an audible click, or feel it secure firmly. The food processor will not operate if the work bowl is not correctly locked, as this is a fundamental safety feature.
Pro Tip: If the bowl feels stiff or won’t align, don’t force it. Lift it, check for any obstructions, and try again, ensuring the alignment arrows are perfectly matched before twisting.
Step 4: Insert the Blade or Disc
This is where your food processor gets its processing power. Choose the blade or disc appropriate for your task.
Choosing the Right Attachment
For Chopping, Mixing, or Pureeing: The S-Blade (Chopping Blade)
The S-blade, also known as the universal blade or chopping blade, is the most frequently used attachment. It’s designed for chopping nuts, pureeing soups, making dough, or preparing sauces. It looks like a curved “S” and usually sits at the very bottom of the work bowl.
For Slicing or Shredding: The Discs
Food processors often come with reversible slicing/shredding discs. These flat discs sit higher up in the bowl, on a central spindle, and are used for grating cheese, slicing vegetables, or shredding cabbage. Always choose the correct disc for the desired thickness or shred size.
Carefully Place the Chosen Blade/Disc
For the S-Blade:
Hold the S-blade by its central plastic hub. Carefully lower it onto the spindle inside the work bowl. It should slide down easily and sit securely at the bottom. Do not press down hard on the blade itself. Ensure it’s fully seated and stable before proceeding.
For Slicing/Shredding Discs:
If you’re using a disc, you’ll usually need a special “disc stem” or “spindle adapter” first. Place this stem onto the central spindle in the work bowl. Then, carefully lower the chosen disc onto the stem. The cutting edge should face upwards, ready to process food as it’s pushed down the feed tube. Ensure the disc is flat and secure on the stem.
Safety Reminder: Never touch the sharp edges of the blades or discs. Always use the plastic hub or designated handles.
Step 5: Secure the Lid
The lid is another critical safety component. Like the work bowl, it has a specific way to attach and lock.
Align the Lid with the Work Bowl
Look for alignment indicators on the lid and the work bowl. These are often arrows or tabs. Place the lid onto the work bowl, matching these indicators.
Twist to Lock the Lid
Once the lid is seated, twist it clockwise (or sometimes counter-clockwise, depending on your model) until it locks securely. Many food processors have a “click” sound or a visual cue (like an arrow aligning) to indicate it’s locked. Just like the work bowl, the food processor will not turn on if the lid is not properly locked due to its safety interlock system.
Troubleshooting Tip: If the lid isn’t locking, double-check that the work bowl is fully locked onto the base and that no part of the blade or food is obstructing the lid’s path. Sometimes, a slight adjustment to the work bowl’s position is needed.
Step 6: Position the Food Pusher
The food pusher is an often-overlooked but essential part of the assembly and operation process.
Insert the Food Pusher into the Feed Tube
Once the lid is locked, take the food pusher and place it into the feed tube opening on the lid. The food pusher typically has a groove that aligns with a ridge inside the feed tube, ensuring it fits snugly. It’s designed to help guide ingredients down towards the spinning blades safely, keeping your hands away from harm.
Important: Never use your fingers or other utensils to push food into the feed tube while the food processor is running. Always use the provided food pusher.
Step 7: Final Safety Check and Readiness
You’re almost ready to start processing! Just one last check.
Verify All Components are Locked
Before plugging in your food processor, quickly double-check that the work bowl is firmly locked onto the motor base and that the lid is securely locked onto the work bowl. Give them a gentle wiggle to confirm they’re snug.
Connect to Power
Now that everything is assembled and secure, you can plug your food processor into a grounded electrical outlet. It’s now ready for use!
Practical Tips for Using Your Assembled Food Processor
Now that you know how to put the food processor together, here are some tips to get the most out of it:
- Read Your Manual: While this guide provides general steps, your specific food processor model may have unique quirks or additional accessories. Always refer to your owner’s manual for model-specific instructions and troubleshooting.
- Start Small: Don’t overload your food processor. Process ingredients in batches if necessary. Overfilling can lead to uneven processing and strain the motor.
- Pulse for Precision: Use the “pulse” function for better control, especially when chopping or dicing. This gives you short bursts of power, allowing you to check the consistency and prevent over-processing. For more tips on maximizing your appliance, check out our guide on how to get the most out of your food processor.
- Clean Promptly: After use, disassemble your food processor and clean all parts immediately. This prevents food from drying onto the components, making cleanup much easier. Wondering if your parts are dishwasher safe? You can find out more about if you can put food processor parts in the dishwasher.
- Storage: Store blades safely in their protective covers or a designated compartment to prevent accidental cuts and keep them sharp.
Troubleshooting Common Assembly Issues
Even with the best instructions, sometimes things don’t go as planned. Here are some common issues and their solutions when trying to put the food processor together:
Food Processor Won’t Turn On
This is by far the most common problem and almost always related to improper assembly.
Solution: Double-check that:
- The motor base is securely plugged into a working outlet.
- The work bowl is fully locked onto the motor base (twist until it clicks).
- The lid is fully locked onto the work bowl (twist until it clicks and aligns).
- The food pusher is correctly inserted (some models have a safety switch here too).
- For some models, if you’re using a disc, ensure the disc stem is properly seated.
Food processors have safety interlock systems that prevent them from operating unless all parts are correctly assembled and locked. This is for your protection!
Work Bowl Won’t Lock Onto the Base
If you’re struggling to get the work bowl to lock, it’s usually an alignment issue.
Solution:
- Lift the bowl off the base completely.
- Examine the bottom of the bowl and the top of the motor base for any debris or obstructions.
- Align the arrows or indicators precisely, then gently lower the bowl.
- Twist firmly but without excessive force. If it still resists, try turning the bowl slightly in both directions to find the correct alignment point.
Lid Won’t Close or Lock
A stubborn lid can be frustrating, but again, it’s often an alignment or obstruction problem.
Solution:
- Ensure the work bowl is already securely locked onto the motor base. The lid usually relies on the bowl’s stability.
- Check if the blade or disc inside the bowl is correctly seated and not interfering with the lid’s mechanism.
- Look for any food particles or debris around the rim of the bowl or lid that might be preventing a flush fit.
- Align the lid’s arrows or tabs with those on the work bowl. Lower it straight down, then twist to lock.
Blade Not Spinning
If your food processor turns on but the blade isn’t spinning, this indicates an issue with the blade’s connection.
Solution:
- Unplug the unit immediately.
- Carefully remove the lid and blade/disc.
- Ensure the blade or disc stem is fully seated on the central spindle in the work bowl. It should slide down without resistance and sit firmly.
- Check if the spindle itself is free from obstructions.
If these steps don’t resolve the issue, and you’ve confirmed everything is assembled correctly, you might be looking at a mechanical problem. In such cases, you might want to consult our guide on how to fix a food processor blade not spinning.
Conclusion
Congratulations! You’ve successfully learned how to put the food processor together. By following these clear, step-by-step instructions, you can confidently assemble your appliance every time, ensuring both safety and optimal performance. Remember, a properly assembled food processor is the first step towards unlocking its full potential in your kitchen, making countless cooking tasks easier and faster.
Always prioritize safety by unplugging the unit before handling blades and securing all parts with their respective locking mechanisms. Don’t be afraid to consult your owner’s manual for model-specific details, as manufacturers often have unique design features. With a little practice, assembling your food processor will become second nature, leaving you more time to enjoy the creative process of cooking. Happy processing!
