

Learn how to make your KitchenAid food processor work seamlessly from start to finish. This comprehensive guide covers everything from proper assembly and safe operation to effective food processing techniques and troubleshooting common issues. Get ready to unlock your culinary creativity and master your KitchenAid food processor with ease and confidence.
How to Make Kitchenaid Food Processor Work
Welcome to the world of effortless meal prep and culinary creativity! If you’ve recently acquired a KitchenAid food processor or just need a refresher on getting the most out of your existing one, you’re in the right place. A KitchenAid food processor is a powerful and versatile kitchen appliance designed to save you time and effort on a multitude of tasks, from chopping vegetables to kneading dough.
But like any kitchen gadget, knowing how to properly set it up and operate it is key to unlocking its full potential. Many common issues, such as the machine not turning on or the blade not spinning, often stem from simple assembly mistakes or overlooked safety features.
In this comprehensive guide, we’ll walk you through everything you need to know about how to make your KitchenAid food processor work like a charm. We’ll cover proper assembly, safe operation, practical tips for various tasks, and even a troubleshooting section to help you overcome any hurdles. By the end of this article, you’ll be confidently processing your way to delicious meals!
Key Takeaways
- Proper Assembly is Crucial: Always ensure the bowl, blade, and lid are correctly aligned and locked into place before attempting to operate your KitchenAid food processor to engage its safety interlock system.
- Safety First: Never operate the food processor without the lid securely fastened, and always disconnect it from power before assembling, disassembling, or cleaning any parts.
- Understand Your Controls: Familiarize yourself with the “On,” “Off,” and “Pulse” settings. The “Pulse” function offers greater control for precise chopping and preventing over-processing.
- Utilize Attachments Wisely: Your KitchenAid food processor comes with various blades and discs for different tasks like chopping, shredding, slicing, and pureeing. Choose the right one for optimal results.
- Don’t Overload: Avoid filling the work bowl past the maximum fill line, as this can strain the motor and lead to inefficient processing or spills. Process in batches if necessary.
- Troubleshooting Made Easy: If your KitchenAid food processor isn’t working, check the power connection, ensure all parts are correctly assembled and locked, and verify the lid is properly sealed before seeking further assistance.
Understanding Your KitchenAid Food Processor
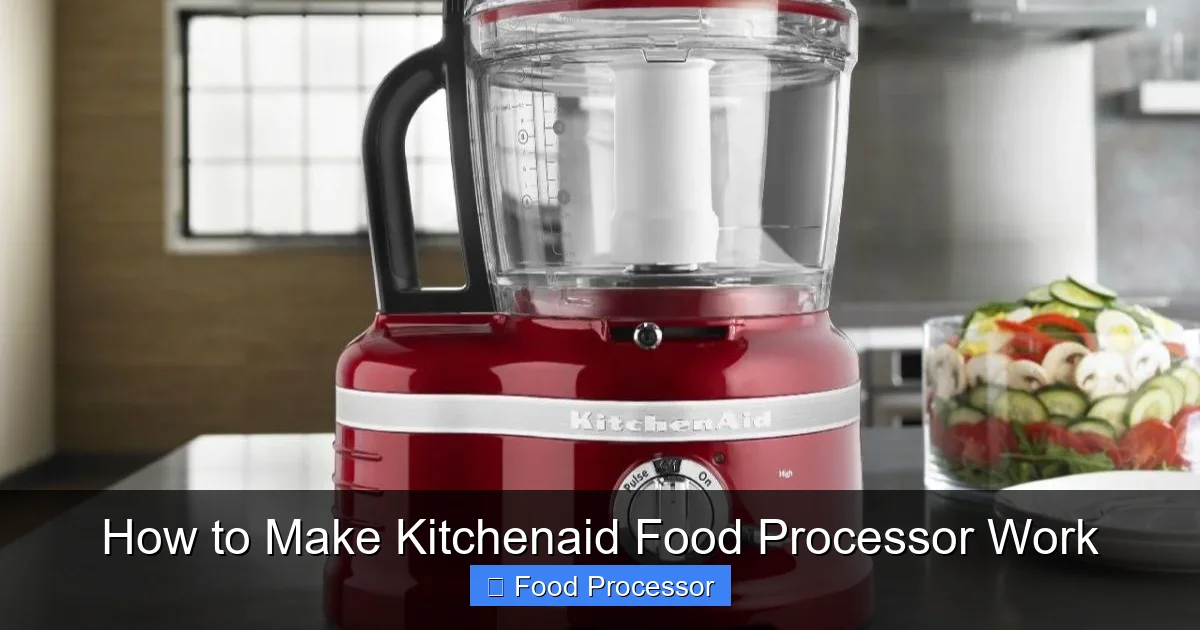
Before we dive into the “how-to,” let’s quickly understand the basic components that make your KitchenAid food processor tick. While models may vary slightly, the core parts remain consistent:
- Motor Base: This is the heaviest part, housing the powerful motor and control buttons (On, Off, Pulse).
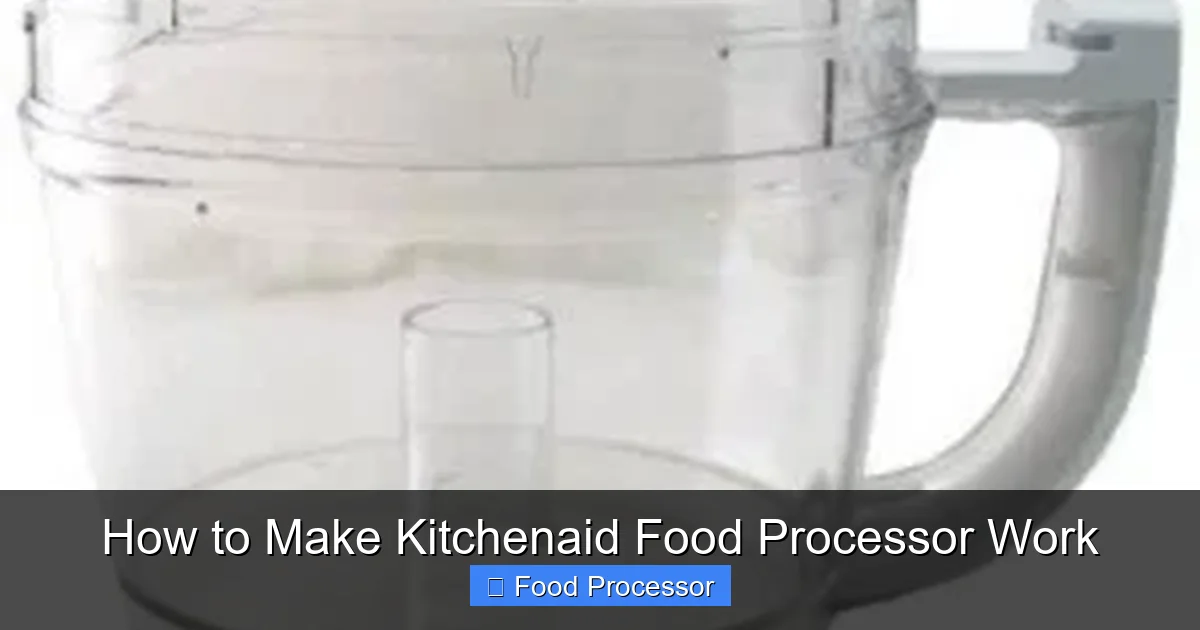
- Work Bowl: A transparent bowl that fits onto the motor base, where your ingredients are processed.
- Drive Adapter/Shaft: A central post in the work bowl that connects to the motor and holds the blade or disc.
- Blades & Discs: Various attachments for different functions, such as the multi-purpose blade (S-blade), slicing disc, and shredding disc.
- Lid: Fits securely onto the work bowl, often featuring a feed tube. This is a critical safety component.
- Food Pusher: Used to guide ingredients through the feed tube when using slicing or shredding discs.
KitchenAid food processors are built with safety in mind. They incorporate interlock systems that prevent the motor from running unless the work bowl and lid are correctly assembled and locked into place. This is often the primary reason why a KitchenAid food processor might not seem to be working initially.
Step-by-Step Guide to Making Your KitchenAid Food Processor Work
Let’s get your KitchenAid food processor ready for action!
1. Unboxing and Initial Setup (If New)
If your KitchenAid food processor is brand new, take a moment to unbox it carefully. Remove all packaging materials, protective films, and instructional pamphlets. Wash all removable parts (work bowl, lid, blades, discs, food pusher) in warm, soapy water before their first use, then rinse thoroughly and dry. This ensures they are clean and free from any manufacturing residues.
2. Safety First: Power and Placement
Always prioritize safety when working with any kitchen appliance. Here’s what to do before you even think about plugging in your KitchenAid food processor:
Visual guide about How to Make Kitchenaid Food Processor Work
Image source: storables.com
- Unplug Before Assembly/Disassembly: Get into the habit of ensuring the appliance is unplugged from the wall outlet before you start assembling, disassembling, or cleaning any part. This eliminates any risk of accidental activation.
- Stable Surface: Place the motor base on a clean, dry, and stable countertop or table. The KitchenAid food processor is sturdy, but a flat surface prevents wobbling during operation.
3. Assembling the Work Bowl and Blade
This is where many first-time users encounter issues if not done correctly. The bowl and lid need to be precisely aligned for the safety interlock to engage.
- Place the Work Bowl: Carefully place the work bowl onto the motor base. You’ll usually find an arrow or a guide mark on the bottom of the bowl and on the motor base. Align these marks, then twist the bowl clockwise until it locks securely into place. You should hear a click or feel it firmly seated. If you need a more visual guide on how to put it all together, you might find an article like how to assemble food processor step-by-step helpful.
- Insert the Drive Adapter (if applicable): Some models require a separate drive adapter to be placed inside the work bowl first, onto the central post.
- Attach the Blade: Choose the appropriate blade for your task. For most chopping, mincing, or pureeing, you’ll use the multi-purpose S-blade. Carefully lower the blade onto the drive adapter or central post within the work bowl. Make sure it sits all the way down and is snug. Always handle blades by their plastic hub, as the cutting edges are extremely sharp.
4. Securing the Lid
This is the second critical step for engaging the safety interlock.
- Position the Lid: Place the lid onto the work bowl. Again, look for alignment marks on the lid and the bowl. These are crucial.
- Twist and Lock: Twist the lid clockwise until it locks securely into place. Similar to the bowl, you should hear or feel a definite click. The handle of the lid should typically align with the handle of the work bowl when locked. If the lid is not properly locked, your KitchenAid food processor will not turn on. This is a safety feature designed to protect you from the spinning blade.
5. Adding Ingredients
With the bowl, blade, and lid securely in place, you’re ready to add your ingredients.
- For Chopping/Pureeing with S-Blade: Most ingredients for these tasks can be added directly into the work bowl before securing the lid. Make sure not to fill past the maximum fill line, which is usually marked on the bowl.
- For Slicing/Shredding Discs: If you’re using a slicing or shredding disc, you’ll typically add ingredients through the feed tube on the lid once the machine is running (see next step).
6. Operating Your KitchenAid Food Processor
Now for the exciting part!
- Plug It In: Once everything is assembled and your ingredients are in (if using the S-blade), plug the power cord into a grounded electrical outlet.
- Select Your Speed: Your KitchenAid food processor will have control buttons, typically “On,” “Off,” and “Pulse.”
- Pulse: This is your best friend for most tasks. Press and release the “Pulse” button in short bursts. This gives you maximum control over the consistency of your food and prevents over-processing. It’s perfect for chopping nuts, mincing garlic, or achieving a coarse chop on vegetables. For examples on specific tasks like how to use food processor to chop vegetables, pulsing is key.
- On/Low/High (Continuous): For tasks requiring continuous processing, such as making purees, sauces, or kneading dough, select the “On” or a specific speed setting (Low/High). Allow the motor to run until the desired consistency is achieved. Do not run continuously for extended periods without consulting your manual, as some tasks may require breaks to prevent motor overheating.
7. Using the Feed Tube and Pusher
When using slicing or shredding discs, or when adding liquids to a running food processor:
- Remove the Pusher: Take the food pusher out of the feed tube.
- Insert Ingredients: Gently drop ingredients into the feed tube. For best results with discs, ensure ingredients fit comfortably into the tube.
- Use the Pusher: Place the food pusher back into the feed tube and apply gentle, even pressure to guide the ingredients down towards the spinning disc. Never use your fingers or other utensils to push food into the feed tube while the machine is operating.
- Adding Liquids: Many KitchenAid food processor lids have a small opening in the food pusher or a drizzle hole. This allows you to slowly add liquids like oil for emulsifications (e.g., mayonnaise) while the machine is running.
8. Disassembling and Cleaning
Once you’re done processing, it’s time to clean up.
- Unplug: Always unplug the KitchenAid food processor from the outlet before disassembling.
- Remove Lid and Blade: Carefully twist the lid counter-clockwise to unlock and remove it. Then, remove the blade by grasping its plastic hub and lifting it straight up. Be extremely cautious as the blades are very sharp.
- Remove Work Bowl: Twist the work bowl counter-clockwise to unlock and lift it from the motor base.
- Empty Ingredients: Scrape out your processed ingredients.
- Clean Parts: Most KitchenAid food processor bowls, lids, blades, and pushers are dishwasher-safe (top rack recommended). Alternatively, wash them by hand in warm, soapy water. Use a brush to clean around sharp blades safely.
- Clean Motor Base: Wipe the motor base with a damp cloth. Never immerse the motor base in water.
- Storage: Store your KitchenAid food processor components together in a safe place, ideally with the blades protected.
Practical Tips for Optimal Performance

Visual guide about How to Make Kitchenaid Food Processor Work
Image source: virginiaservicesupply.com
To truly master your KitchenAid food processor and ensure it performs its best every time, consider these practical tips:
- Don’t Overfill: Respect the maximum fill line on your work bowl. Overfilling can strain the motor, lead to uneven processing, and even cause leaks. Process in smaller batches if necessary.
- Cut Ingredients to Size: For even processing, especially with the S-blade, cut larger ingredients into uniform pieces (e.g., 1-inch cubes) before adding them to the bowl. This helps the blade work efficiently.
- Pulse for Control: As mentioned, the “Pulse” function is your secret weapon. Use short, quick pulses for most chopping tasks. This gives you more control and helps prevent turning your ingredients into an unintended puree.
- Add Liquids Gradually: When making dressings or sauces that require oil or other liquids, add them slowly through the feed tube while the processor is running. This allows for proper emulsification.
- Select the Right Blade/Disc: Your KitchenAid food processor likely came with multiple attachments. The S-blade is for chopping, mincing, pureeing, and mixing. Slicing discs create uniform slices, and shredding discs are great for cheese or vegetables. Choosing the correct attachment makes a huge difference in results.
- Maintain Sharp Blades: Sharp blades are essential for efficient processing. While food processor blades are generally durable, avoid processing overly hard items like whole coffee beans or frozen blocks of food, which can dull or damage them.
Troubleshooting Common Issues
Even with the best intentions, sometimes your KitchenAid food processor might act up. Here are some common problems and how to fix them:
1. KitchenAid Food Processor Won’t Turn On
This is perhaps the most common issue.
- Check Power: Ensure the power cord is securely plugged into a working electrical outlet. Try plugging another appliance into the same outlet to confirm it’s functional.
- Verify Assembly: The vast majority of “won’t turn on” issues are due to improper assembly. Double-check that:
- The work bowl is fully seated and locked onto the motor base.
- The lid is correctly placed and twisted clockwise until it locks securely into place. The safety interlock switch (often a small tab on the lid or bowl handle) must be fully engaged.
- Overheat Protection: If the unit was used heavily and suddenly stopped, it might have an automatic overheat protection feature. Unplug the unit and let it cool down for 20-30 minutes before trying again.
- Consult the Manual: Your specific KitchenAid model might have unique safety requirements. Always refer to your user manual. For broader issues, if your processor simply isn’t responding, you might look into articles like how to fix a food processor that is not turning on.
2. Blade Not Spinning
If the motor hums but the blade isn’t moving:
- Check Blade Placement: Ensure the blade is correctly seated all the way down onto the drive adapter or central post within the work bowl. It should not be wobbling.
- Overload: The work bowl might be overloaded with too many ingredients, preventing the blade from moving freely. Remove some ingredients and try again in smaller batches.
- Stuck Food: A large, hard piece of food might be jammed against the blade. Unplug the unit, carefully remove the lid and blade, and clear any obstructions. If it’s more serious, an article on how to fix food processor blade not spinning could offer further guidance.
3. Food Not Processing Evenly
- Ingredient Size: Ensure ingredients are cut into uniform pieces before adding them. Large, irregular pieces will process unevenly.
- Overloading: Again, too much food at once can lead to the top ingredients being processed while the bottom ones remain chunky. Process in batches.
- Pulsing Technique: Use the “Pulse” function. Continuous running can sometimes create a vortex where some food gets stuck on the sides while others are over-processed. Short pulses allow ingredients to fall back down towards the blade.
- Scrape Sides: Occasionally, stop the processor, unplug it (for safety), remove the lid, and use a spatula to scrape down any ingredients clinging to the sides of the bowl.
4. Leaking from the Bowl or Lid
- Overfill: You might have exceeded the maximum liquid fill line, especially during continuous processing.
- Lid/Bowl Seal: Ensure the lid and bowl are correctly aligned and fully locked. A slight misalignment can break the seal.
- Damaged Seal: Inspect the rubber seal on your lid or blade assembly for any tears or damage. A damaged seal will cause leaks. Replacement parts may be necessary.
Conclusion
Congratulations! You’re now equipped with the knowledge to confidently make your KitchenAid food processor work efficiently and safely. This versatile appliance is an invaluable tool for any home cook, capable of transforming tedious tasks into quick and easy steps. From perfectly chopped vegetables for a stir-fry to smooth hummus or finely shredded cheese, your KitchenAid food processor is ready to tackle it all.
Remember the key takeaways: proper assembly, strict adherence to safety guidelines, smart use of the pulse function, and regular cleaning are all essential for a long-lasting and effective appliance. Don’t be afraid to experiment with different ingredients and recipes; you’ll soon discover the endless possibilities that your KitchenAid food processor brings to your kitchen. Happy cooking!
