

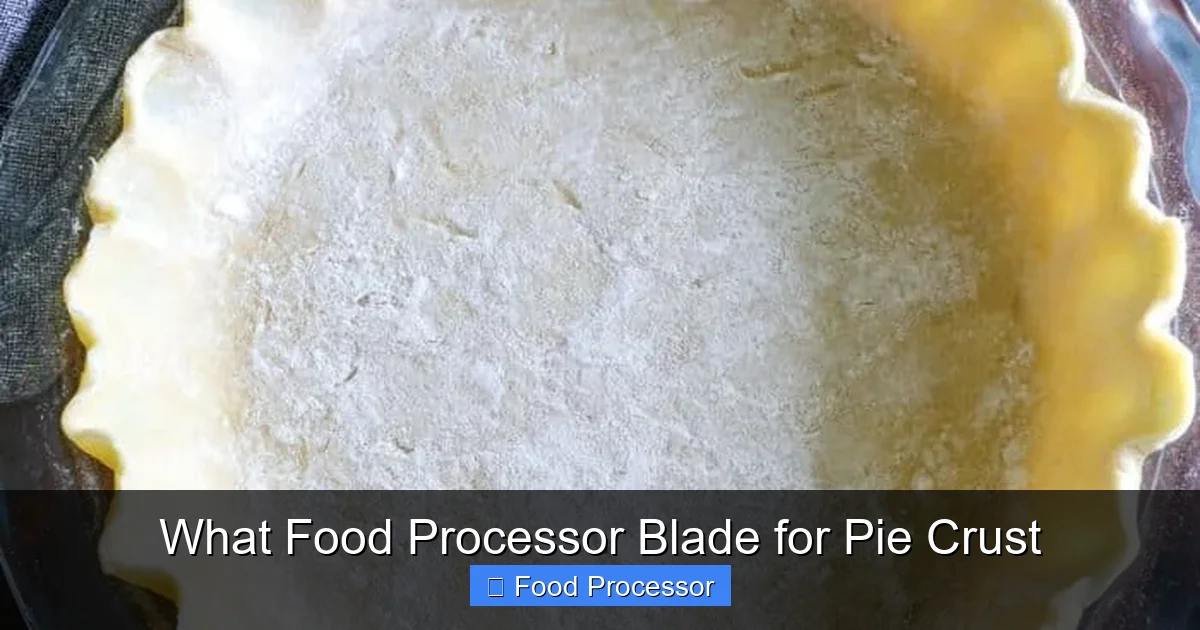
Achieving a flaky, tender pie crust with a food processor is incredibly simple once you know the right technique. The standard S-blade (or chopping blade) is your go-to tool, expertly cutting cold butter into flour to create the pockets needed for a light, airy texture. This guide will walk you through preparing ingredients, using the food processor correctly, and common troubleshooting tips to ensure your homemade pie crust is consistently delicious.
What Food Processor Blade for Pie Crust
Welcome, fellow bakers and pie enthusiasts! There’s nothing quite like a homemade pie, and at the heart of every great pie is a perfect crust – flaky, tender, and melt-in-your-mouth delicious. For many, making pie crust can feel like a daunting task, but what if we told you your food processor could be your secret weapon? It’s true! With the right blade and a few simple techniques, you can whip up perfect pie crusts in minutes.
In this comprehensive guide, we’ll demystify the process. You’ll learn exactly which food processor blade is best for pie crust, why it works so well, and how to use it to achieve consistently amazing results. We’ll cover everything from preparing your ingredients to troubleshooting common issues, ensuring your next pie is a masterpiece.
Key Takeaways
- The S-Blade is Essential: Always use your food processor’s standard S-blade (chopping blade) for making pie crust. Its design is perfect for quickly cutting cold butter into flour without overworking the dough.
- Cold Ingredients are Crucial: Ensure your butter is very cold and cubed, and use ice-cold water. Cold ingredients prevent the butter from melting too early, which is vital for developing those desirable flaky layers.
- Pulse, Don’t Process Continuously: Use short, quick pulses to mix the ingredients. Over-processing generates heat and develops gluten too much, leading to a tough, chewy crust instead of a tender one.
- Aim for Pea-Sized Butter: When combining butter and flour, stop pulsing when the mixture resembles coarse meal with some pea-sized butter pieces. This texture is ideal for flakiness.
- Add Water Gradually: Incorporate ice water one tablespoon at a time through the feed tube, pulsing just until the dough *barely* comes together. Too much water makes the dough sticky and tough.
- Avoid Overworking the Dough: Once the dough forms, resist the urge to knead it excessively. Gently gather it into a disk, wrap, and chill. Overworking activates gluten, resulting in a less tender crust.
Understanding Your Food Processor Blades
Your food processor is a versatile kitchen appliance, equipped with various blades and attachments designed for different tasks. However, not all blades are created equal when it comes to delicate jobs like making pie crust.
The Standard S-Blade (or Chopping Blade)
This is the blade you’ll use for most everyday tasks, and it’s your absolute champion for pie crust. Shaped like a curved “S” and usually made of metal, this blade sits at the bottom of the food processor bowl. Its sharp edges are designed to chop, mince, mix, and emulsify ingredients quickly and efficiently.
For pie crust, the S-blade is perfect because it can rapidly cut cold butter into the flour. This action creates tiny pockets of butter coated in flour. As the pie bakes, these butter pockets release steam, creating distinct, flaky layers that are the hallmark of a truly great pie crust.
Other Blades and Why They Aren’t Ideal for Pie Crust
While your food processor might come with a range of other attachments, they generally aren’t suited for making pie crust.
- Slicing/Shredding Discs: These flat discs sit on top of the bowl and are designed to slice vegetables or shred cheese. They are completely unsuitable for mixing dough, as they would simply mash the butter and flour, destroying the necessary texture for flakiness.
- Dough Blade (Plastic Blade): Some food processors come with a plastic dough blade, which looks similar to the S-blade but is designed to knead yeast doughs. While it might seem intuitive to use it for pie crust, it’s typically too gentle for the initial butter-cutting phase required for a flaky pie crust. It doesn’t cut the butter sharply enough. The metal S-blade is more effective at quickly and cleanly cutting through cold butter.
- Emulsifying Disc/Whip: This attachment is usually a plastic disc with a central hub, designed for whipping cream or emulsifying sauces. It would completely over-aerate and over-mix your pie crust ingredients, leading to a tough, unworkable dough.
Why the S-Blade is Your Pie Crust Champion
The secret to a flaky pie crust lies in how the fat (butter or shortening) is incorporated into the flour. You want the butter to remain in small, distinct pieces rather than fully blending into the flour. This is where the S-blade shines.
The sharp, rapidly spinning S-blade cuts through the cold butter, breaking it down into tiny, pea-sized or smaller bits, all while coating them with flour. This process happens very quickly, which is crucial because you want to avoid generating too much heat. Heat can melt the butter, leading to a tough, dense crust instead of a light, flaky one.
The speed and precision of the S-blade give you perfect control over the butter’s size. You can pulse just enough to get the right consistency, ensuring those vital butter pockets are preserved for ultimate flakiness.
Preparing Your Ingredients for Food Processor Pie Crust
Even with the right blade, success hinges on proper ingredient preparation.
Cold Butter is King
This is arguably the most important tip. Your butter must be *very* cold. Why? Because cold butter holds its shape better and melts slower. When it remains solid in the dough, it creates those steam pockets during baking. If your butter is too warm, it will smear into the flour, resulting in a tough, biscuit-like crust.
How to prepare: Cut your cold butter into ½-inch to 1-inch cubes. For extra insurance, you can even pop the cubed butter back into the freezer for 10-15 minutes before using it. You’ll thank yourself later!
Visual guide about What Food Processor Blade for Pie Crust
Image source: i2.wp.com
Visual guide about What Food Processor Blade for Pie Crust
Image source: i.ytimg.com
The Right Flour
All-purpose flour is the standard choice for pie crust and works perfectly with a food processor. Some recipes call for a mix of all-purpose and pastry flour, but for most home bakers, all-purpose is sufficient.
To sift or not to sift? For pie crust, sifting isn’t typically necessary. The food processor will help aerate the flour as it mixes.
Ice Water – Your Secret Weapon
Just like cold butter, ice-cold water is essential. It helps keep the overall dough temperature down, further preventing the butter from melting.
How to prepare: Fill a measuring cup with water and add a few ice cubes. Let it sit for a few minutes while you prepare your other ingredients. When you’re ready to add it, measure out the required amount of water, leaving the ice behind.
Salt and Sugar (Optional)
Salt is crucial for flavor, balancing the richness of the butter and the sweetness of your pie filling. Sugar is often added for flavor and can also contribute to browning. If your recipe calls for them, add them with the flour.
Step-by-Step: Making Pie Crust with the S-Blade
Let’s get down to business! Here’s how to make a perfect pie crust using your food processor’s S-blade.
Assemble Your Food Processor
Make sure your food processor bowl is clean and dry. Securely attach the standard metal S-blade to the central post. Place the lid on, ensuring it’s properly locked into place according to your model’s instructions.
Combine Dry Ingredients
Add the flour, salt, and any sugar your recipe calls for into the food processor bowl. Pulse a few times (2-3 quick pulses) to combine these dry ingredients evenly. This ensures even distribution before the butter goes in.
Add the Cold Butter
Scatter your cold, cubed butter evenly over the dry ingredients in the food processor bowl. This helps the S-blade get to work more efficiently.
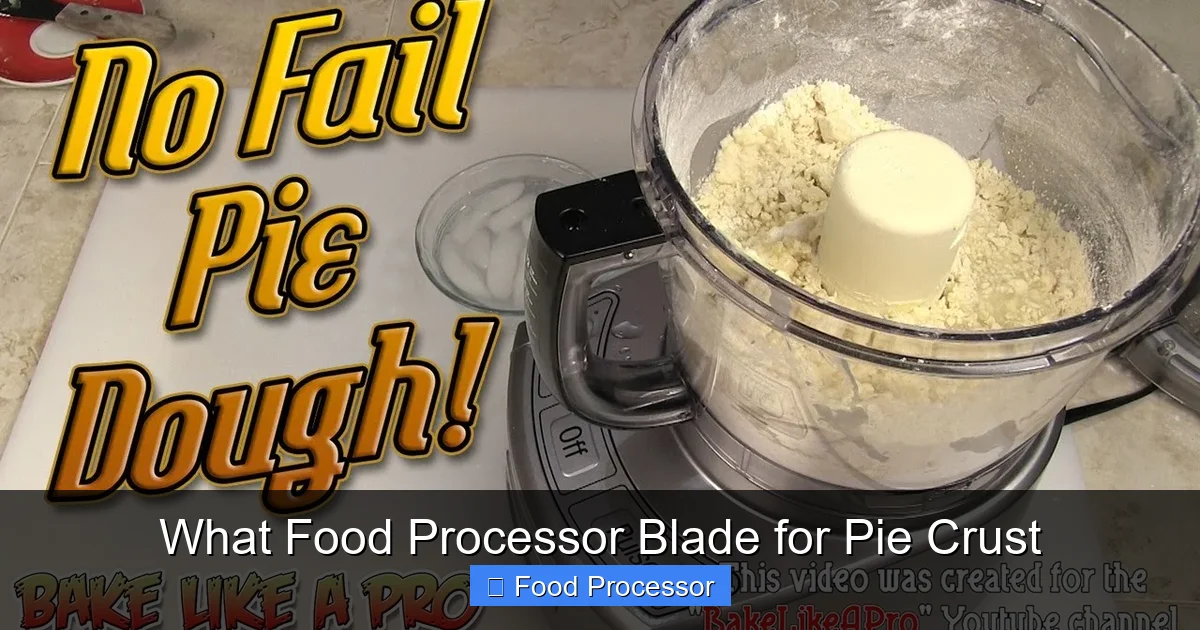
Pulse the mixture in short bursts (1-2 seconds per pulse). Use quick on/off motions. Do this about 10-15 times. Check the consistency after every 5-7 pulses.
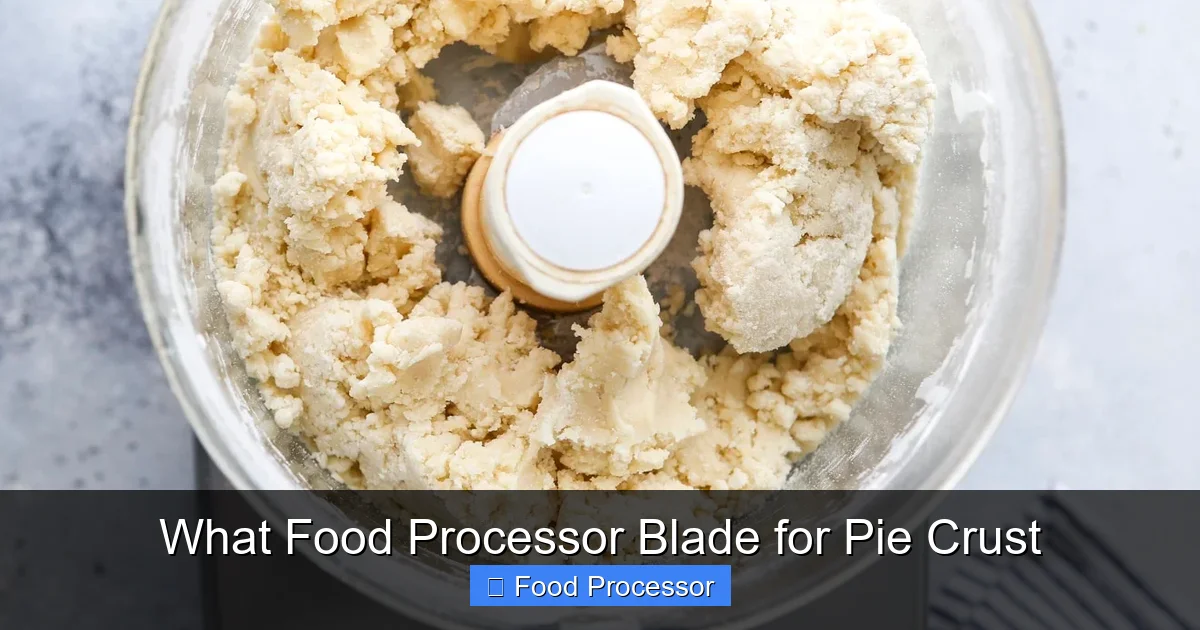
You’re looking for a mixture that resembles coarse meal, with some butter pieces still visible, roughly the size of small peas or oatmeal flakes. It’s okay to have a few larger pieces, but avoid turning it into a paste. This step is about cutting, not blending. Remember, don’t over-process!
Incorporate Ice Water
With the food processor running (or pulsing quickly), slowly pour the measured ice water through the feed tube, one tablespoon at a time. Continue to pulse until the dough *just* starts to come together.
The dough might look shaggy at first. Stop adding water as soon as the mixture begins to form large clumps and looks like it’s about to form a ball, or when it holds together when you pinch a small amount between your fingers. Be careful not to add too much water; a little goes a long way, and too much will lead to a tough crust.
A good rule of thumb is to err on the side of slightly dry rather than too wet, as you can always add a tiny bit more water by hand later if needed.
Forming the Dough
Carefully remove the dough from the food processor bowl and turn it out onto a lightly floured surface. Gather the dough gently with your hands and press it together to form a cohesive ball. Do *not* knead it like bread dough. Excessive handling will develop the gluten, making your crust tough.
If your recipe calls for two crusts, divide the dough in half and form two disks. For a single crust, form one disk.
Flatten the ball slightly into a disk shape. This makes it easier to roll out later.
Chill and Roll
Wrap the dough disk(s) tightly in plastic wrap. Refrigerate for at least 30 minutes, or up to 2 days. Chilling the dough is essential! It allows the gluten to relax (which also helps prevent toughness) and solidifies the butter, making the dough easier to roll out and ensuring maximum flakiness.
When you’re ready to bake, remove the dough from the fridge and let it sit at room temperature for 10-15 minutes to make it more pliable. Lightly flour your work surface and rolling pin, then roll out your dough to your desired thickness and size.
Practical Tips for a Flaky Food Processor Pie Crust
To ensure every pie crust you make is a resounding success, keep these tips in mind:
- Don’t Over-Process: This is the golden rule. Over-processing heats the butter and overdevelops the gluten, leading to a tough crust. Use short pulses and watch the texture closely.
- Keep Everything Cold: We can’t stress this enough. Cold butter, cold water, and even a cold food processor bowl (if you have time to chill it beforehand) will make a significant difference.
- Use a Light Touch: Once the dough leaves the food processor, handle it as little as possible. Your hands are warm, and excess handling will melt the butter and work the gluten.
- Know Your Food Processor: Every food processor is a little different. Get to know its pulse power and how quickly it incorporates ingredients. For those considering an upgrade or buying their first unit, understanding what to look for when buying a food processor can be incredibly helpful.
- Don’t Skip Chilling: The chilling step isn’t just a suggestion; it’s a critical part of the process for tenderness and ease of rolling.
- Consider a Double Batch: Pie dough freezes beautifully! Make a double batch and freeze one disk for a future pie. Thaw it in the refrigerator overnight before rolling.
Troubleshooting Common Pie Crust Problems
Even with the best intentions, things can sometimes go awry. Here’s how to address common pie crust issues:
Tough or Chewy Crust
Cause: This is usually a result of overworking the dough or adding too much water. Both activate the gluten too much, leading to a tough texture.
Solution: Be gentle! Next time, pulse less and add water more sparingly. If your dough feels too sticky when you turn it out, try adding a tiny bit more flour when forming the disk, but avoid kneading.
Crumbly Dough
Cause: Not enough liquid, or not processing quite enough to bring the butter and flour together.
Solution: If your dough is too crumbly and won’t hold together after chilling, you might need a tiny bit more water. Spritz a little ice water onto the dough (or add a teaspoon) and gently work it in by hand on a floured surface until it just comes together. If you find yourself in a situation where you need to make pie crust but don’t have a food processor, don’t despair! There are excellent methods for making pie crust without a food processor that can still yield delicious results.
Soggy Bottom
Cause: Often due to excess moisture from the filling soaking into the unbaked crust, or not blind baking the crust when called for.
Solution: To prevent a soggy bottom, make sure your pie filling isn’t too wet. Blind bake your crust (pre-bake it before adding the filling) if your recipe calls for it, especially for custard or fruit pies with high moisture content. You can also brush the bottom of a partially baked crust with an egg white to create a barrier.
Dough Not Coming Together
Cause: You might not have pulsed enough, or you might need a tiny bit more water.
Solution: Pulse a few more times to see if the existing moisture and butter can bind the flour. If not, add ice water one teaspoon at a time through the feed tube, pulsing after each addition, until the dough just starts to clump.
Beyond the S-Blade: When Other Blades Shine (Briefly)
While the S-blade is undeniably the champion for pie crust, remember that your food processor is a versatile tool! Other blades are fantastic for different tasks. Slicing disks excel at preparing vegetables for gratins or salads, while shredding disks make quick work of cheese. Understanding each blade’s purpose helps you maximize your food processor’s utility in your kitchen.
Conclusion
You now have all the knowledge you need to master the art of food processor pie crust! By confidently choosing the standard S-blade, meticulously preparing your cold ingredients, and following our step-by-step pulsing technique, you’ll consistently achieve tender, flaky crusts that are the envy of every baker.
Say goodbye to tough, dense crusts and hello to homemade pies that taste as incredible as they look. Embrace the ease and efficiency your food processor brings to baking, and get ready to impress your friends and family with your newfound pie-making prowess. Happy baking!
